Free Shipping on Domestic Orders $75+

D-Link DCS-825L LED Light Cover Replacement

What you need

    1. D-Link DCS-825L LED Light Cover Replacement, Accent Ring: step 1, image 1 of 1
      • Grasp the side of the accent ring. There is a notch that your thumb will be able to grab ahold of.

      Ask FixBot

      Add Comment

    2. D-Link DCS-825L LED Light Cover Replacement: step 2, image 1 of 1
      • Twist the accent ring until it pops off. You may need to use both hands if the accent ring is stuck.

      Ask FixBot

      Add Comment

    3. D-Link DCS-825L LED Light Cover Replacement: step 3, image 1 of 1
      • Replace your accent ring with whichever color you choose.

      Ask FixBot

      Add Comment

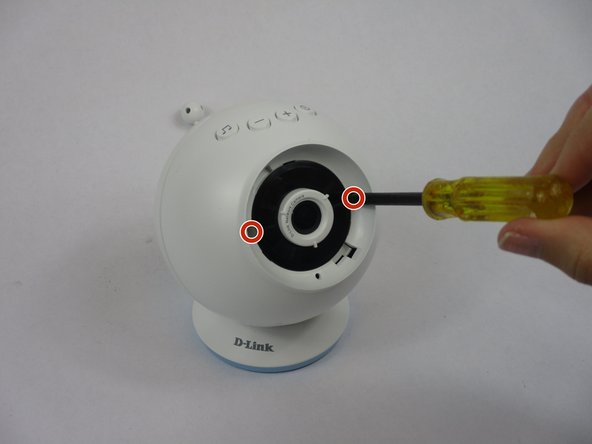
    1. D-Link DCS-825L LED Light Cover Replacement, Back Casing: step 4, image 1 of 2 D-Link DCS-825L LED Light Cover Replacement, Back Casing: step 4, image 2 of 2
      • Remove one Phillips #2 screw from each side of the camera lens.

      Ask FixBot

      Add Comment

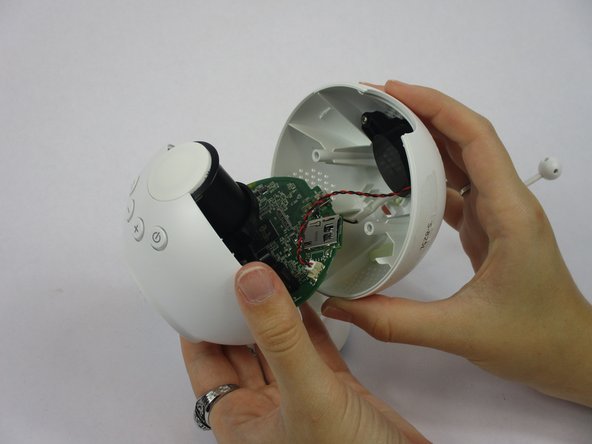
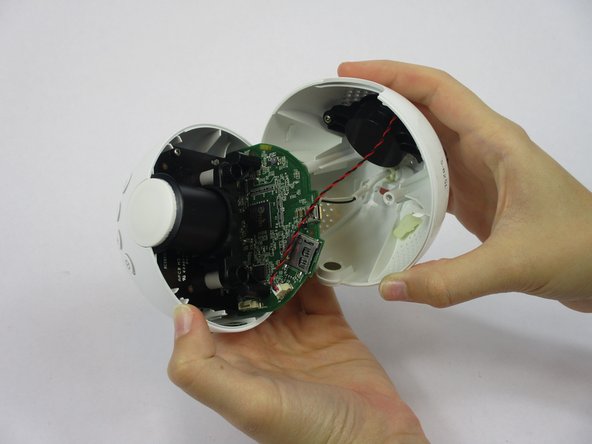
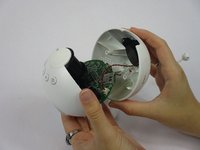
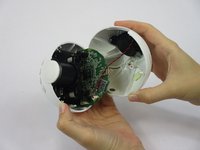
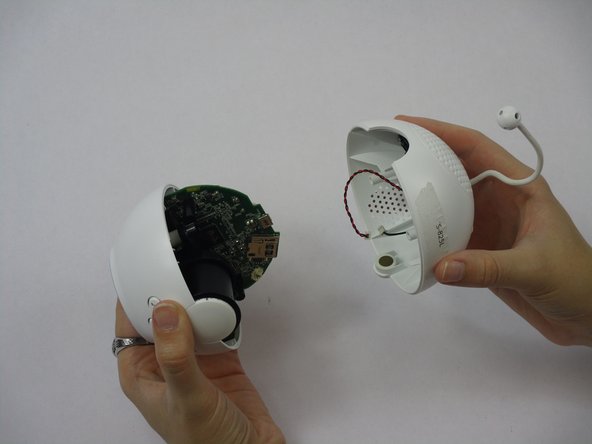
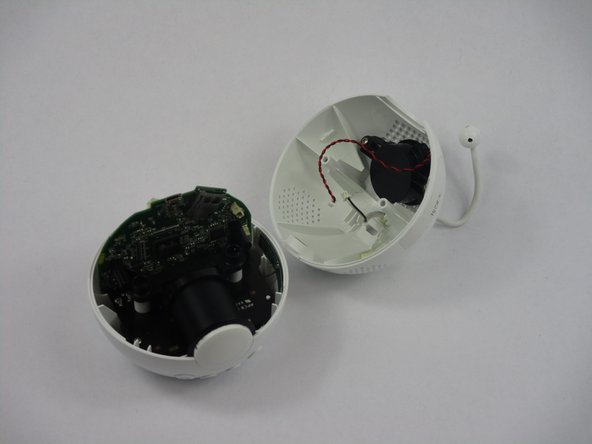
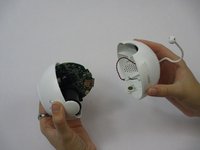
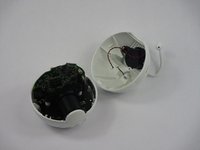
    2. D-Link DCS-825L LED Light Cover Replacement: step 5, image 1 of 3 D-Link DCS-825L LED Light Cover Replacement: step 5, image 2 of 3 D-Link DCS-825L LED Light Cover Replacement: step 5, image 3 of 3
      • Pull the Wi-Fi Baby Camera open.

      • It should be easily done after the screws are removed.

      Ask FixBot

      Add Comment

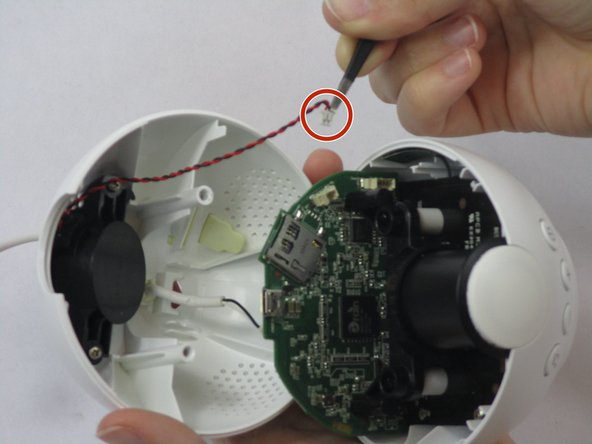
    3. D-Link DCS-825L LED Light Cover Replacement: step 6, image 1 of 2 D-Link DCS-825L LED Light Cover Replacement: step 6, image 2 of 2
      Tool used on this step:
      Tweezers
      $4.99
      Buy
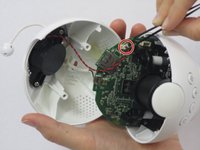
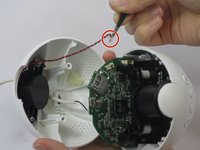
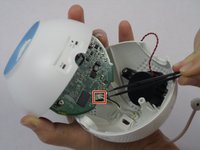
      • Take your tweezers and gently pull the white tip out from its plug that is connected to a red and black twisted wire.

      Ask FixBot

      Add Comment

    4. D-Link DCS-825L LED Light Cover Replacement: step 7, image 1 of 3 D-Link DCS-825L LED Light Cover Replacement: step 7, image 2 of 3 D-Link DCS-825L LED Light Cover Replacement: step 7, image 3 of 3
      • Take your tweezers and gently pull the white tip that is on the end of the white wire (the antenna) out from its plug in.

      Ask FixBot

      Add Comment

    1. D-Link DCS-825L LED Light Cover Replacement, LED Light Cover: step 8, image 1 of 1
      • Grab the white cylinder with your thumb and index finger.

      Ask FixBot

      Add Comment

    2. D-Link DCS-825L LED Light Cover Replacement: step 9, image 1 of 1
      • Gently lift the cylinder up from its placement in your Wi-Fi Baby Camera.

      Ask FixBot

      Add Comment

    3. D-Link DCS-825L LED Light Cover Replacement: step 10, image 1 of 1
      • Remove the white cylinder completely to replace it.

      Ask FixBot

      Add Comment

Conclusion

To reassemble your device, follow these instructions in reverse order.

Cancel: I did not complete this guide.

Annalise Leclair

Member since: 10/09/18

103 Reputation

1 Guide authored

Team

USF Tampa, Team S1-G5, Leahy Fall 2018 Member of USF Tampa, Team S1-G5, Leahy Fall 2018

USFT-LEAHY-F18S1G5

4 Members

48 Guides authored

0 Guide Comments

Add Comment

View Statistics:

Past 24 Hours: 1

Past 7 Days: 12

Past 30 Days: 32

All Time: 637