
CyberSeriesPC C-Series RAM Replacement

Jamie Lira and 3 other contributors
Last updated on Apr 13, 2024
Views: 5.4K
View statistics:
- Past 24 Hours:
- 2
- Past 7 Days:
- 20
- Past 30 Days:
- 81
- All Time:
- 5,368
Comments: 0
No one has left comments on this guide. Will you be first?
Go to guide commentsCompleted: 6 7
6 people have marked this guide "completed." Will you be next?
7 people have marked this guide "completed." Including you — great job!
Favorites: 0 1
No one has favorited (and subscribed to) this guide. Will you be the first?
1 person has favorited (and subscribed to) this guide — and that's you!
Introduction
Go to step 1 ↓If you want to upgrade the RAM in your prebuilt CyberSeriesPC (Model C-Series) so your computer can be faster, use this step-by-step guide to replace your RAM.
A RAM's purpose is to store the short-term data that a PC requires to operate correctly, so having an updated RAM will help optimize your computer.
Here's an article on why having better RAM is important.
Be careful with the electronic parts and RAM because they are delicate and could break.
Before beginning, make sure to power off your computer entirely and disconnect from any external power source. This is critical because if you do not do this, you can harm your computer and even yourself.
What you need
Tools


-
-
-
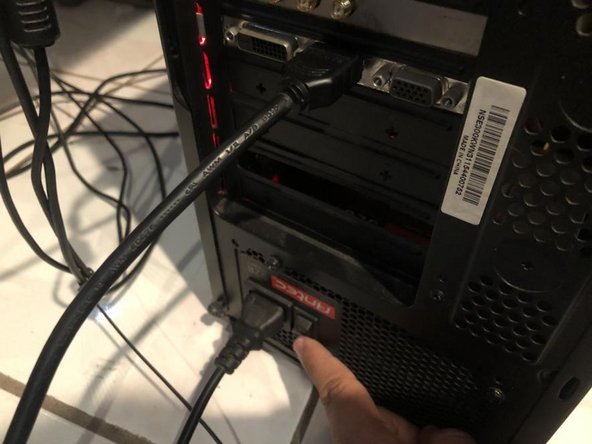
Turn the computer around and turn the power switch from "I" (on) to "O" (off).
-
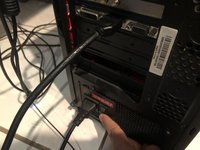
Remove the power cable from its outlet and disconnect any peripherals (microphone, webcam, etc.).
 Ask FixBot
-
-
-
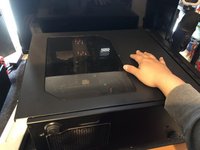
Place the computer on a table.
-
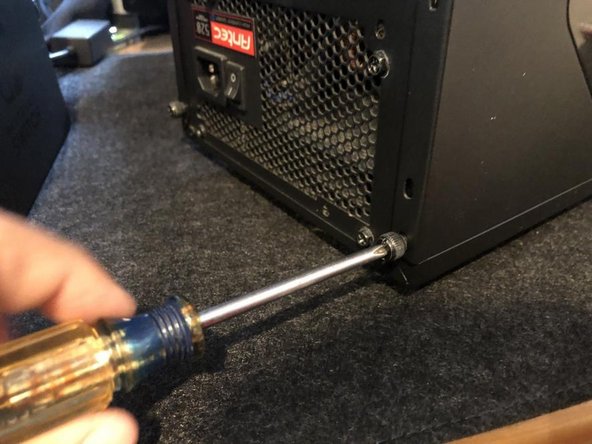
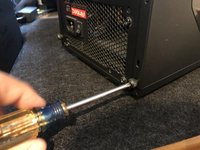
Remove the screws holding the side panel with a screwdriver.
-
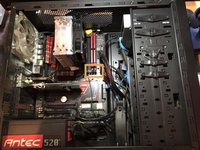
Slide the side panel from right to left to open the computer and see its components.
-
Place the side panel somewhere else to keep the area clear, and set the computer down on its side, where the open side is up for you to work.
-
-
-
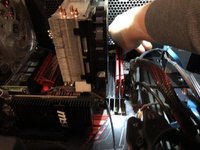
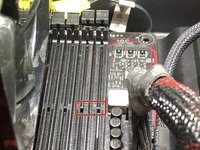
Open the latches in front of the RAM using two fingers.
-
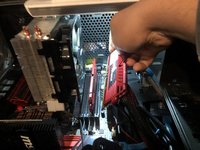
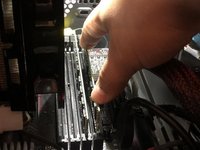
Place two fingers and your thumb down in the middle of the RAM stick and remove it carefully and slowly.
-
-
-
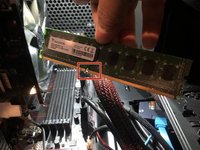
Line up the middle gap in the new RAM stick with the notch in the computer.
-
Push the stick down to insert the RAM into its place.
-
Repeat this step for the second stick.
-
-
-
-
Slide the side panel back onto the computer from the left until it clicks.
-
Tighten the screws back onto the side panel with the screwdriver.
-
Before reinserting the power cable and turning the power switch on, insert any other removed wires.
-
Place the power cable back in its outlet.
-
Turn the power switch on.
-
-
-
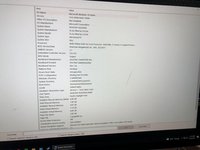
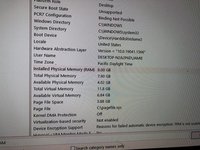
To confirm the RAM sticks are properly working, turn the computer on and let it boot up.
-
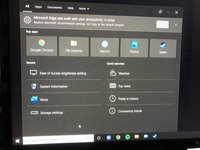
Click on the search button in the lower-left corner of your monitor screen.
-
Search for "System Information," then click on it.
-
In the "Find what:" search bar, type "RAM," and press enter.
-
You will see that your new RAM is installed correctly and working, making it a successful switching of parts!
-
-







To reassemble your device, follow these instructions in reverse order.
Cancel: I did not complete this guide.
6 other people completed this guide.

Team

CSU Los Angeles, Team 8-10, Briggs Spring 2022 Member of CSU Los Angeles, Team 8-10, Briggs Spring 2022
CSULA-BRIGGS-S22S8G10
1 Member
12 Guides authored
