Free Shipping on Domestic Orders $75+

Creative Ziio 7" Motherboard Replacement

What you need

    1. Creative Ziio 7" Motherboard Replacement, Back Panel: step 1, image 1 of 3 Creative Ziio 7" Motherboard Replacement, Back Panel: step 1, image 2 of 3 Creative Ziio 7" Motherboard Replacement, Back Panel: step 1, image 3 of 3
      • Remove the back panel by using the plastic opening tool to carefully pry around the panel's edges.

      • The volume control button and the top power button may fall out during this step.

      Ask FixBot

      Add Comment

    1. Creative Ziio 7" Motherboard Replacement, Motherboard: step 2, image 1 of 3 Creative Ziio 7" Motherboard Replacement, Motherboard: step 2, image 2 of 3 Creative Ziio 7" Motherboard Replacement, Motherboard: step 2, image 3 of 3
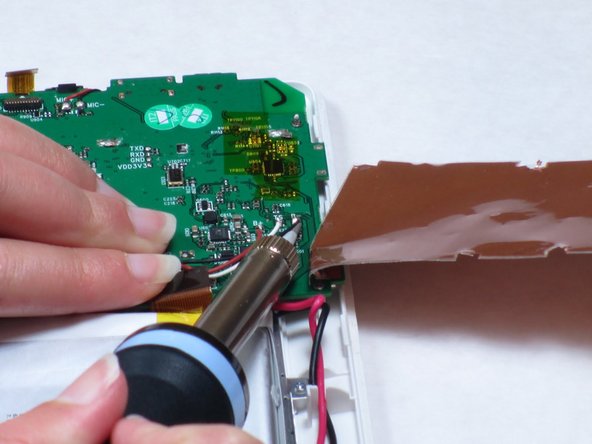
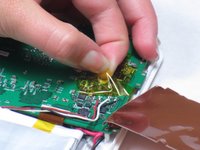
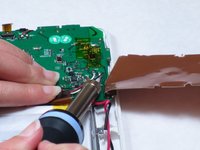
      • Remove the copper plate covering the motherboard by desoldering the ten solder points.

      • The solder point in the bottom right corner is marked but hidden by the soldering iron.

      Ask FixBot

      Add Comment

    2. Creative Ziio 7" Motherboard Replacement: step 3, image 1 of 2 Creative Ziio 7" Motherboard Replacement: step 3, image 2 of 2
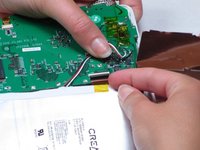
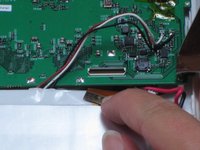
      • Remove the adhesive tape covering the three wires connected to the motherboard.

      • Desolder the solder points connecting the wires to the motherboard.

      Ask FixBot

      Add Comment

    3. Creative Ziio 7" Motherboard Replacement: step 4, image 1 of 3 Creative Ziio 7" Motherboard Replacement: step 4, image 2 of 3 Creative Ziio 7" Motherboard Replacement: step 4, image 3 of 3
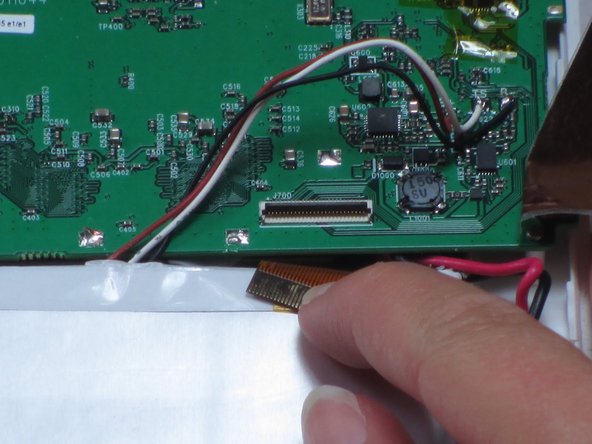
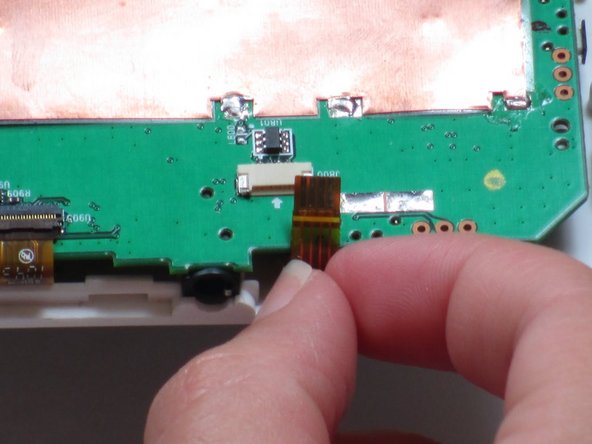
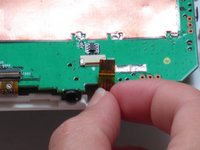
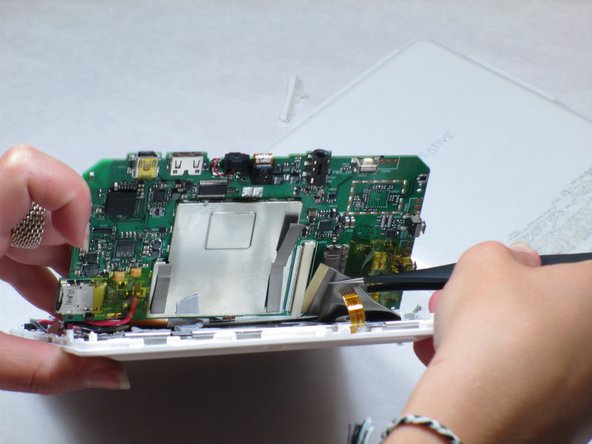
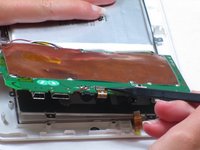
      • Disconnect the ribbon cable that is attached underneath the copper plate.

      • Disconnect the other ribbon cable that is connected next the copper plate in the corner of the circuit board.

      Ask FixBot

      Add Comment

    4. Creative Ziio 7" Motherboard Replacement: step 5, image 1 of 2 Creative Ziio 7" Motherboard Replacement: step 5, image 2 of 2
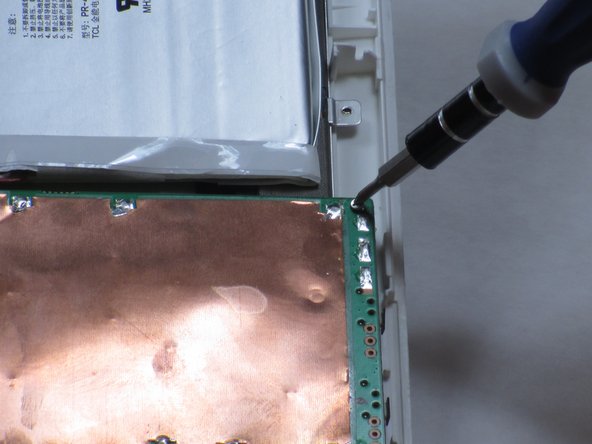
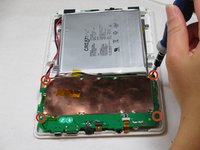
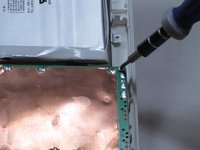
      • Remove the four 4mm Philips #00 screws holding the motherboard to the casing.

      • The copper plate will be removed by now. However, the picture does not show this.

      Ask FixBot

      Add Comment

    5. Creative Ziio 7" Motherboard Replacement: step 6, image 1 of 2 Creative Ziio 7" Motherboard Replacement: step 6, image 2 of 2
      Tool used on this step:
      Tweezers
      $4.99
      Buy
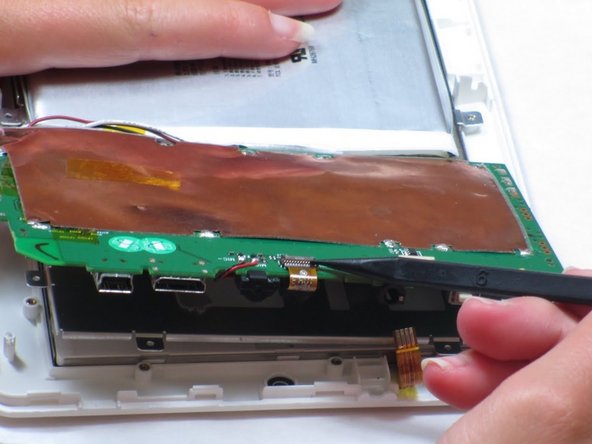
      • Lift up the motherboard.

      • A mesh-looking strip on the left side will be connected to the bottom of the motherboard.

      • Remove the tape on top of the strip and use tweezers or pliers to pull on the strip to unplug it.

      Ask FixBot

      Add Comment

    6. Creative Ziio 7" Motherboard Replacement: step 7, image 1 of 1
      • Remove the red and black wires with a soldering iron that are located underneath the motherboard.

      • Do not cut or damage the wires in the process. They will be needed for the new motherboard.

      Ask FixBot

      Add Comment

    7. Creative Ziio 7" Motherboard Replacement: step 8, image 1 of 1
      • Remove the old motherboard and dispose of it resposibly.

      Ask FixBot

      Add Comment

Conclusion

To reassemble your device, follow these instructions in reverse order.

Cancel: I did not complete this guide.

2 other people completed this guide.

Benedict Samoy

Member since: 04/16/13

34 Reputation

2 Guides authored

Team

Cal Poly, Team 14-10, Maness Spring 2013 Member of Cal Poly, Team 14-10, Maness Spring 2013

CPSU-MANESS-S13S14G10

4 Members

15 Guides authored

0 Guide Comments

Add Comment

View Statistics:

Past 24 Hours: 2

Past 7 Days: 7

Past 30 Days: 20

All Time: 1,453