Introduction
This guide will show you how to replace the hard drive in your device. Use this guide if your hard drive is broken and in need of replacement.
What you need
-
-
Push the black button and slide the battery casing to the left simultaneously, until the battery is completely separated from the device.
 Ask FixBot
-
-
-
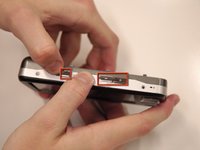
Remove the 2 screws (3.5 mm) on the Compact Flash insert, located on the left hand side, with a Phillips #000 screwdriver.
-
-
-
-
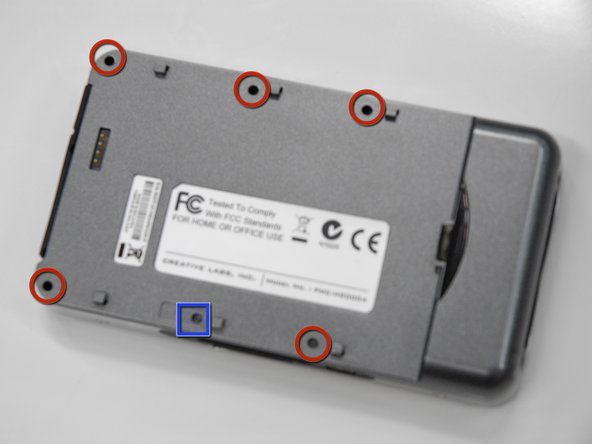
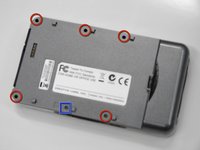
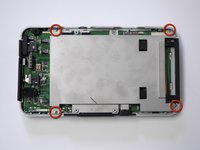
Remove the 5 screws (5.5 mm), circled in red, using a Phillips #0. Use a flashlight if necessary.
-
Peel off the sticker that says "Creative warranty void if broken" and remove the screw (5.5 mm) underneath with a Phillips #0.
-
-
-
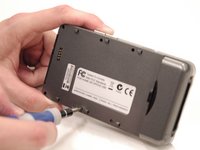
Carefully pull the back cover off of the rest of the device.
-
The volume control buttons and power slider may fall off when removing the cover, do not lose these small pieces.
-
The USB input cover on the bottom of the device may also fall off.
-
-
-
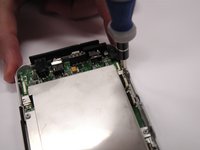
Remove 4 screws (3.5 mm) on the metal cover with a Phillips #0.
-
Lift the metal cover off.
-
-
-
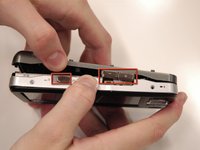
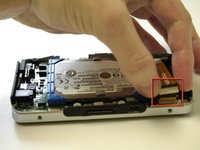
Lift the white and black ribbon connection off of the motherboard.
-
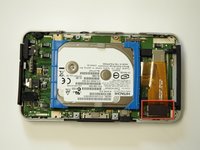
The hard drive can now be removed.
-


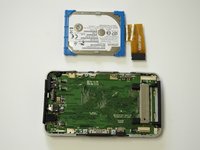
To reassemble your device, follow these instructions in reverse order.
Cancel: I did not complete this guide.
2 other people completed this guide.

Team

Cal Poly, Team 17-2, Regan Spring 2013 Member of Cal Poly, Team 17-2, Regan Spring 2013
CPSU-REGAN-S13S17G2
4 Members
8 Guides authored