Free Shipping on Domestic Orders $75+

This translation was generated by a machine and has not been reviewed by a person yet. Speak this language? Review it.

Creating a cube from magnetic balls

Archived Guide
This guide is retained solely for historical purposes. Use the updated version of the guide to perform your repair.
    1. Creating a cube from magnetic balls, Start: Ball of magnetic spheres: step 1, image 1 of 2 Creating a cube from magnetic balls, Start: Ball of magnetic spheres: step 1, image 2 of 2
      • Initial state: a ball of 216 magnetic spheres

      Ask FixBot

      Add Comment

    2. Creating a cube from magnetic balls, Pull out the first partial chain: step 2, image 1 of 3 Creating a cube from magnetic balls, Pull out the first partial chain: step 2, image 2 of 3 Creating a cube from magnetic balls, Pull out the first partial chain: step 2, image 3 of 3
      • Pull a first partial chain out of the lump

      Ask FixBot

      Add Comment

      • Remove the first partial chain

      Ask FixBot

      Add Comment

      • Insert instructions here.

      Ask FixBot

      Add Comment

      • Insert instructions here.

      Ask FixBot

      Add Comment

    3. Creating a cube from magnetic balls, Remove the first sub-chain: step 6, image 1 of 3 Creating a cube from magnetic balls, Remove the first sub-chain: step 6, image 2 of 3 Creating a cube from magnetic balls, Remove the first sub-chain: step 6, image 3 of 3
      • Place it on the table

      Ask FixBot

      Add Comment

    4. Creating a cube from magnetic balls, Pull out another segment of the chain: step 7, image 1 of 2 Creating a cube from magnetic balls, Pull out another segment of the chain: step 7, image 2 of 2
      • Pull another segment of the chain out of the ball

      Ask FixBot

      Add Comment

    5. Creating a cube from magnetic balls, Throwing the chain segment onto the table: step 8, image 1 of 3 Creating a cube from magnetic balls, Throwing the chain segment onto the table: step 8, image 2 of 3 Creating a cube from magnetic balls, Throwing the chain segment onto the table: step 8, image 3 of 3
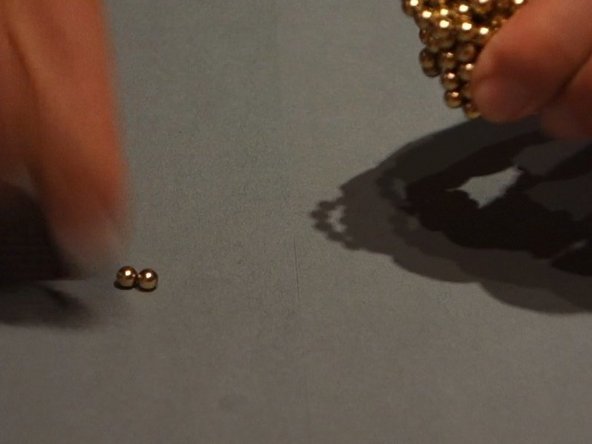
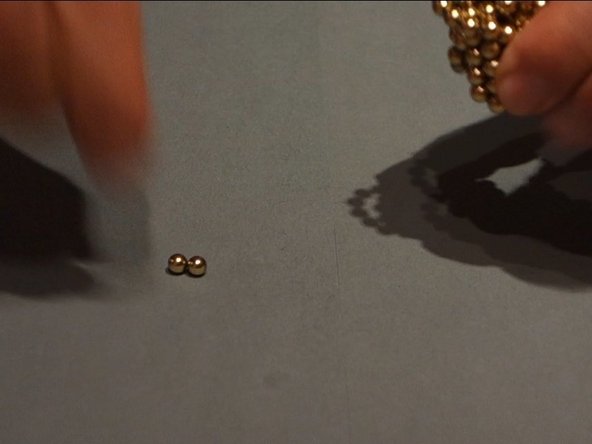
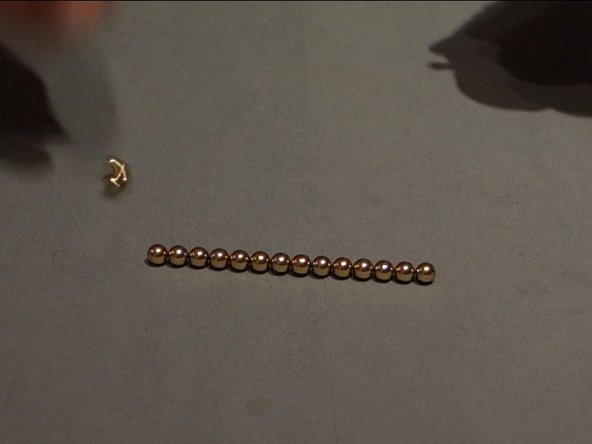
      • Throw the chain segment onto the table next to the chain.

      • The chain segment will automatically rotate to align with the chain on the table and connect to it.

      • Repeat this (starting from step 4) until all the beads from the tangle have been used.

      • If the chain accidentally connects to itself, it can be easily separated again.

      Ask FixBot

      Add Comment

    6. Creating a cube from magnetic balls, Result: Chain: step 9, image 1 of 1
      • Result: A chain of 216 spheres.

      Ask FixBot

      Add Comment

      • Insert instructions here.

      Ask FixBot

      Add Comment

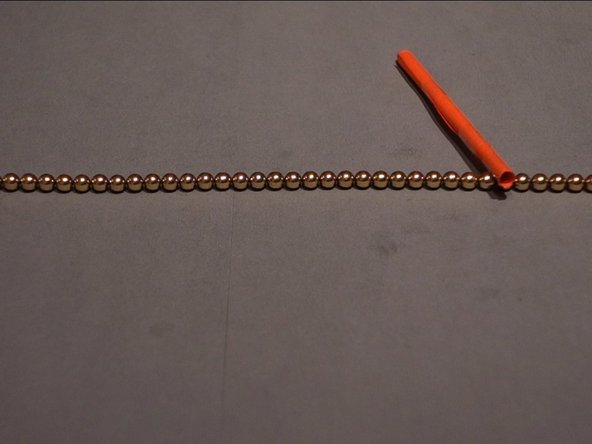
    1. Creating a cube from magnetic balls, Count out spheres: step 11, image 1 of 3 Creating a cube from magnetic balls, Count out spheres: step 11, image 2 of 3 Creating a cube from magnetic balls, Count out spheres: step 11, image 3 of 3
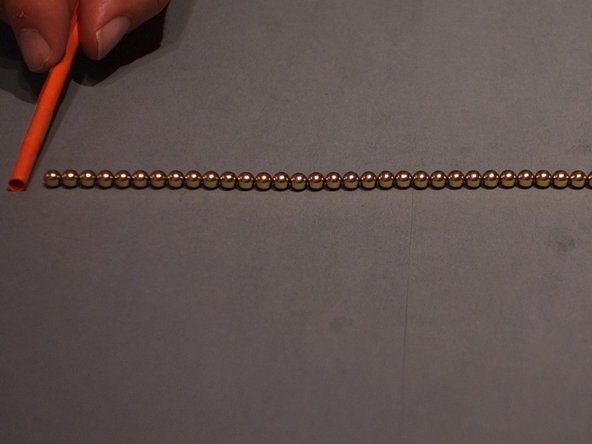
      • Count out 36 spheres

      • Use a pointed rod, pen, or similar tool to count

      Ask FixBot

      Add Comment

    2. Creating a cube from magnetic balls, Fold the chain multiple times: step 12, image 1 of 3 Creating a cube from magnetic balls, Fold the chain multiple times: step 12, image 2 of 3 Creating a cube from magnetic balls, Fold the chain multiple times: step 12, image 3 of 3
      • Bend the chain behind the 36th bead.

      • Bead must meet bead! If bead meets gap, you cannot continue working and you must start all over from the beginning!

      • Repeat 4 more times until you get a 36x6 bracelet.

      • Alternate folding at the left end (marked in red) and ...

      • ... the right end (marked in orange).

      Ask FixBot

      Add Comment

    3. Creating a cube from magnetic balls, Result: Wristband: step 13, image 1 of 1
      • The result is a 36x6 wristband.

      Ask FixBot

      Add Comment

    1. Creating a cube from magnetic balls, Count off rows: step 14, image 1 of 1
      • Count off 6 rows

      Ask FixBot

      Add Comment

    2. Creating a cube from magnetic balls, Fold the wristband there: step 15, image 1 of 3 Creating a cube from magnetic balls, Fold the wristband there: step 15, image 2 of 3 Creating a cube from magnetic balls, Fold the wristband there: step 15, image 3 of 3
      • Fold the wristband behind the 6th row

      • Make sure sphere meets sphere! If a sphere meets a gap, this cannot be corrected and you must start over from the very beginning!

      Ask FixBot

      Add Comment

    3. Creating a cube from magnetic balls, Fold additional times: step 16, image 1 of 3 Creating a cube from magnetic balls, Fold additional times: step 16, image 2 of 3 Creating a cube from magnetic balls, Fold additional times: step 16, image 3 of 3
      • Fold 4 additional times:

      • Flip the bracelet over so the top side faces down.

      • Fold the bracelet after 6 rows.

      • Alternate between the left and right sides while doing so.

      Ask FixBot

      Add Comment

    4. Creating a cube from magnetic balls, Result: Cube: step 17, image 1 of 1
      • Done! This is what the 6x6x6 cube looks like.

      Ask FixBot

      Add Comment

Conclusion

Congratulations! You have successfully created a cube from the magnetic balls.

Cancel: I did not complete this guide.

One other person completed this guide.

Nils Faltin

Member since: 07/27/17

448 Reputation

3 Guides authored

0 Guide Comments

Add Comment

View Statistics:

Past 24 Hours: 0

Past 7 Days: 1

Past 30 Days: 16

All Time: 104