Creality Ender 3 Extruder Motor Assembly Replacement

Archived Guide
This guide is retained solely for historical purposes. Use the updated version of the guide to perform your repair.

What you need

  1. Creality Ender 3 Extruder Motor Assembly Replacement, extruder motor assembly: step 1, image 1 of 1
    • To start, unplug the cable from the power supply box.

  2. Creality Ender 3 Extruder Motor Assembly Replacement: step 2, image 1 of 2 Creality Ender 3 Extruder Motor Assembly Replacement: step 2, image 2 of 2
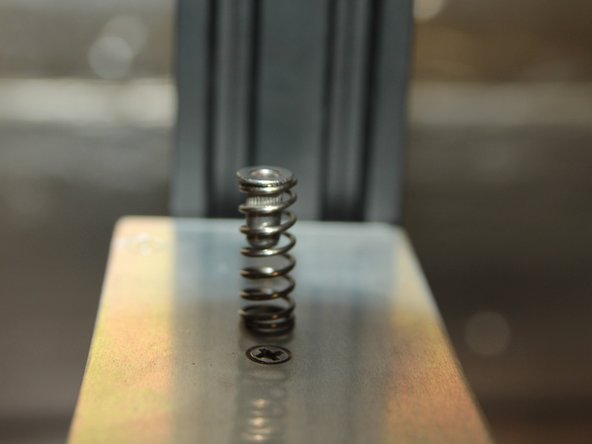
    • Remove the screw holding the spring in place.

    • Also, before going any further, remove the PFTE tubing from the assembly.

  3. Creality Ender 3 Extruder Motor Assembly Replacement: step 3, image 1 of 2 Creality Ender 3 Extruder Motor Assembly Replacement: step 3, image 2 of 2
    • Once the screw is removed, take out the spring and the small metal bracket inside.

    • Once you are done, recall how the spring and bracket are put together.

  4. Creality Ender 3 Extruder Motor Assembly Replacement: step 4, image 1 of 1
    • Now, remove the small brass gear by loosening the small screws.

    • Do not loosen the screws all the way.

Conclusion

This is a fairly easy repair, but if you need help, leave a comment on the guide.

One other person completed this guide.

Cameron Smith

Member since: 03/17/22

400 Reputation

2 Guides authored

Team

Colorado Fixers Member of Colorado Fixers

Community

1 Member

2 Guides authored

0 Comments

Add Comment

View Statistics:

Past 24 Hours: 0

Past 7 Days: 1

Past 30 Days: 2

All Time: 475