
Creality Ender 3 Pro Screen Replacement

What you need

  1. Creality Ender 3 Pro Screen Replacement, Screen: step 1, image 1 of 2 Creality Ender 3 Pro Screen Replacement, Screen: step 1, image 2 of 2
    • Before beginning, unplug the printer.

  2. Creality Ender 3 Pro Screen Replacement: step 2, image 1 of 3 Creality Ender 3 Pro Screen Replacement: step 2, image 2 of 3 Creality Ender 3 Pro Screen Replacement: step 2, image 3 of 3
    • Detach the old screen by removing the screws (M3x8mm) holding it in place.

    • The screen is located on the right-hand side of the printer.

  3. Creality Ender 3 Pro Screen Replacement: step 3, image 1 of 3 Creality Ender 3 Pro Screen Replacement: step 3, image 2 of 3 Creality Ender 3 Pro Screen Replacement: step 3, image 3 of 3
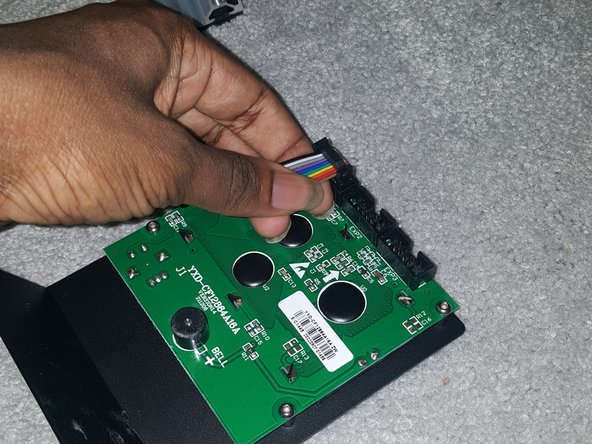
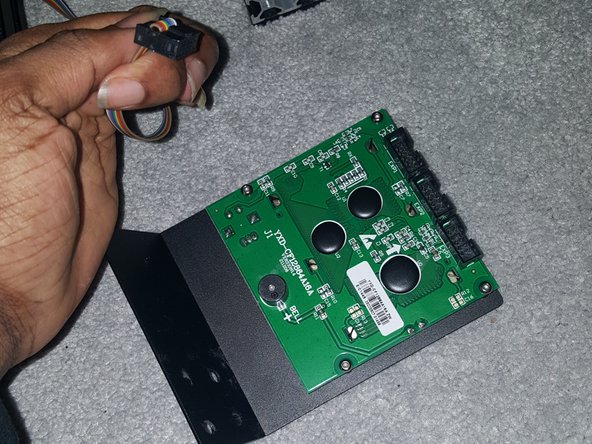
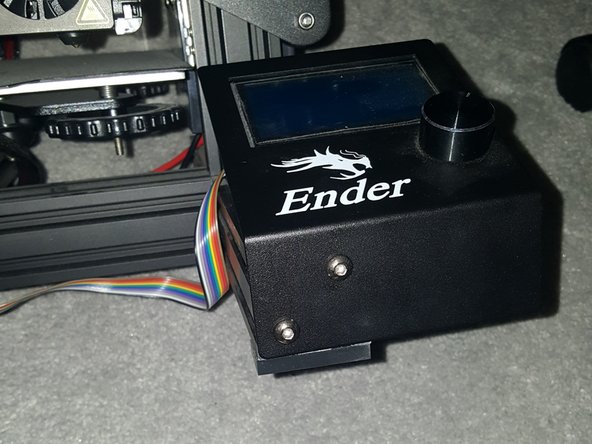
    • Carefully disconnect the cables connecting the old screen to the circuit board.

  4. Creality Ender 3 Pro Screen Replacement: step 4, image 1 of 2 Creality Ender 3 Pro Screen Replacement: step 4, image 2 of 2
    • Attach the cables to the new screen, ensuring they are properly seated.

    • Double-check the labels to make sure you connect them correctly.

  5. Creality Ender 3 Pro Screen Replacement: step 5, image 1 of 3 Creality Ender 3 Pro Screen Replacement: step 5, image 2 of 3 Creality Ender 3 Pro Screen Replacement: step 5, image 3 of 3
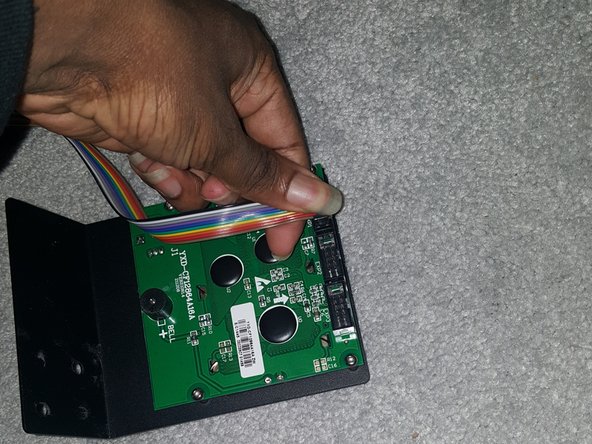
    • Secure the new screen in place using the screws (M3x8mm) you removed earlier.

  6. Creality Ender 3 Pro Screen Replacement: step 6, image 1 of 2 Creality Ender 3 Pro Screen Replacement: step 6, image 2 of 2
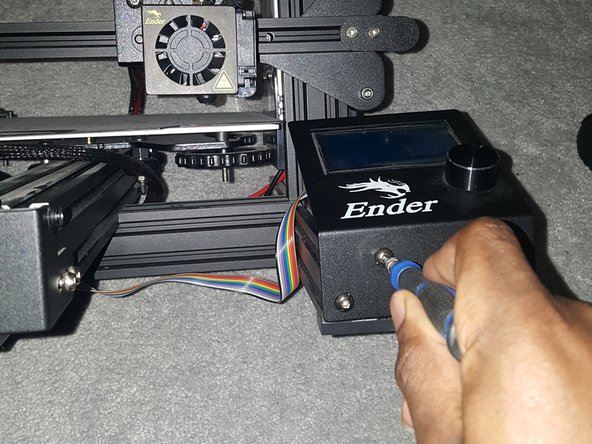
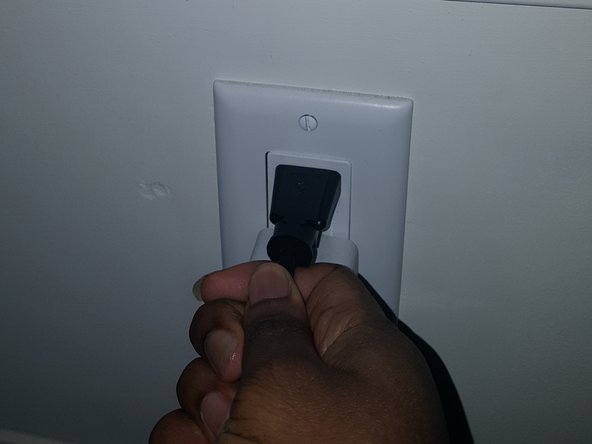
    • Plug in the printer and power it on. Test the new screen to make sure it's functioning correctly.

    • This might involve updating the software.

Conclusion

Enjoy your new screen!

Emmanuel Oni

Member since: 01/16/23

138 Reputation

1 Guide authored

0 Guide Comments

Add Comment

View Statistics:

Past 24 Hours: 2

Past 7 Days: 16

Past 30 Days: 47

All Time: 614