Introduction
To access any of the internal components of the Connect Four Electronic Handheld, you will need to remove the back casing.
What you need
-
-
Make sure the Connect Four Electronic Handheld is off by allowing it to shut off automatically.
 Ask FixBot
-
-
-
-
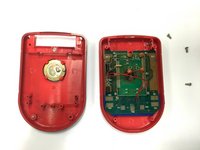
Using a Phillips head screwdriver, remove the (9.1mm length) #2 screw in the middle of the battery casing.
-
Slide the cover off and remove the battery.
-
-
-
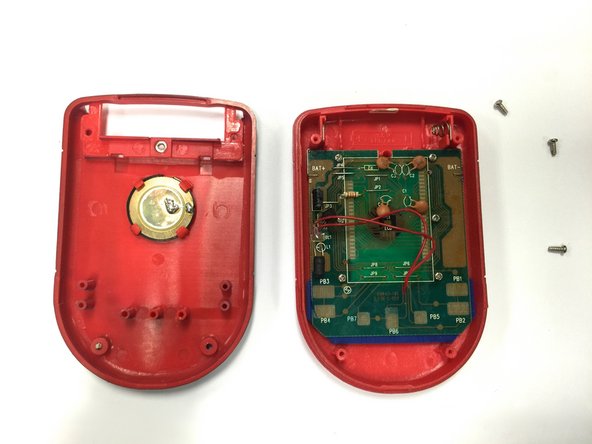
Using a Phillips head screwdriver, remove the four (7.1mm- length) #3 screws that hold the back casing in place.
-
Carefully remove the back casing.
-


To reassemble your device, follow these instructions in reverse order.
Team

Baylor, Team 8-11, Williams Fall 2014 Member of Baylor, Team 8-11, Williams Fall 2014
BU-WILLIAMS-F14S8G11
3 Members
12 Guides authored