Free Shipping on Domestic Orders $75+

Conduit Attachment

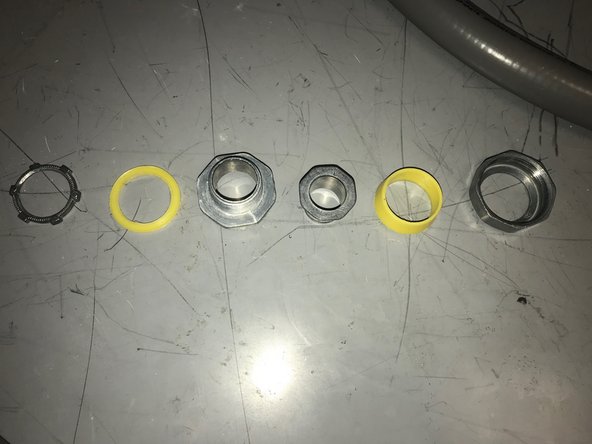
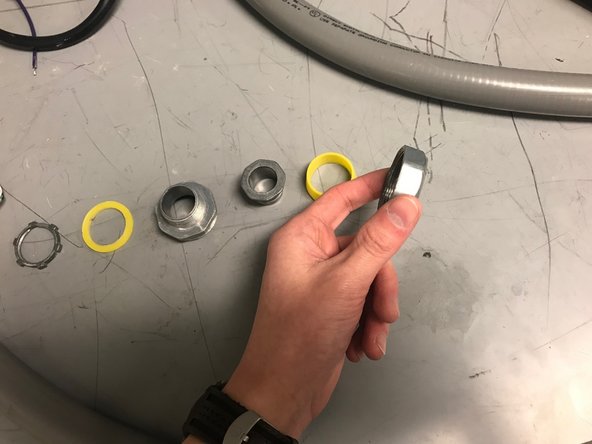
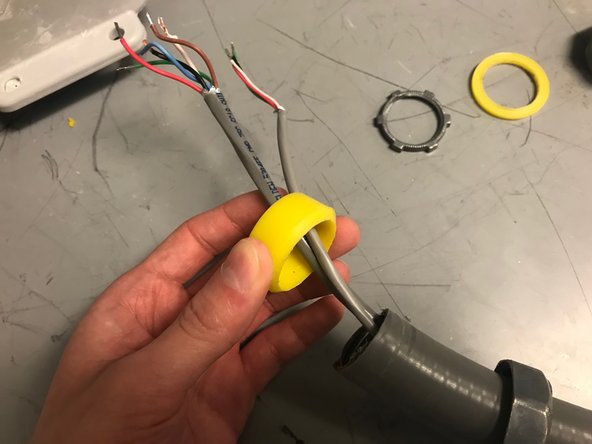
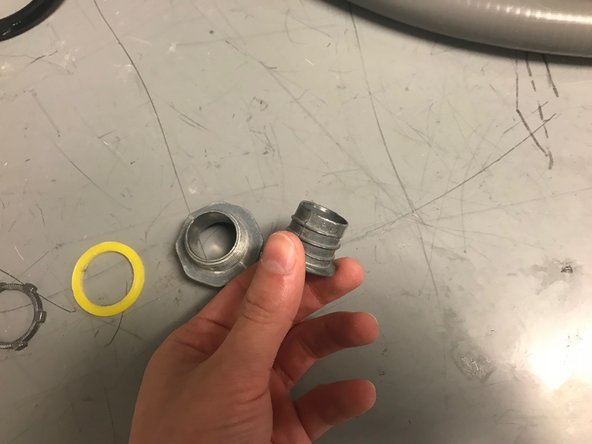
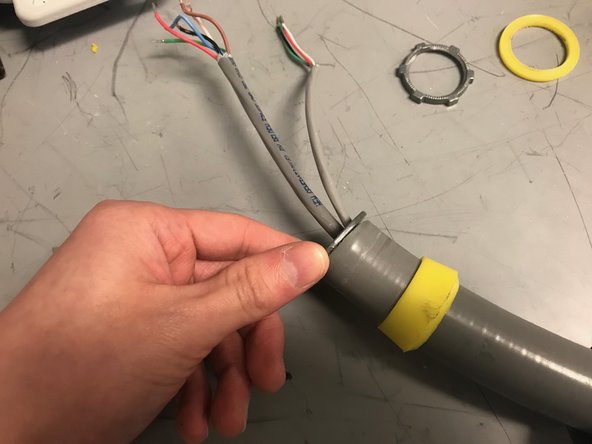
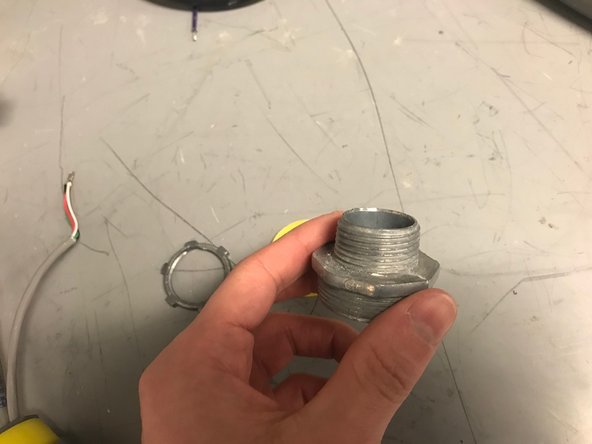
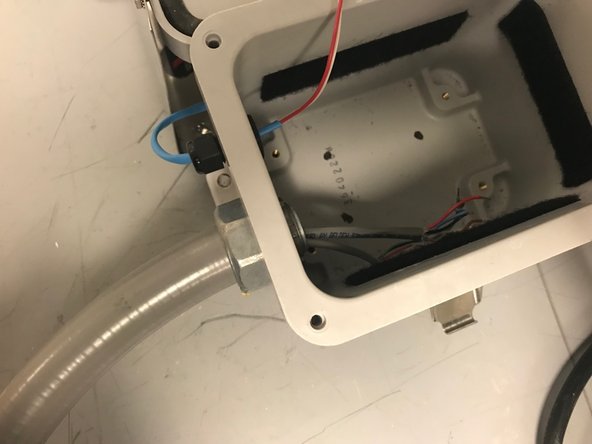
    1. Conduit Attachment, Parts Overview: step 1, image 1 of 2 Conduit Attachment, Parts Overview: step 1, image 2 of 2
      • The parts depicted are the attachment pieces you should have (in addition to the conduit)

      Ask FixBot

      Add Comment

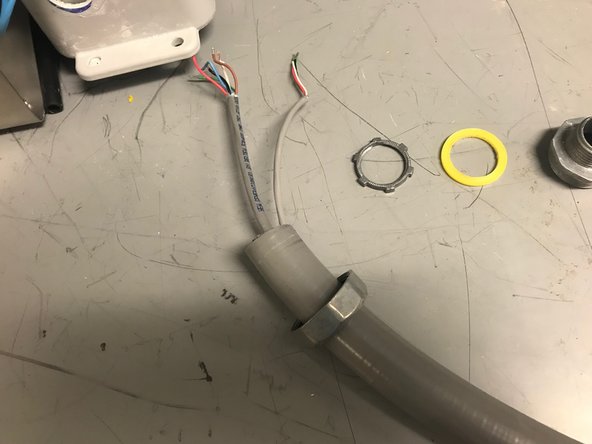
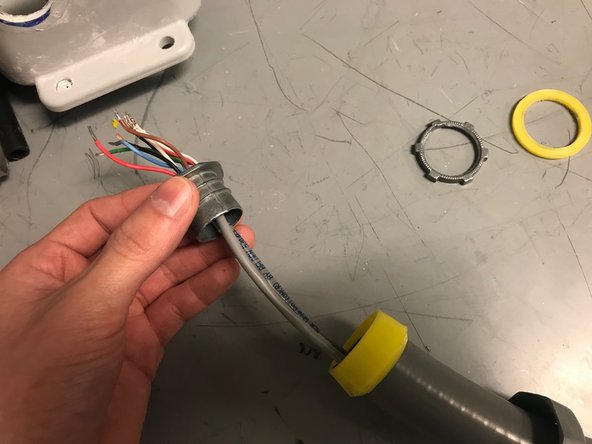
    2. Conduit Attachment, Cover Piece: step 2, image 1 of 3 Conduit Attachment, Cover Piece: step 2, image 2 of 3 Conduit Attachment, Cover Piece: step 2, image 3 of 3
      • Pull the cover over the conduit and the wires

      Ask FixBot

      Add Comment

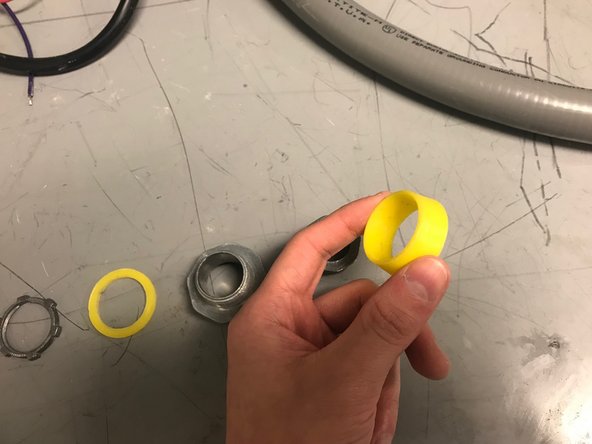
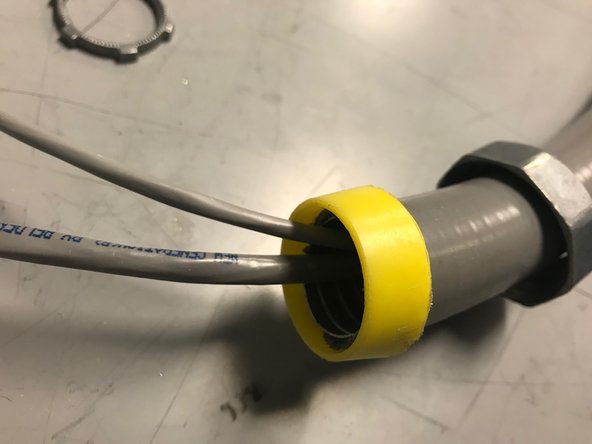
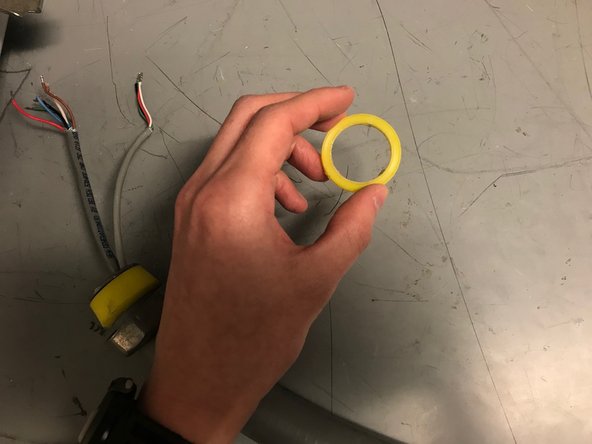
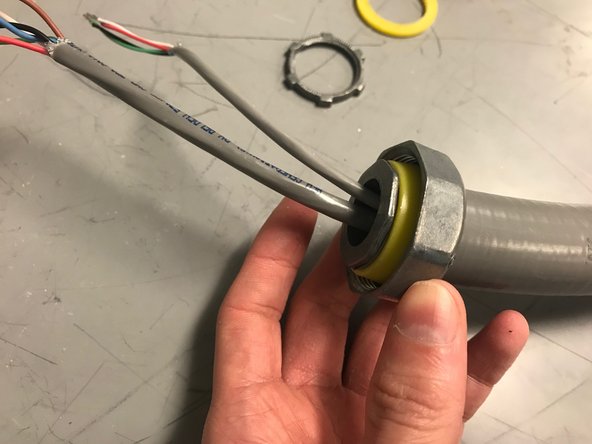
    3. Conduit Attachment, Outer Yellow Seal: step 3, image 1 of 3 Conduit Attachment, Outer Yellow Seal: step 3, image 2 of 3 Conduit Attachment, Outer Yellow Seal: step 3, image 3 of 3
      • Pull the outer yellow seal over the wires and the conduit

      • The end with the ridge should be pulled down first (i.e. that end will be closer to the cover)

      Ask FixBot

      Add Comment

    4. Conduit Attachment, The Screw Piece: step 4, image 1 of 3 Conduit Attachment, The Screw Piece: step 4, image 2 of 3 Conduit Attachment, The Screw Piece: step 4, image 3 of 3
      • Pull this piece over the wires and then screw it into the conduit

      Ask FixBot

      Add Comment

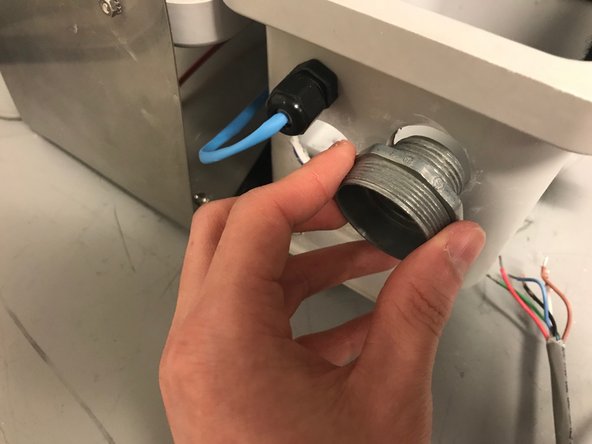
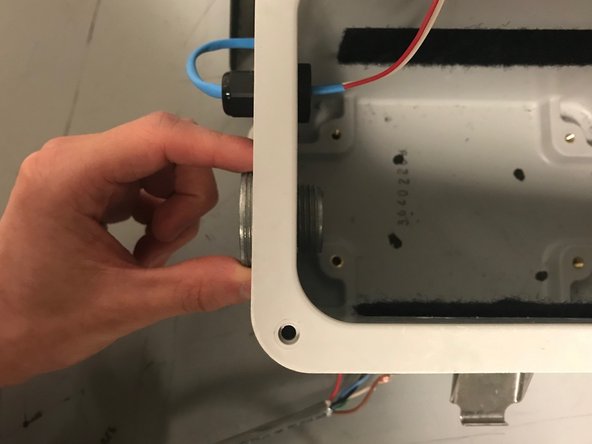
    5. Conduit Attachment, Connector Piece: step 5, image 1 of 3 Conduit Attachment, Connector Piece: step 5, image 2 of 3 Conduit Attachment, Connector Piece: step 5, image 3 of 3
      • Put the connector piece into the node (may have to hold it in place for the subsequent steps)

      Ask FixBot

      Add Comment

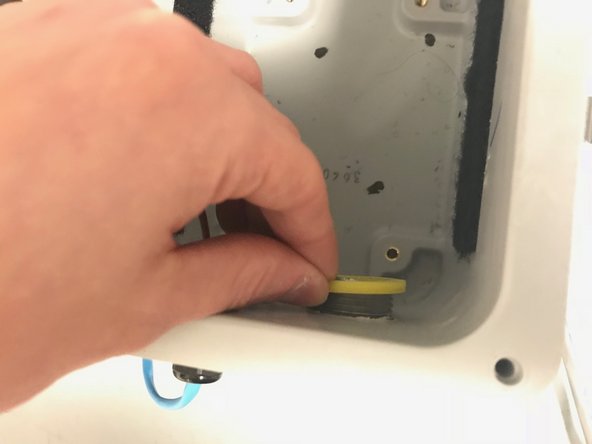
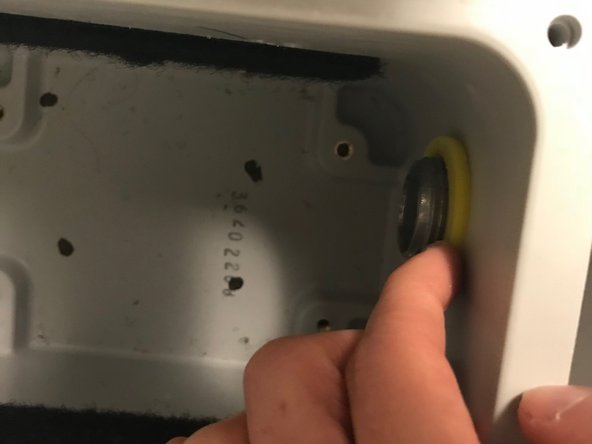
    6. Conduit Attachment, Inner Yellow Seal: step 6, image 1 of 3 Conduit Attachment, Inner Yellow Seal: step 6, image 2 of 3 Conduit Attachment, Inner Yellow Seal: step 6, image 3 of 3
      • Pull the yellow seal over the inside of the connector piece

      Ask FixBot

      Add Comment

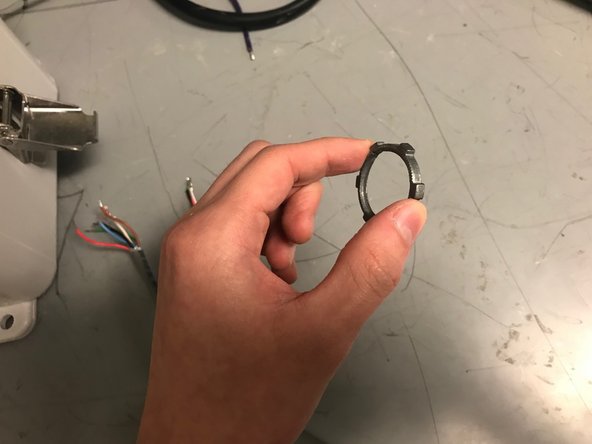
    7. Conduit Attachment, Tightener Piece: step 7, image 1 of 3 Conduit Attachment, Tightener Piece: step 7, image 2 of 3 Conduit Attachment, Tightener Piece: step 7, image 3 of 3
      • Screw the tightener piece onto the connector

      Ask FixBot
      Add Comment

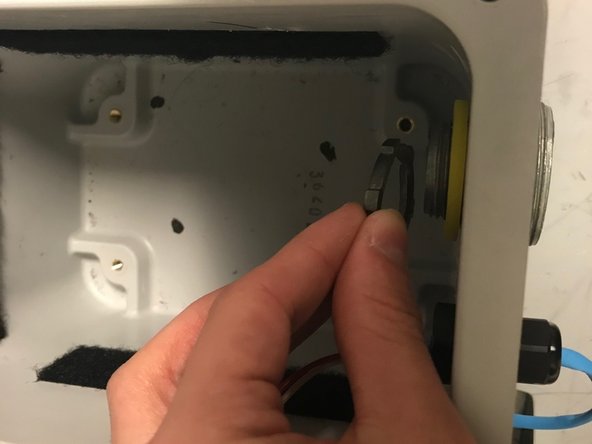
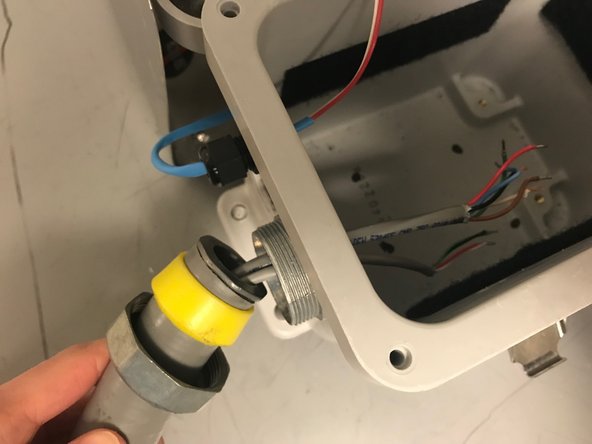
    8. Conduit Attachment, Putting it All Together: step 8, image 1 of 3 Conduit Attachment, Putting it All Together: step 8, image 2 of 3 Conduit Attachment, Putting it All Together: step 8, image 3 of 3
      • Pull the wires through the connector piece and then screw the conduit onto the connector

      Ask FixBot
      Add Comment

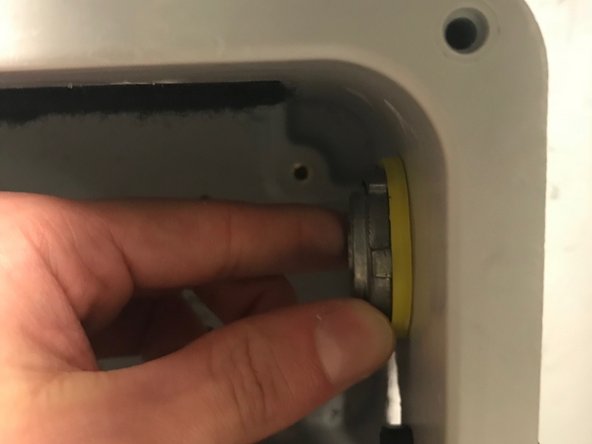
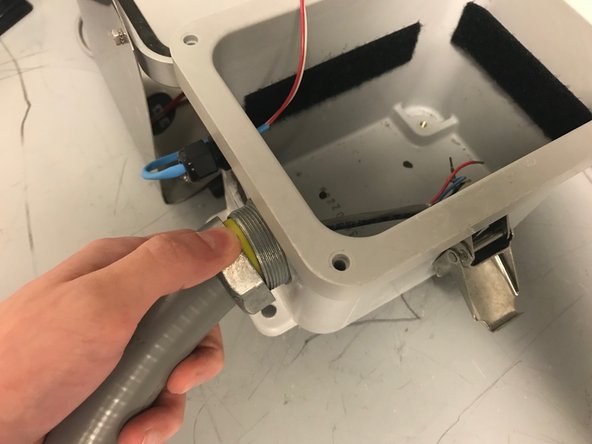
    9. Conduit Attachment, Final Overview: step 9, image 1 of 1
      • This is how it should look after everything is connected

      Ask FixBot
      Add Comment

Conclusion

To reassemble your device, follow these instructions in reverse order.

Cancel: I did not complete this guide.
Nicholas Jeng

Member since: 01/16/18

529 Reputation

3 Guides authored

0 Guide Comments

Add Comment
View Statistics:

Past 24 Hours: 2

Past 7 Days: 11

Past 30 Days: 52

All Time: 220