Introduction
Concrete retrofit example video - https://drive.google.com/file/d/1kCyuPfD...
-
-
-
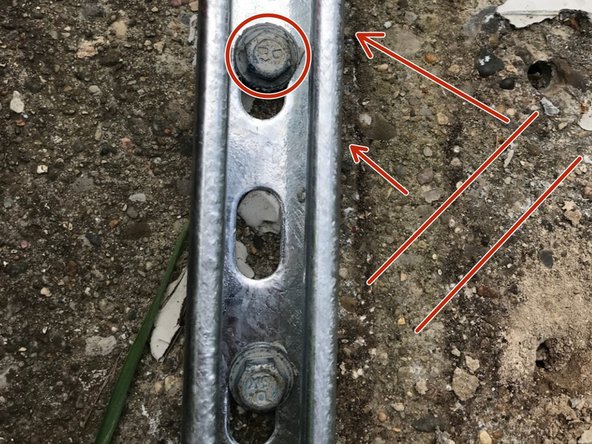
Drill 2 pilot holes for the tapcons using a 5/16” masonry bit in the concrete drill set to the impact setting Ref: How do I determine the size of bit needed for my Tapcon® screw?For a 3” long, ⅜” diameter tapcon, the 5/16” diameter pilot hole must be at least 4” deep
 Ask FixBot
-
-
-
node holder slides into telespar attached to cantilever by a winged strut channel connector
-
-
-
measure the distance from the top of the cantilever to the bottom of the sensor cone.
-
when the node is surveyed we will get the altitude of the top of the cantilever. we need this measurement to connect survey elevations to water surface elevations
-
-
-
-
assuming a flat surface you can avoid having to hold the node up while the tapcon is being drilled by having most of it rest on the surface
-
-
-
try to avoid drilling and removing tapcons multiple times as this can reduce the pull strength
-
-
-
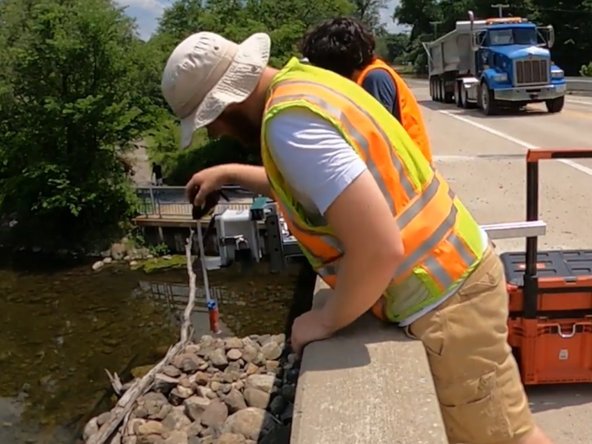
measure the distance from the top of the cantilever to the water bottom
-
the bed may be mucky or current may be strong. having a team member in waders in the water body can help if it's safe to do so.
-
-
-
take 6+ pictures showing the node from multiple angles and capturing the node ID sticker
-
update any applicable fields in AirTable (or other asset management tool)
-
make sure node ID is visible in at least two pictures
-
-



alternate reference - New Concrete Install - Google Docs

