Free Shipping on Domestic Orders $75+

Conair Infiniti Pro Model 259NP Back Panel Replacement

What you need

    1. Conair Infiniti Pro Model 259NP Back Panel Replacement, Back Panel: step 1, image 1 of 1
      • Caution: Unplug the hair dryer before attempting this guide. Leaving the device plugged in may result in electrocution and damage to the device.

      • Hold the hair dryer by the handle so that the back panel faces up.

      Ask FixBot

      Add Comment

    2. Conair Infiniti Pro Model 259NP Back Panel Replacement: step 2, image 1 of 2 Conair Infiniti Pro Model 259NP Back Panel Replacement: step 2, image 2 of 2
      • Remove the two 15.875 mm Phillips #2 screws from the back panel.

      Ask FixBot

      Add Comment

    3. Conair Infiniti Pro Model 259NP Back Panel Replacement: step 3, image 1 of 3 Conair Infiniti Pro Model 259NP Back Panel Replacement: step 3, image 2 of 3 Conair Infiniti Pro Model 259NP Back Panel Replacement: step 3, image 3 of 3
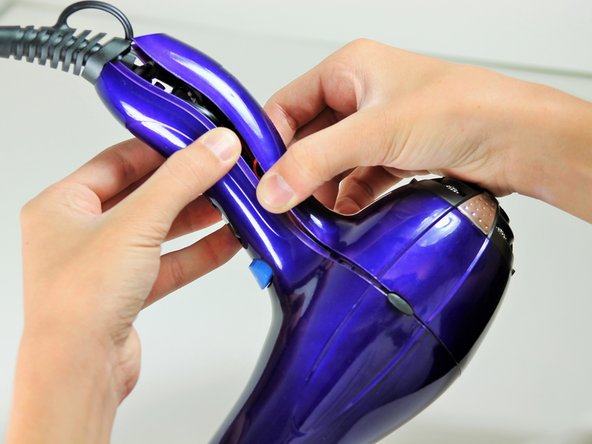
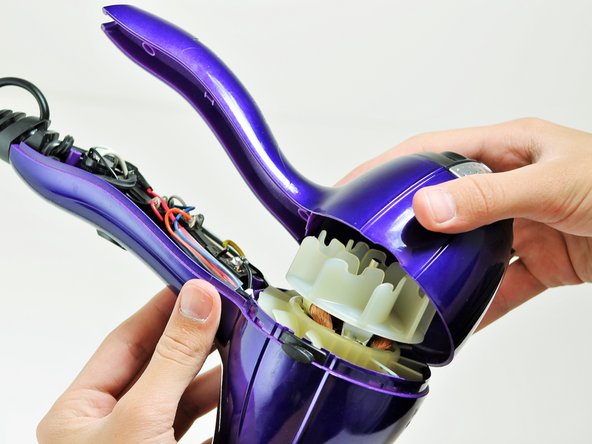
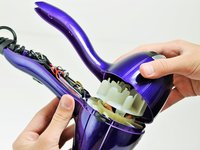
      • Starting from where the cord attaches to the handle, pull apart the two plastic panels.

      • Continue separating the back panel, working along the seam.

      • With moderate force, completely remove the back panel from the hair dryer.

      Ask FixBot

      Add Comment

Conclusion

To reassemble your device, follow these instructions in reverse order.

Cancel: I did not complete this guide.

6 other people completed this guide.

Timothy Lo

Member since: 04/22/14

1,214 Reputation

7 Guides authored

Team

Cal Poly, Team 10-58, Amido Spring 2014 Member of Cal Poly, Team 10-58, Amido Spring 2014

CPSU-AMIDO-S14S10G58

4 Members

14 Guides authored

0 Guide Comments

Add Comment

View Statistics:

Past 24 Hours: 1

Past 7 Days: 7

Past 30 Days: 40

All Time: 7,107