Introduction
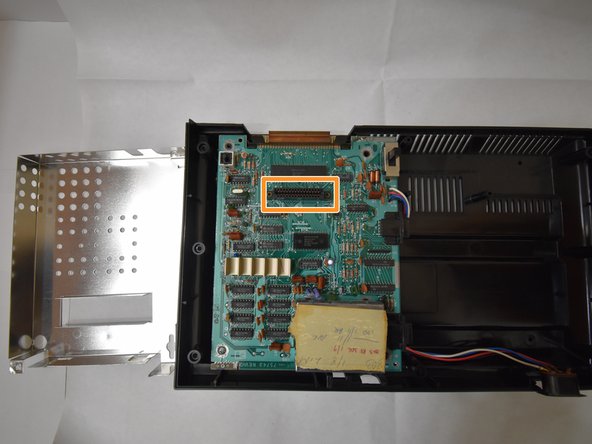
The purpose of this guide is to communicate steps on how to replace or repair the cartridge reader on a ColecoVision.
What you need
-
-
-
Flip the console upside down and remove the eight 15mm Phillips #1 screws.
 Ask FixBot
-
-
-
Use the metal spudger along the bottom rim of the front panel to safely remove the top of the console. Set aside the top.
-
-
-
-
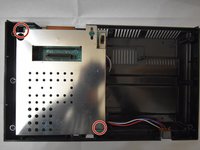
Remove the two 15mm Phillips #1 screws holding the casing in place.
-
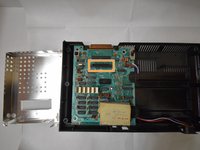
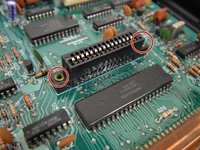
Remove the casing to reveal the cartridge reader.
-
-
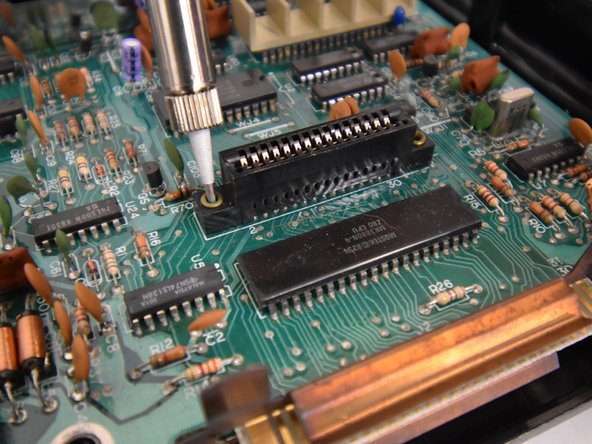
Tool used on this step:Desoldering Pump$3.99
-
Desolder the sides of the cartridge reader using the soldering iron and desolder pump.
-
Patiently wait for the cartridge reader to cool down after being desoldered.
-
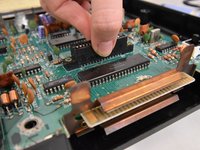
Carefully lift up the cartridge reader. A plastic spudger might be helpful in order to easily remove the cartridge reader.
-
-


To reassemble your device, follow these instructions in reverse order.
Team

UW Tacoma, Team S1-G2, Rose Fall 2018 Member of UW Tacoma, Team S1-G2, Rose Fall 2018
UWT-ROSE-F18S1G2
4 Members
66 Guides authored
2 Guide Comments
If you’re removing the rivets holding the cartridge slot in place, it would be nice if you would mention what you did to secure the slot to the board after swapping the slot. I’m going to Lowe’s hardware and I will make a decent selection when I get there . I think I will be fine but it would nice to be able to have a specific size and length of screw to look for. Thanks!