Introduction
Drawers are very important items in a household. They are used for holding various items. Overtime, drawers can become old and worn down. This leads them to stop working properly, jamming or not closing and opening smoothly.
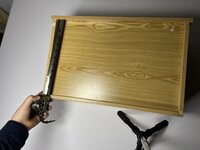
This guide will show you how to replace metal drawer slides, specifically on a coffee table.
IMPORTANT! Before proceeding:
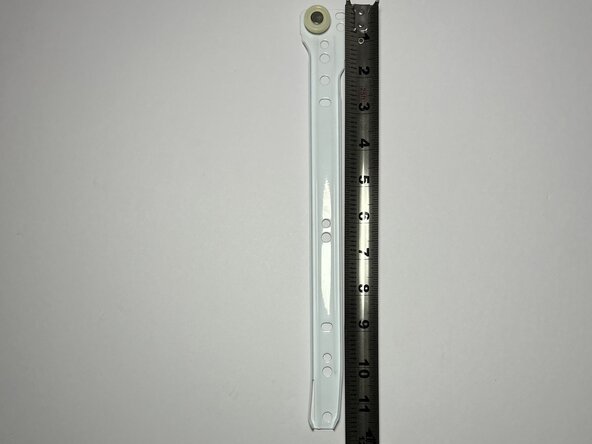
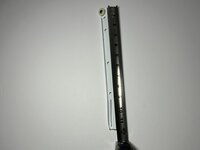
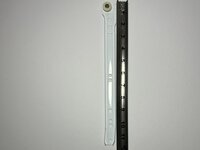
- Make sure to measure the old drawer slides and the drawer insertion to have the correct size for the new metal drawer slides
- Make sure to have the correct size screwdriver and/or drill bit/bits
Replacing drawer slides is an easy and effective process. This can save people time and money instead of replacing the whole drawer itself or a whole item that contains a drawer.
What you need
-
-
Make sure to empty the drawer completely before starting the replacement process.
 Ask FixBot
-
-
-
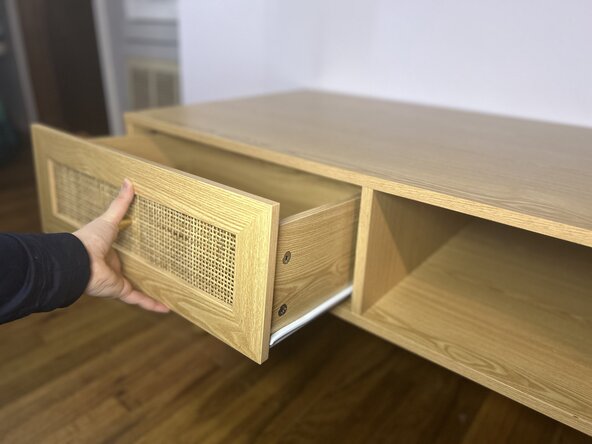
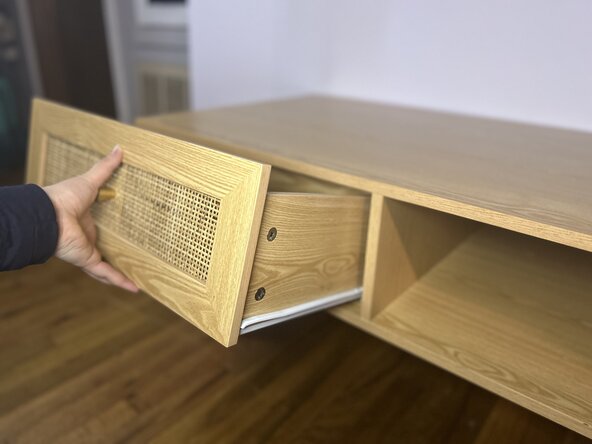
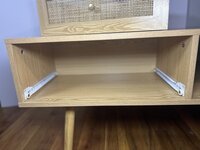
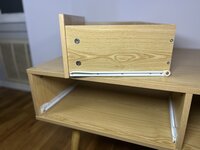
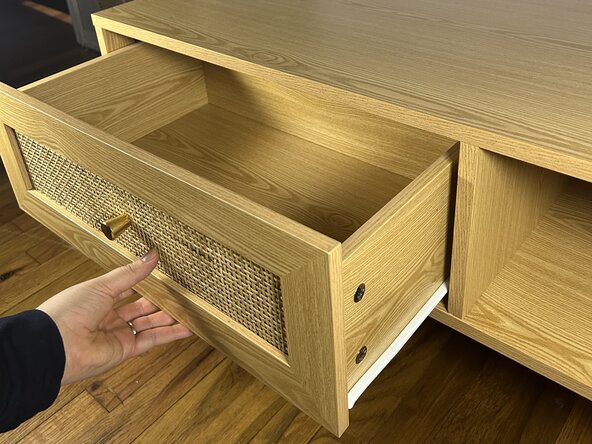
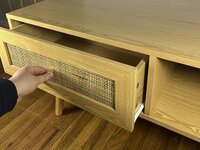
Remove the drawer carefully by pulling it out and slowly lifting it upwards until it is out.
-
-
-
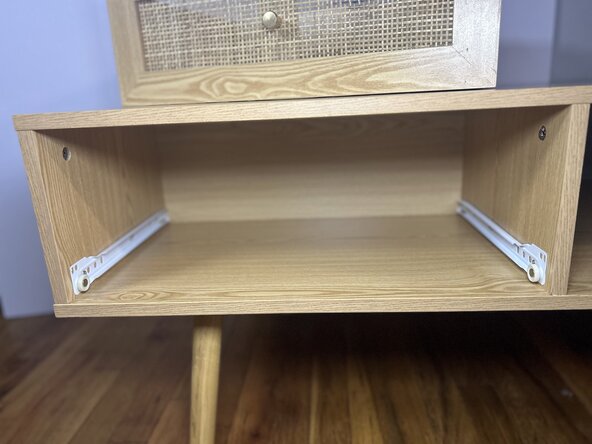
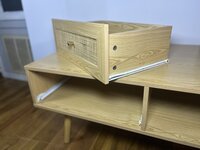
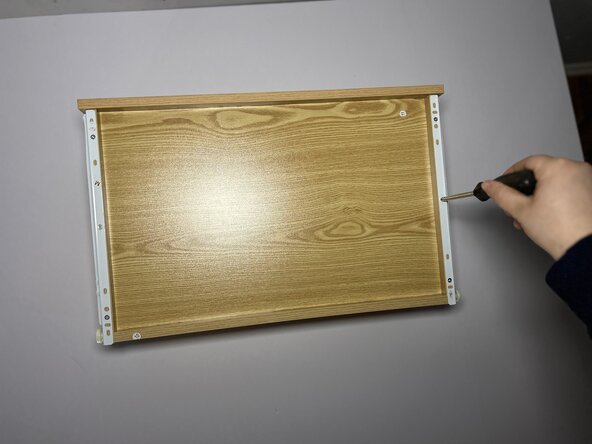
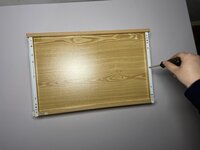
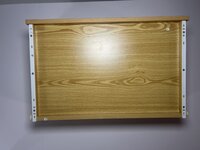
The drawer and drawer insertion should now look like this when the drawer is out completely.
-
-
-
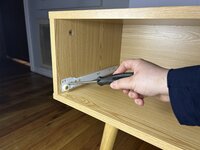
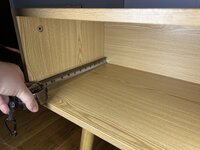
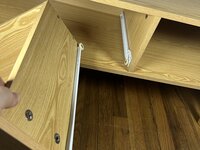
Remove the old gliders by taking the screwdriver and turning it counterclockwise (to the left) until the screw is completely out.
-
-
-
-
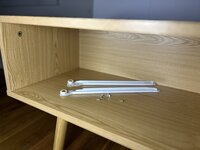
Measure the drawer and the drawer insertion and make sure that the new drawer slides will fit before proceeding to the next step.
-
-
-
If applicable, make new markings with the pencil if there needs to be new holes made for the new drawer slides.
-
-
-
Make sure everything is lined up nice and neatly.
-
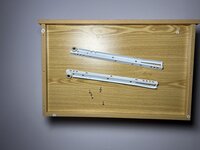
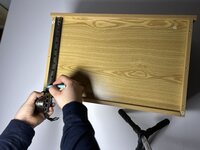
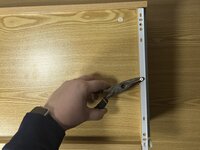
Proceed to screw on the new slides by turning clockwise (to the right) and make sure they are nice and screwed in completely.
-
-
-
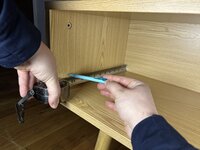
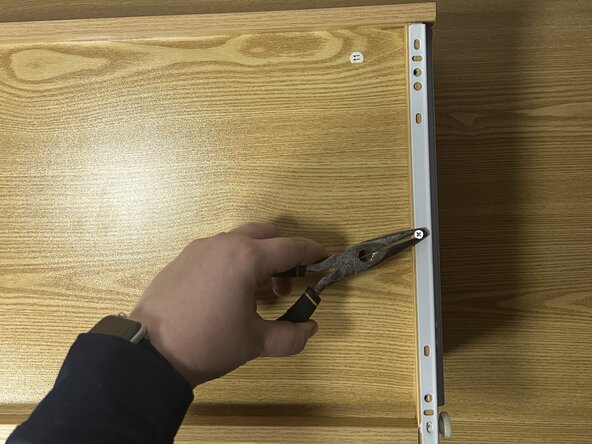
If applicable, take the pliers and use them to help place the screw in place for screwing.
-
-
-
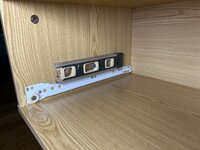
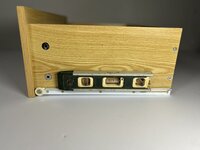
Use the level and make sure the drawer slides are level before proceeding to the next step.
-
-
-
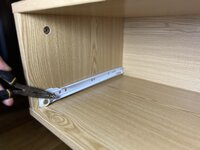
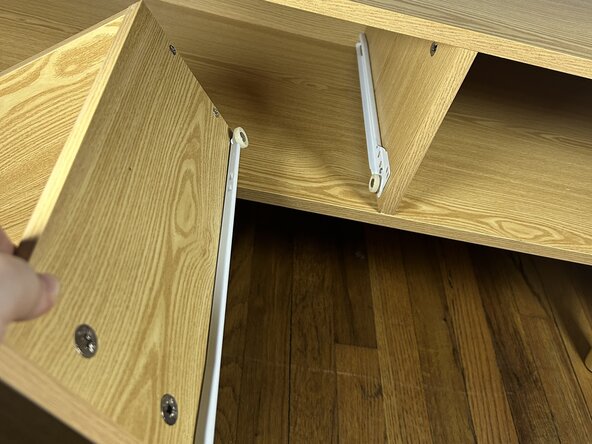
Put the drawer back into the drawer insertion by aligning the wheels of each drawer slide.
-
Insert at an angle while slowly pushing the drawer downwards until it is completely in.
-


Cancel: I did not complete this guide.
One other person completed this guide.
