Clothes Iron Heating Element Replacement

What you need

  1. Clothes Iron Heating Element Replacement, Heating elements: step 1, image 1 of 1
    • Plug in the iron box and electric cord and bottom surface if the iron heats up or not.

  2. Clothes Iron Heating Element Replacement: step 2, image 1 of 1
    • Switch off/disconnect iron box and let cool before starting the repair

    • Make sure you disconnect the appliance before starting the repair.

  3. Clothes Iron Heating Element Replacement: step 3, image 1 of 1
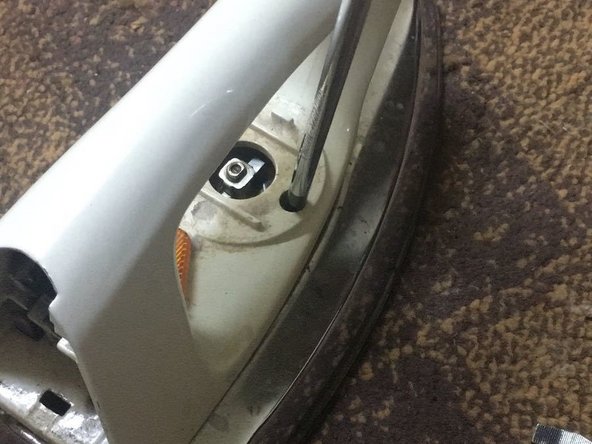
    • Use the screwdriver to remove the cover panel of the iron box

  4. Clothes Iron Heating Element Replacement: step 4, image 1 of 1
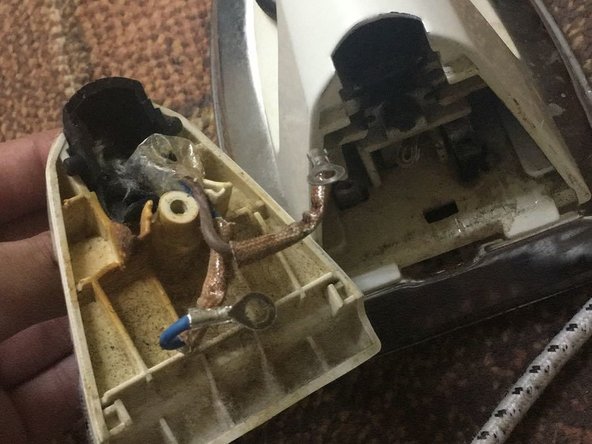
    • Check the power cord and the wiring inside the iron box and replace it with a new one if they are damaged.

  5. Clothes Iron Heating Element Replacement: step 5, image 1 of 1
    • Remove the nuts that connects the wiring and the power cord inside the iron.

  6. Clothes Iron Heating Element Replacement: step 6, image 1 of 1
    • . Rub off the stain with a soft cloth or a tooth brush if it got any to allow electric current to pass through.

  7. Clothes Iron Heating Element Replacement: step 7, image 1 of 2 Clothes Iron Heating Element Replacement: step 7, image 2 of 2
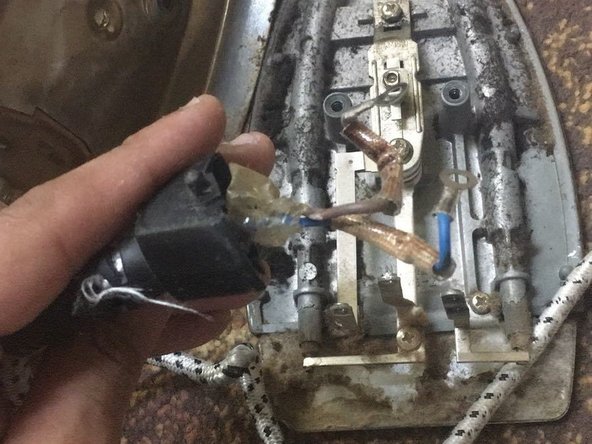
    • Use the screwdriver to remove the screws holding the iron box thermostat.

  8. Clothes Iron Heating Element Replacement: step 8, image 1 of 1
    • Replace the old thermostat with a new one.

Conclusion

To reassemble your device, follow these instructions in reverse order

4 other people completed this guide.
2 Comments

The backwards "RU" on the old thermostat means it is a UL tested device ('recognized'). You should replace it with a UL tested device.

john_banks_leonard - Reply

My iron box not working I tried

Venkat - Reply

Add Comment

View Statistics:

Past 24 Hours: 1

Past 7 Days: 19

Past 30 Days: 76

All Time: 6,475