This translation was generated by a machine and has not been reviewed by a person yet. Speak this language? Review it.
What you need
-
-
-
A minor problem arises when opening the device, as you actually need a special screwdriver for the four screws on the bottom. However, it also works with a small flat-head screwdriver (I replaced the screws with Phillips screws when reassembling).
 Ask FixBot
-
-
-
-
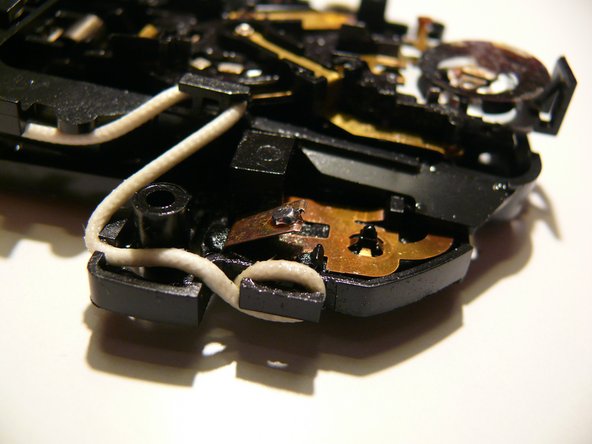
The switching element is secured with a screw. Release it and pull the part upward to remove it (it is a bit stiff). On the underside, you can see two contacts that press against the wires of the heating element when assembled. In my case, one of these contacts was burnt out. Unfortunately, I do not have a photo of that.
-
-
-
Clean the damaged contact and apply a solder spot to the affected area. The photo shows what it looks like after the repair. You can then reassemble everything and it should work again.
-
-


Follow the steps in reverse order to reassemble your device.

