Free Shipping on Domestic Orders $75+

Classique 087CQA Switches Replacement

What you need

    1. Classique 087CQA Switches Replacement, Switches: step 1, image 1 of 1
      • Begin with the side with switches

      Ask FixBot

      Add Comment

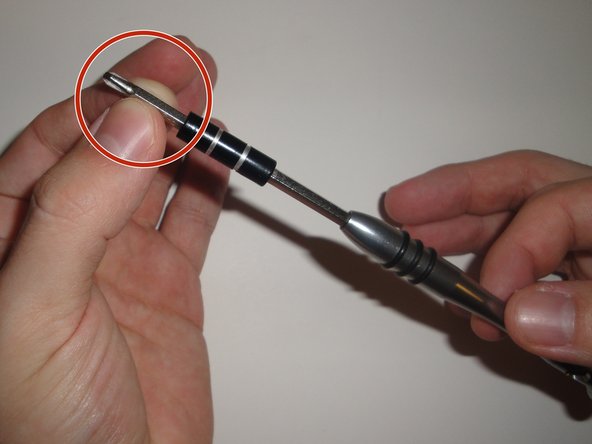
    2. Classique 087CQA Switches Replacement: step 2, image 1 of 2 Classique 087CQA Switches Replacement: step 2, image 2 of 2
      • Remove the Phillips PH0 bit

      • Insert the bit into the screwdriver

      Ask FixBot

      Add Comment

    3. Classique 087CQA Switches Replacement: step 3, image 1 of 1
      • Unscrew the shell screw (1) with the screwdriver

      • 5mm Phillips flat-head screw

      Ask FixBot

      Add Comment

    4. Classique 087CQA Switches Replacement: step 4, image 1 of 1
      • Flip the hair dryer over to the side without switches

      Ask FixBot

      Add Comment

    5. Classique 087CQA Switches Replacement: step 5, image 1 of 1
      • Unscrew the shell screw (1) with the screw driver

      • 5mm Phillips flat-head screw

      Ask FixBot

      Add Comment

    6. Classique 087CQA Switches Replacement: step 6, image 1 of 2 Classique 087CQA Switches Replacement: step 6, image 2 of 2
      • Remove the bit from the screwdriver and insert the Phillips PH2 bit

      Ask FixBot

      Add Comment

    7. Classique 087CQA Switches Replacement: step 7, image 1 of 1
      • Unscrew the remaining shell screws (5) with the screwdriver

      • 15mm Phillips round-head screws

      Ask FixBot

      Add Comment

    8. Classique 087CQA Switches Replacement: step 8, image 1 of 2 Classique 087CQA Switches Replacement: step 8, image 2 of 2
      • Gently pull the two sides apart

      • Separate each side

      Ask FixBot

      Add Comment

    9. Classique 087CQA Switches Replacement: step 9, image 1 of 3 Classique 087CQA Switches Replacement: step 9, image 2 of 3 Classique 087CQA Switches Replacement: step 9, image 3 of 3
      • Pull up on the switches

      Ask FixBot

      Add Comment

    10. Classique 087CQA Switches Replacement: step 10, image 1 of 1
      • Verify wires are connected to each switch and are in good condition

      Ask FixBot

      Add Comment

    11. Classique 087CQA Switches Replacement: step 11, image 1 of 1
      • Reseat the switches

      Ask FixBot

      Add Comment

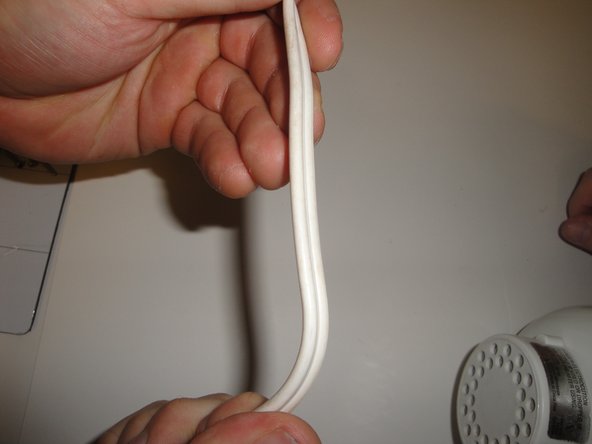
    12. Classique 087CQA Switches Replacement: step 12, image 1 of 3 Classique 087CQA Switches Replacement: step 12, image 2 of 3 Classique 087CQA Switches Replacement: step 12, image 3 of 3
      • Check power cord for tears or kinks

      Ask FixBot

      Add Comment

Conclusion

To reassemble your device, follow these instructions in reverse order.

Cancel: I did not complete this guide.

0 Guide Comments

Add Comment

View Statistics:

Past 24 Hours: 1

Past 7 Days: 5

Past 30 Days: 28

All Time: 798