Introduction
This guide will walk you through the necessary steps to replace either camera on the Chromo Noria. Make sure you've got all the necessary tools and a bit of time before beginning!
What you need
-
-
Insert your Plastic Opening Tool into the crease between the front panel and back panel.
-
Slide the Opening Tool around the entire device. As you progress, you should see the device open.
 Ask FixBot
-
-
-
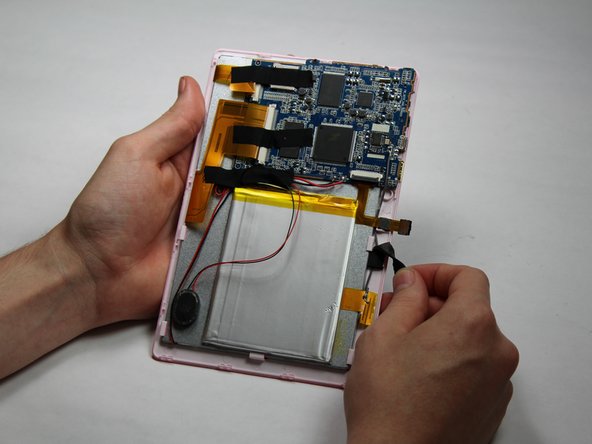
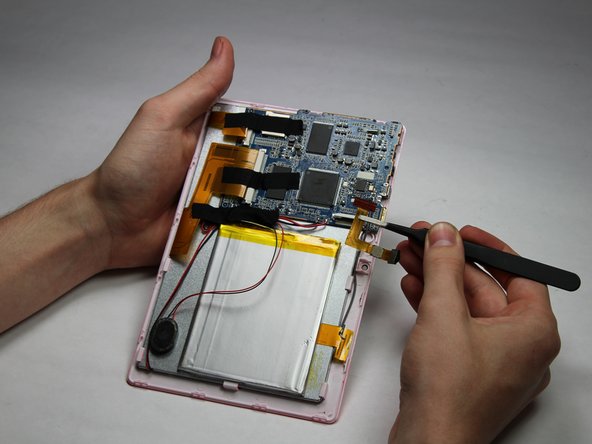
Carefully turn the device over.
-
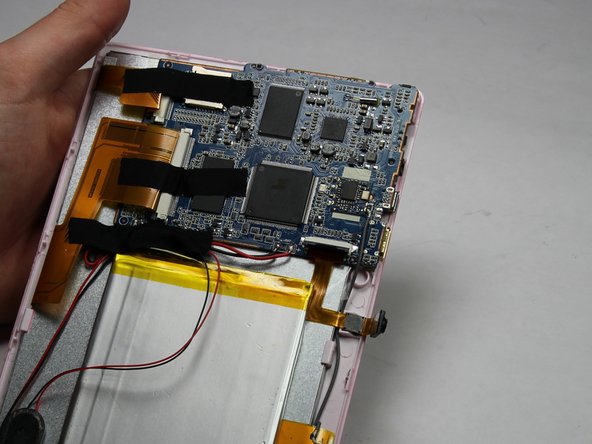
Lay the back panel aside so you can see the device's parts.
-
-
-
-
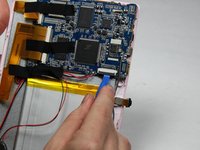
Using a small plastic opening tool, flip the black connector up until it makes "tick" sound.
-
Now, the flexing cable is ready to be removed.
-
-
Tool used on this step:Tweezers$4.99
-
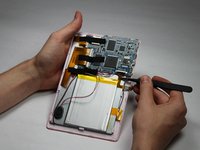
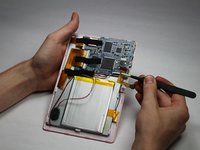
Using a pair of tweezers, hold the flexing cable right below the black connector.
-
Gently pull the flexing cable out of the connector while balancing the other side of the device with another hand.
-


To reassemble your device, follow these instructions in reverse order.
Team

Baylor, Team 5-6, Williams Fall 2016 Member of Baylor, Team 5-6, Williams Fall 2016
BU-WILLIAMS-F16S5G6
3 Members
12 Guides authored