This translation may not reflect the most recent updates from the source guide. Help update the translation or view the source guide.
Introduction
My Robot no longer detected its base. He came back, set up, but continued to move forward, even with the charging light on. He then left, had an erratic course and ended up going wrong.
See the behavior on the video
To confirm that the sensor is defective, use the optical barrier and ask the robot to do a cleaning. If it does not detect the optical barrier, the sensor is defective.
What you need
Video Overview
-
-
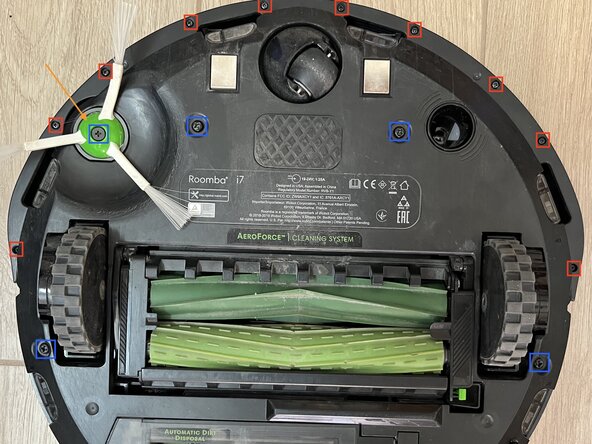
Remove the dust collector. Disassemble the 6 screws marked in blue. Then remove the brush spotted with the orange arrow. You can then remove the bottom of the robot
-
Remove the 10 screws marked in red. You can remove the bottom cover of the front "bumper".
-
-


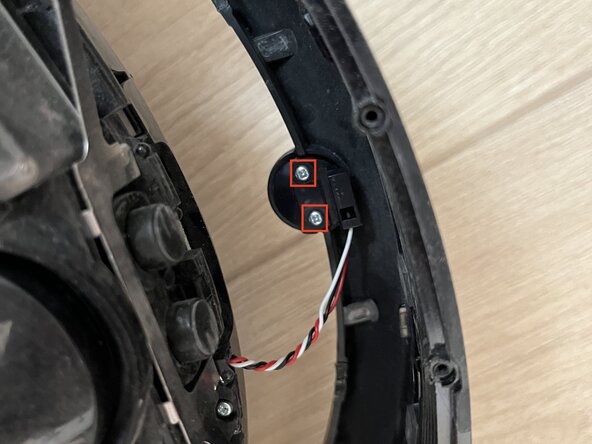


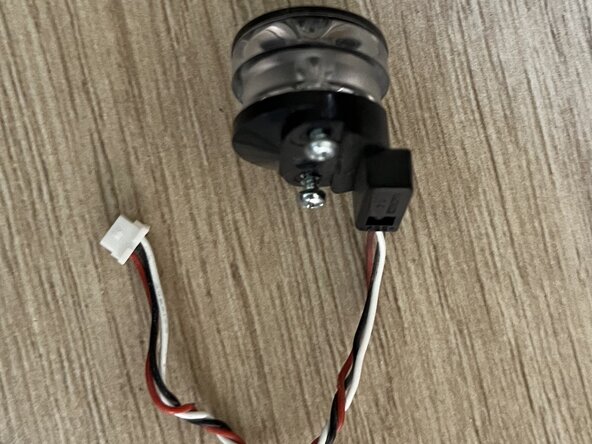
Mount the new sensor in the "bumper", connect it to its card
To reassemble your device, follow the instructions in reverse order.
Cancel: I did not complete this guide.
One other person completed this guide.
Special thanks to these translators:
75%
Steph is helping us fix the world! Want to contribute?
Start translating ›