Free Shipping on Domestic Orders $75+

Casio fx-82MS Teardown

What you need

    1. Casio fx-82MS Teardown, Remove Case Screws: step 1, image 1 of 3 Casio fx-82MS Teardown, Remove Case Screws: step 1, image 2 of 3 Casio fx-82MS Teardown, Remove Case Screws: step 1, image 3 of 3
      • Remove these screws.

      • 6x Philips #0

      Ask FixBot

      Add Comment

    2. Casio fx-82MS Teardown, Split the halves: step 2, image 1 of 3 Casio fx-82MS Teardown, Split the halves: step 2, image 2 of 3 Casio fx-82MS Teardown, Split the halves: step 2, image 3 of 3
      Tool used on this step:
      Tweezers
      $4.99
      Buy
      • Put the tweezers (in their closed state) into the indentations on the side of the calculator.

      • Slowly open the tweezers, to split the calculator into two halves.

      • On certain build batches of this calculator, glue was used to better hold the halves together. You might have to use a card to split the two pieces.

      Ask FixBot
      Add Comment

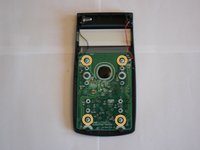
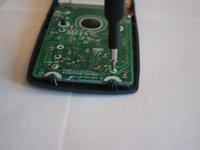
    3. Casio fx-82MS Teardown, Remove PCB Screws: step 3, image 1 of 2 Casio fx-82MS Teardown, Remove PCB Screws: step 3, image 2 of 2
      • Remove these screws:

      • 4x Philips #0

      Ask FixBot
      Add Comment

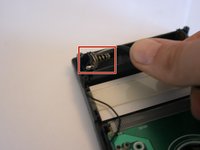
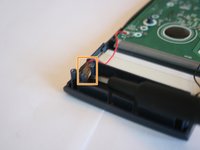
    4. Casio fx-82MS Teardown, Remove battery terminals from casing: step 4, image 1 of 2 Casio fx-82MS Teardown, Remove battery terminals from casing: step 4, image 2 of 2
      • Use a pair of tweezers to pull the connector out of its holder.

      • Use a screwdriver to lever the connector out of its housing.

      Ask FixBot

      Add Comment

    5. Casio fx-82MS Teardown, Remove PCB from case: step 5, image 1 of 3 Casio fx-82MS Teardown, Remove PCB from case: step 5, image 2 of 3 Casio fx-82MS Teardown, Remove PCB from case: step 5, image 3 of 3
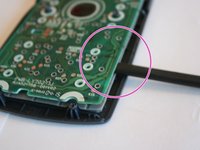
      • Insert a spudger in between the PCB and the rubber button holder.

      • Carefully remove the PCB and make sure not to damage the LCD ribbon cable.

      Ask FixBot

      Add Comment

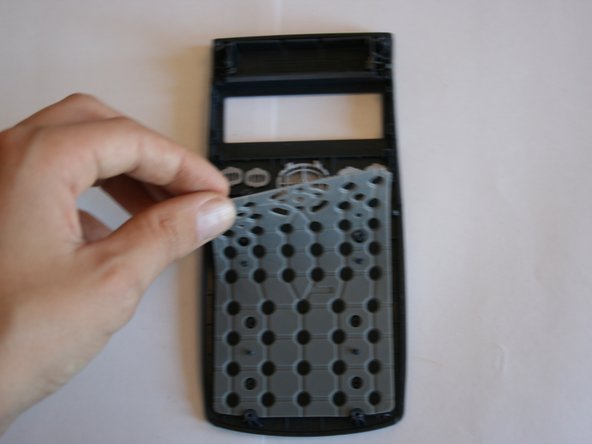
    6. Casio fx-82MS Teardown, Remove button holder: step 6, image 1 of 3 Casio fx-82MS Teardown, Remove button holder: step 6, image 2 of 3 Casio fx-82MS Teardown, Remove button holder: step 6, image 3 of 3
      • Peel off the rubber button holder starting in the top left corner.

      Ask FixBot

      Add Comment

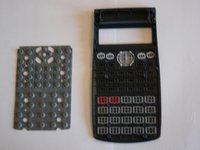
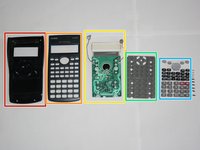
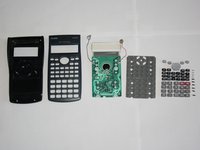
    7. Casio fx-82MS Teardown, Part List: step 7, image 1 of 2 Casio fx-82MS Teardown, Part List: step 7, image 2 of 2
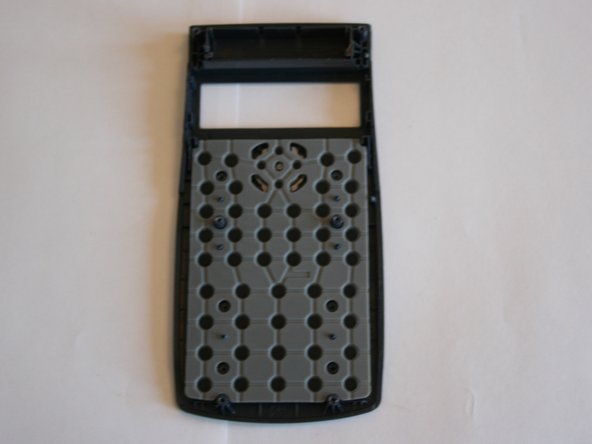
      • Back part of the case.

      • Front face of the case.

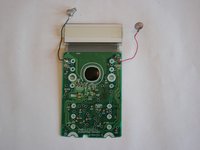
      • PCB with LCD and battery terminals.

      • Rubber button holder.

      • Buttons.

      Ask FixBot

      Add Comment

Finish Line

Cancel: I did not complete this guide.

15 other people completed this guide.

Luca Casonato

Member since: 05/18/17

506 Reputation

1 Guide authored

1 Guide Comment

I veganlover loved this guide although it isn’t vegan enough.

Alex Goodwin - Reply Share

Add Comment

View Statistics:

Past 24 Hours: 9

Past 7 Days: 55

Past 30 Days: 186

All Time: 12,537