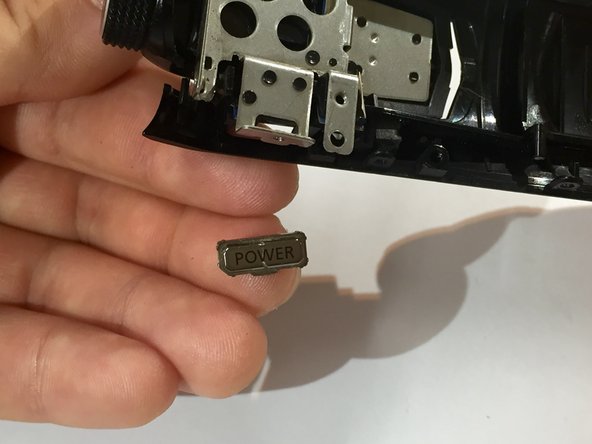
Canon Vixia HF S10 Camcorder Power Button Replacement

What you need

  1. Canon Vixia HF S10 Camcorder Power Button Replacement, Power Button: step 1, image 1 of 1
    • Turn the camcorder upside down.

    • Remove the three 3x4 mm Phillips screws securing from the black plastic case.

  2. Canon Vixia HF S10 Camcorder Power Button Replacement: step 2, image 1 of 3 Canon Vixia HF S10 Camcorder Power Button Replacement: step 2, image 2 of 3 Canon Vixia HF S10 Camcorder Power Button Replacement: step 2, image 3 of 3
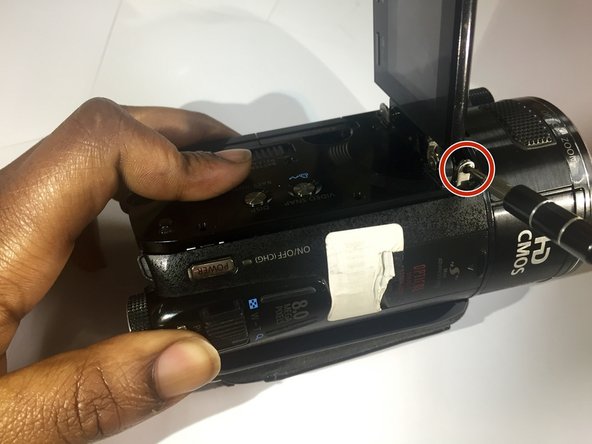
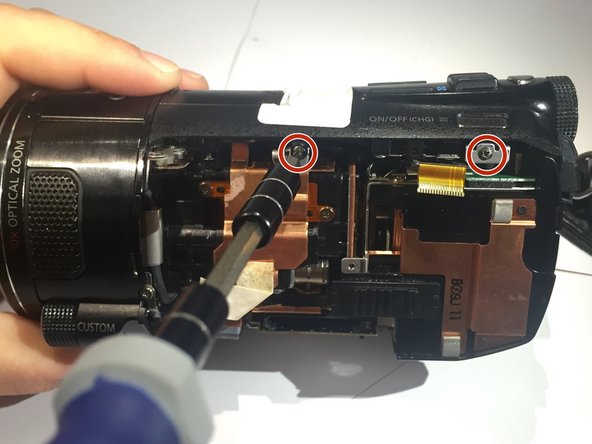
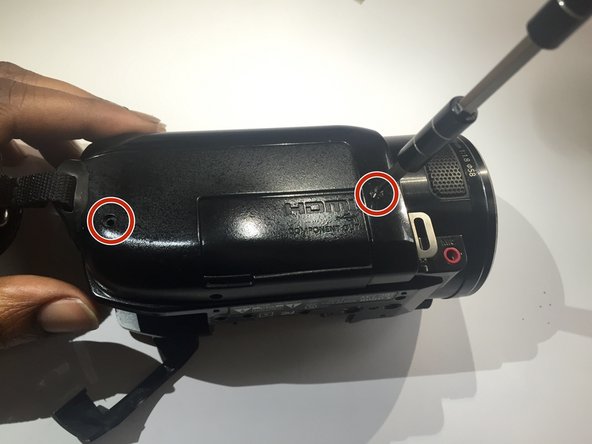
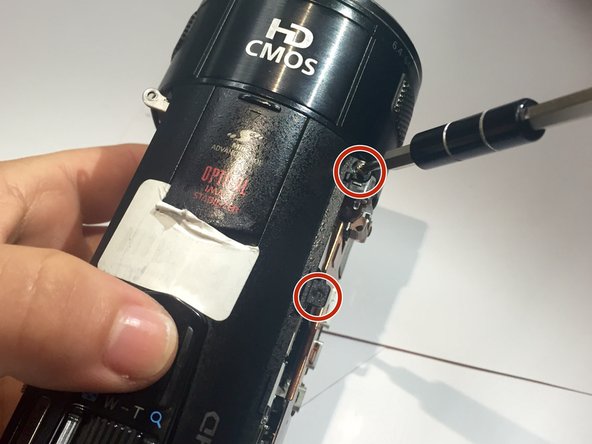
    • Open the LCD screen.

    • Remove the three 3x4 mm Phillips screws that hold the black panel plastic case together.

    • Remove the two 2x2.5 mm Phillips screws and the 3x4 mm Phillips screw from the inner corner between the panel and the LCD screen.

  3. Canon Vixia HF S10 Camcorder Power Button Replacement: step 3, image 1 of 2 Canon Vixia HF S10 Camcorder Power Button Replacement: step 3, image 2 of 2
    • Remove the black plastic covering with your fingers.

    • Underneath the covering, you will find a screw hinge.

    • Remove the 2x2.25 mm Phillips screw located at the top of the screw hinge.

  4. Canon Vixia HF S10 Camcorder Power Button Replacement: step 4, image 1 of 2 Canon Vixia HF S10 Camcorder Power Button Replacement: step 4, image 2 of 2
    • Using your fingers, remove the panel from the base of the camcorder.

    • Remove the two 1x2.5 mm Phillips screws.

  5. Canon Vixia HF S10 Camcorder Power Button Replacement: step 5, image 1 of 1
    • Turn the camcorder upside down.

    • Remove the four 2x2.25 mm Phillips screws.

  6. Canon Vixia HF S10 Camcorder Power Button Replacement: step 6, image 1 of 2 Canon Vixia HF S10 Camcorder Power Button Replacement: step 6, image 2 of 2
    • Turn the camcorder to the side and remove the strap.

    • Remove the two 1x2.5 mm Phillips screws.

  7. Canon Vixia HF S10 Camcorder Power Button Replacement: step 7, image 1 of 2 Canon Vixia HF S10 Camcorder Power Button Replacement: step 7, image 2 of 2
    • Using a plastic opening tool, pry off the side panel from the base of the camcorder.

    • Remove the two 2x2.5mm Phillips screws located at the top

  8. Canon Vixia HF S10 Camcorder Power Button Replacement: step 8, image 1 of 1
    • Remove the two 3x4 mm Phillips screws beneath the two covers (AV & DCIN).

  9. Canon Vixia HF S10 Camcorder Power Button Replacement: step 9, image 1 of 3 Canon Vixia HF S10 Camcorder Power Button Replacement: step 9, image 2 of 3 Canon Vixia HF S10 Camcorder Power Button Replacement: step 9, image 3 of 3
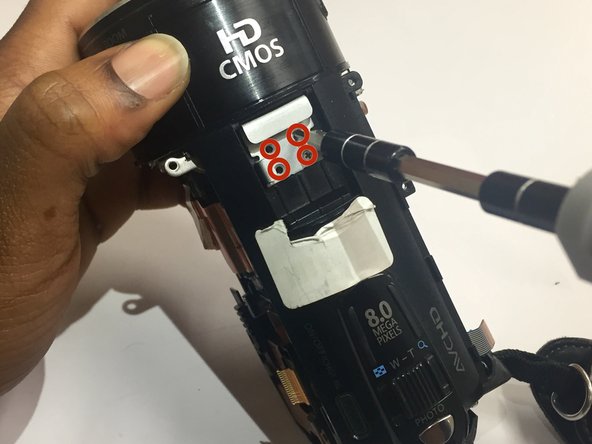
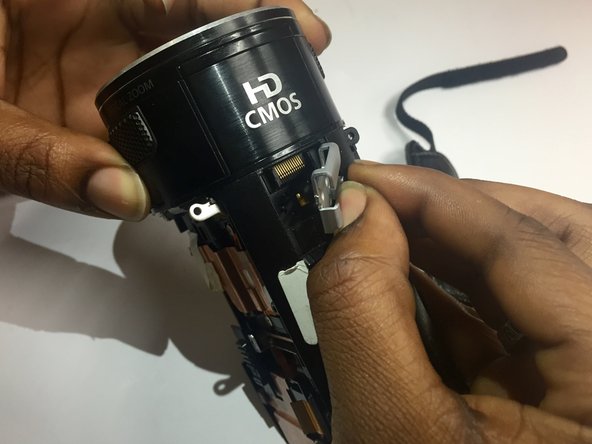
    • Slide open the "Optical Image Stabilizer" cover located at the top of the camcorder.

    • Remove the four 3x2.5 mm Phillips screws.

    • Using your fingers, remove the metal casing.

  10. Canon Vixia HF S10 Camcorder Power Button Replacement: step 10, image 1 of 3 Canon Vixia HF S10 Camcorder Power Button Replacement: step 10, image 2 of 3 Canon Vixia HF S10 Camcorder Power Button Replacement: step 10, image 3 of 3
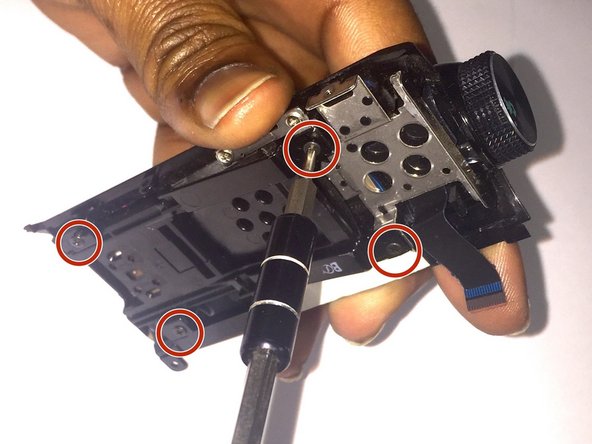
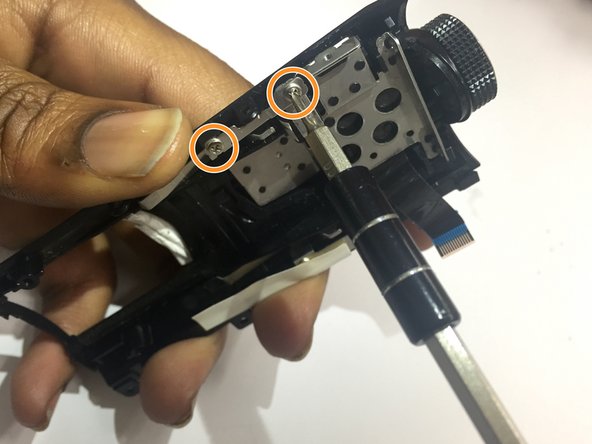
    • Using your fingers pop off the top cover of the camcorder.

    • Remove the three 3x4 mm Phillips screws and one 2x2.5 mm Phillips screw located beneath the top cover.

    • Remove the two 3x2.5 mm Phillips screws from the metal casing located underneath the top cover.

  11. Canon Vixia HF S10 Camcorder Power Button Replacement: step 11, image 1 of 2 Canon Vixia HF S10 Camcorder Power Button Replacement: step 11, image 2 of 2
    • Using your fingers, slightly move the metal casing.

    • Remove the power button.

Conclusion

To reassemble your device, follow these instructions in reverse order.

2 other people completed this guide.

Olivia

Member since: 03/03/15

343 Reputation

2 Guides authored

0 Comments

Add Comment

View Statistics:

Past 24 Hours: 1

Past 7 Days: 1

Past 30 Days: 8

All Time: 1,929