Introduction
Follow these instructions to remove and install a new backlight.
What you need
-
-
-
Turn off the camera by pressing the power button above the LCD screen.
 Ask FixBot
-
-
-
Remove the two small screws on the bottom of the camera using a Phillips #00 screwdriver.
-
-
-
Use a Phillips #00 screwdriver to remove the two small screws on the right side of the camera.
-
-
-
Use a Phillips #00 screwdriver to remove the screw on the left of the camera under the A/V out digital label.
-
-
-
-
Use a Phillips #00 screwdriver to remove the screw on the bottom of the camera near the battery and memory card slots.
-
-
-
Remove the front, back, and side casings from the camera and set to the side.
-
-
-
-
-
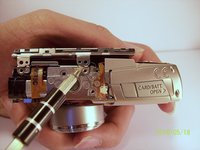
Remove the two screws that connect the LCD and backlight to the main body of the camera.
-
-
-
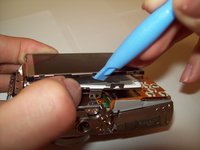
Gently pry the LCD and the backlight from the main body of the camera.
-
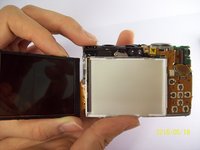
Gently pry the LCD from the backlight.
-
The thin ribbon cable is for the backlight.
-
The thick ribbon cable is for the LCD screen.
-
-
-
Carefully lift the ZIF connector that covers the thick ribbon cable.
-
This ZIF connector is fragile. Use caution when lifting it from its down position.
-
Insert the new LCD and reassemble the camera.
-
-
-
-
Tool used on this step:Tweezers$4.99
-
Unplug the ribbon from the housing on the circuitry.
-
Take the new ribbon and insert it into the housing.
-
Tweezers or a tool with a sharp point can be used.
-
-




To reassemble your device, follow these instructions in reverse order.

Team

Cal Poly, Team 9-71, Walters Spring 2011 Member of Cal Poly, Team 9-71, Walters Spring 2011
CPSU-WALTERS-S11S9G71
4 Members
96 Guides authored
