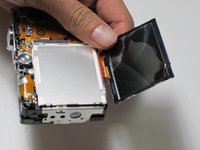
Canon PowerShot SD400 LCD Replacement

What you need

  1. Canon PowerShot SD400 LCD Replacement, LCD: step 1, image 1 of 3 Canon PowerShot SD400 LCD Replacement, LCD: step 1, image 2 of 3 Canon PowerShot SD400 LCD Replacement, LCD: step 1, image 3 of 3
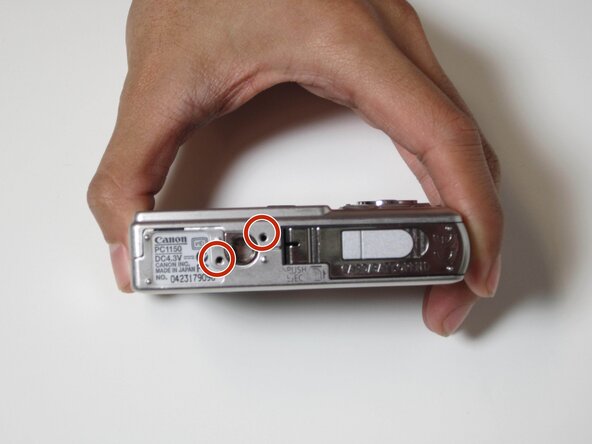
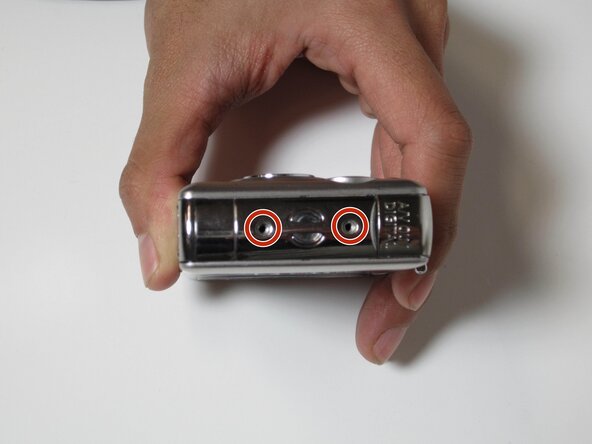
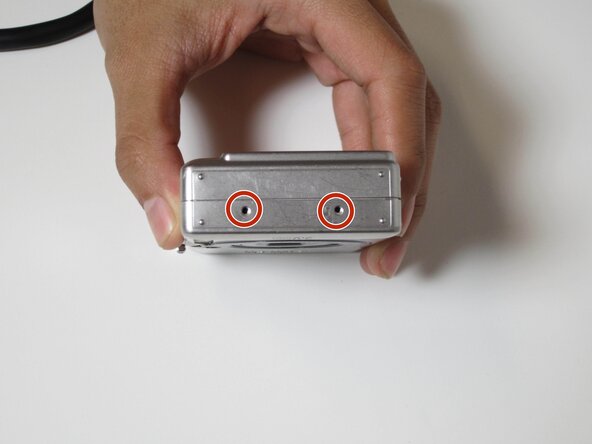
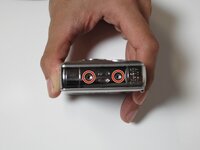
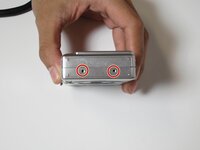
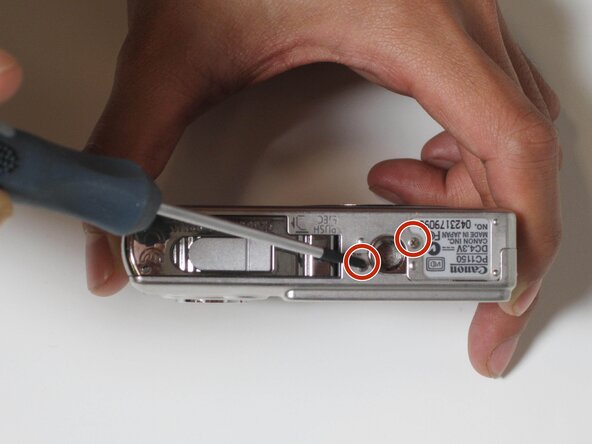
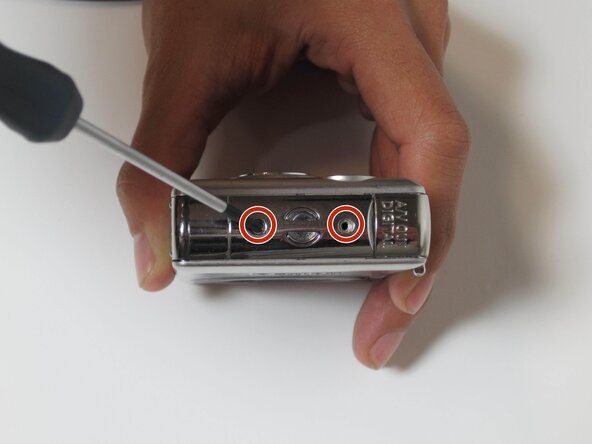
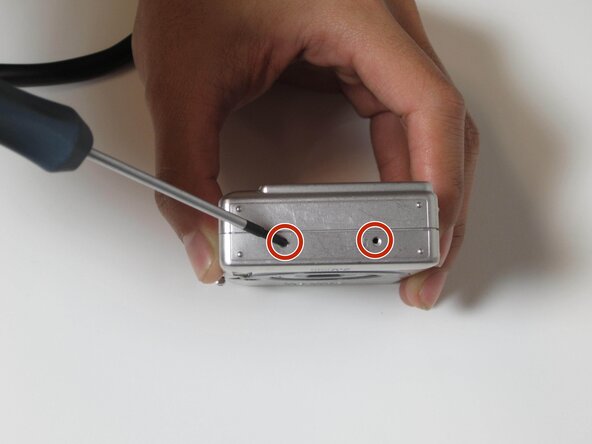
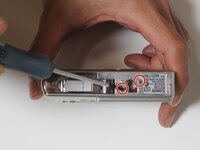
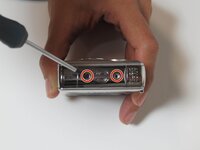
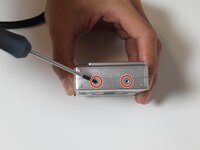
    • Locate the 6 screws that you must remove to open the camera housing.

    • There are 2 screws on the bottom and 2 screws on each side

  2. Canon PowerShot SD400 LCD Replacement: step 2, image 1 of 3 Canon PowerShot SD400 LCD Replacement: step 2, image 2 of 3 Canon PowerShot SD400 LCD Replacement: step 2, image 3 of 3
    • Using the screwdriver, carefully remove the exterior screws and set them aside to avoid misplacing them.

  3. Canon PowerShot SD400 LCD Replacement: step 3, image 1 of 2 Canon PowerShot SD400 LCD Replacement: step 3, image 2 of 2
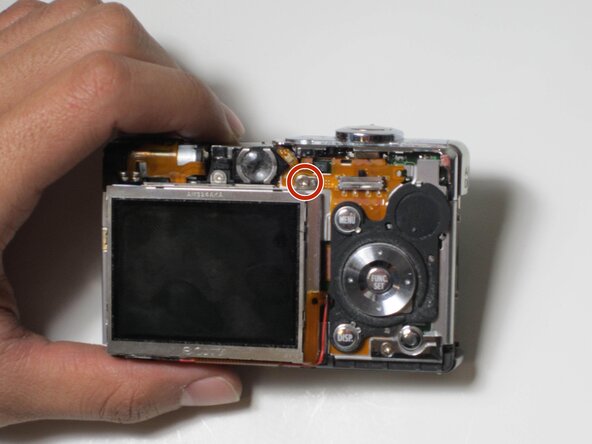
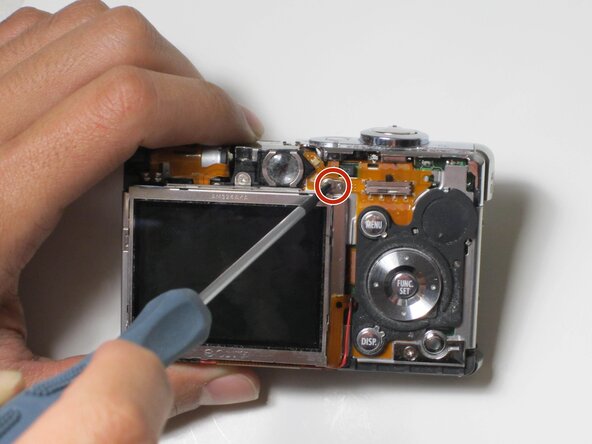
    • Locate the interior screw to the top right of the screen.

    • Remove the screw using the screwdriver.

  4. Canon PowerShot SD400 LCD Replacement: step 4, image 1 of 3 Canon PowerShot SD400 LCD Replacement: step 4, image 2 of 3 Canon PowerShot SD400 LCD Replacement: step 4, image 3 of 3
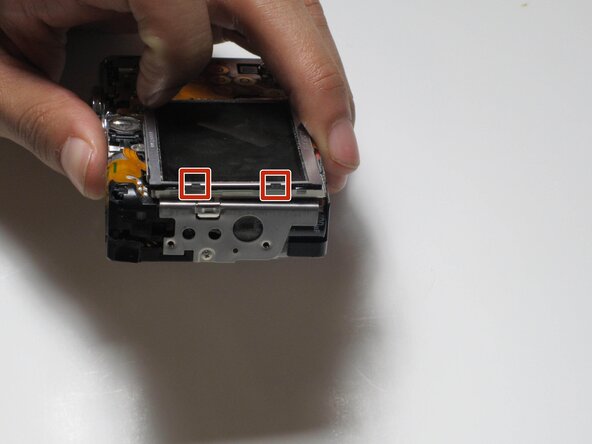
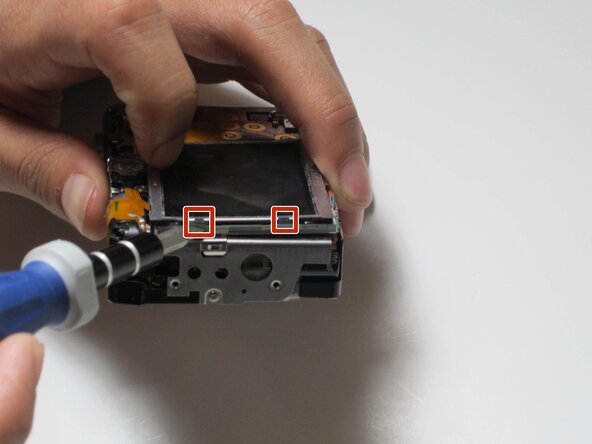
    • Insert the flat-head screwdriver under the LCD screen into the two clips.

    • Lift the LCD screen.

    • Potential for device damage Lift the screen gently and be careful not to rip the screen off.

Conclusion

To reassemble your device, follow these instructions in reverse order.

2 other people completed this guide.

Yi Huang Ke

Member since: 10/18/11

51 Reputation

4 Guides authored

Team

James Madison, Team 1-1, Allen Fall 2011 Member of James Madison, Team 1-1, Allen Fall 2011

JMU-ALLEN-F11S1G1

4 Members

4 Guides authored

One Comment

Do you carry a lcd screen for the Powershot sd400?

Jesus Licon - Reply

Add Comment

View Statistics:

Past 24 Hours: 0

Past 7 Days: 5

Past 30 Days: 15

All Time: 3,016