Introduction
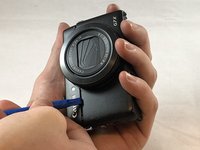
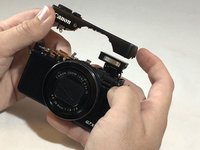
The lens is essential in any camera. Any flaw in a lens will ruin a cameras ability to operate. This guide will detail the steps required to replace the camera lens for a Canon Powershot G7X.
What you need
-
-
Remove the five 2mm Phillips #000 screws that are under the screen of the camera.
 Ask FixBot
-
-
-
Remove the two 3mm Phillips #000 screws under the AV-out digital flap.
-
Remove the two 3 mm Phillips #000 screws from the side of the camera.
-
-
-
Remove the two 3 mm Phillips #000 screws on the side of camera with the flash toggle.
-
-
-
Remove the four 4 mm Phillips #000 screws from the plate on the bottom of the camera.
-
-
-
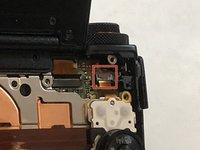
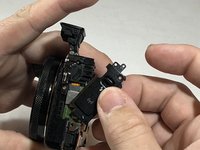
Using the nylon spudger, gently lift the ZIF tab.
-
Disconnect the ribbon cable that connects the dial to the motherboard.
-
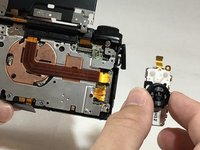
Remove the dial from the device.
-
-
-
-
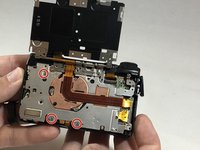
Remove the three, blue 5 mm Phillips screws from the back plate.
-
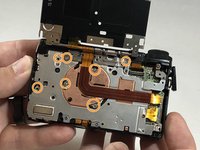
Remove seven 2 mm Phillips #000 screws.
-
-
-
While using the plastic opening tool, gently pry the top plate off the camera.
-
-
-
Using the black nylon spudger, gently lift the ribbon cable connected to the LCD screen housing until it comes out then remove the housing.
-
-
-
Remove the 2 mm Phillips #000 screw underneath the top plate.
-
Remove silver plate.
-
-
-
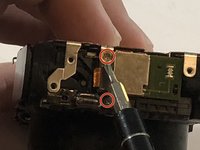
Take the Phillips #000 and remove the three 5 mm screws from the front plate.
-
-
-
Using the spudger, gently lift the ribbon cable from underneath the front plate.
-
Remove the front plate.
-
-
-
Remove flash toggle plate.
-
Remove the 2mm Phillips #000 screws under the flash toggle.
-
-
-
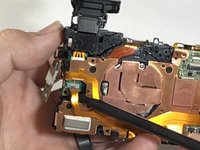
Using the black nylon spudger, gently lift the ribbon cable that connects the flash to motherboard and remove the flash from the device.
-
-
-
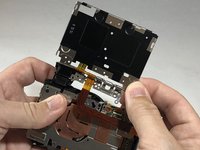
Using the black nylon spudger, lift the ribbon cable gently until it comes out.
-
-
-
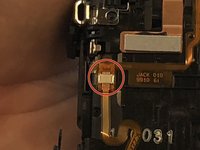
Using the black nylon spudger, lift gently on the pin connector until it comes off.
-
-
-
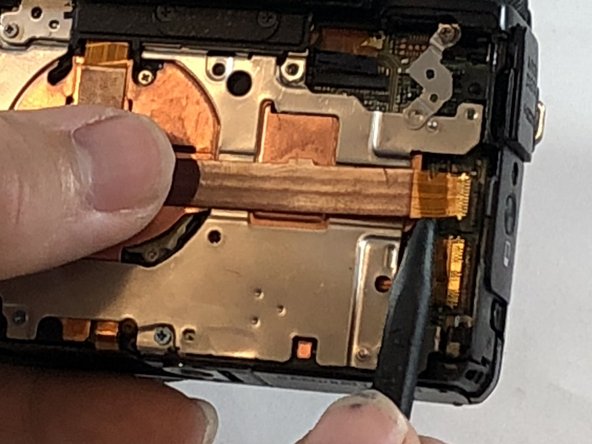
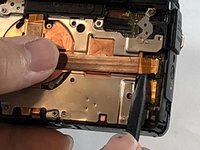
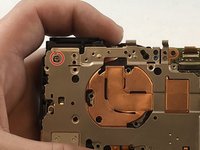
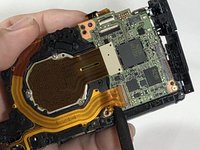
Using the spudger, gently lift on the ribbon cable until it comes out.
-
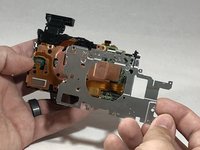
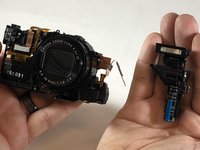
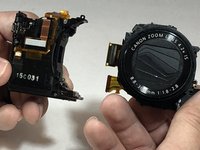
Separate the lens from the motherboard.
-


To reassemble your device, follow these instructions in reverse order.
Cancel: I did not complete this guide.
2 other people completed this guide.
Team

Eastern Washington University, Team S1-G3, Carnegie Spring 2018 Member of Eastern Washington University, Team S1-G3, Carnegie Spring 2018
EWU-CARNEGIE-S18S1G3
4 Members
6 Guides authored
3 Guide Comments
Not that great of step by step. Lots of missed steps and lots different screw length and thread. Over all it's just an ok guide.
how do you tell if the lens is CCD or not
Poor instructions indeed. At step 11 silver plate still stuck. More screws than indicated.