Free Shipping on Domestic Orders $75+

What you need

This teardown is not a repair guide. To repair your Samsung SCH-8500, use our service manual.

    1. Samsung SCH-8500 Teardown, Samsung SCH-8500 Teardown: step 1, image 1 of 3 Samsung SCH-8500 Teardown, Samsung SCH-8500 Teardown: step 1, image 2 of 3 Samsung SCH-8500 Teardown, Samsung SCH-8500 Teardown: step 1, image 3 of 3
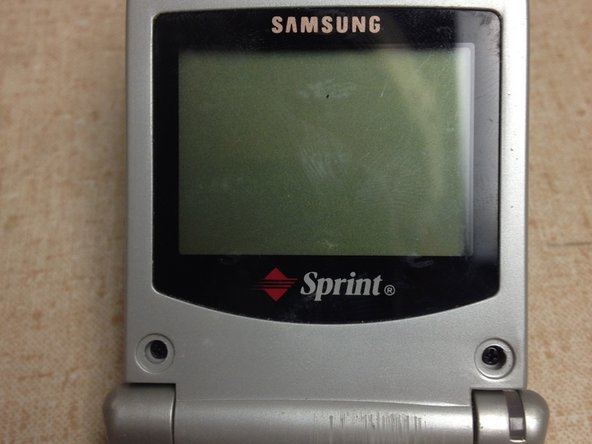
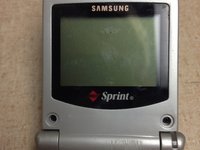
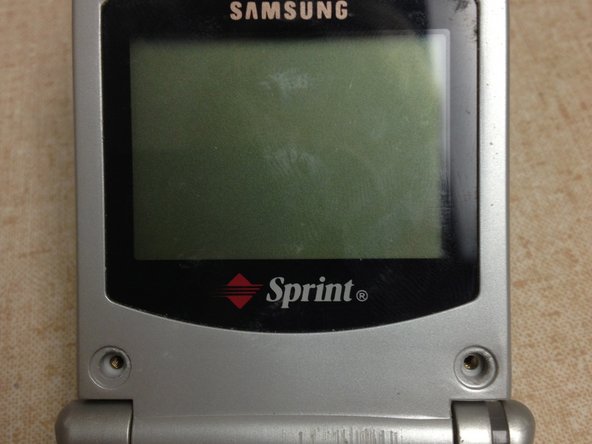
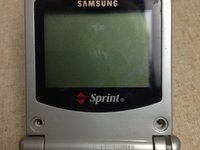
      • The phone we are taking apart today is the Samsung SCH-8500

      Ask FixBot

      Add Comment

    2. Samsung SCH-8500 Teardown: step 2, image 1 of 3 Samsung SCH-8500 Teardown: step 2, image 2 of 3 Samsung SCH-8500 Teardown: step 2, image 3 of 3
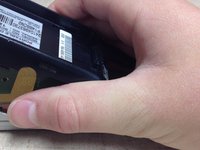
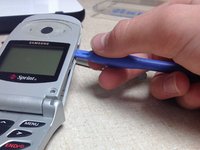
      • Press on black button next to battery and use metal spuger or other pointy object to pop the battery of the back.

      Ask FixBot

      Add Comment

    3. Samsung SCH-8500 Teardown: step 3, image 1 of 3 Samsung SCH-8500 Teardown: step 3, image 2 of 3 Samsung SCH-8500 Teardown: step 3, image 3 of 3
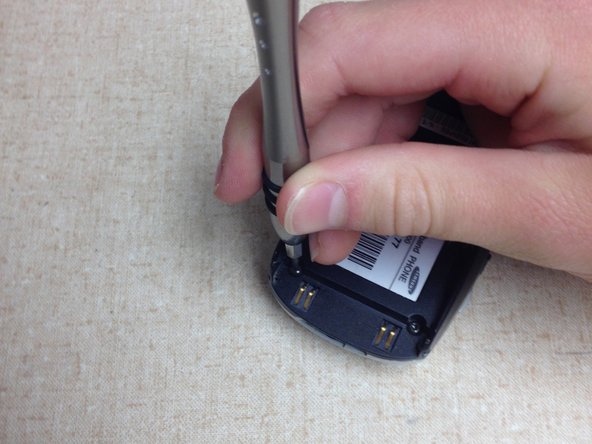
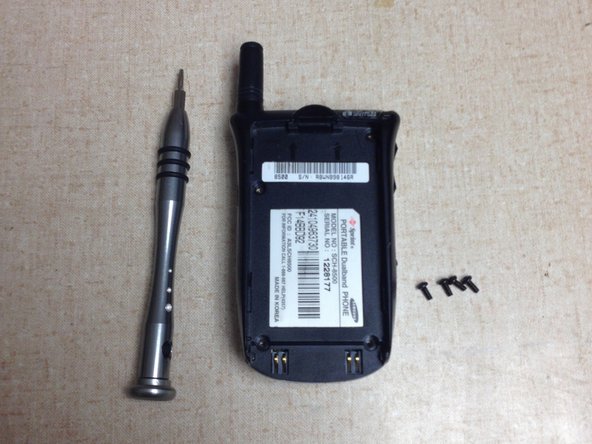
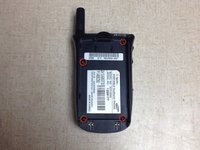
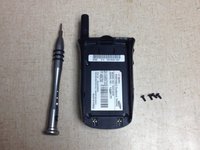
      • Remove 4 0.6mm screws with a T6 Screwdriver.

      Ask FixBot

      Add Comment

    4. Samsung SCH-8500 Teardown: step 4, image 1 of 3 Samsung SCH-8500 Teardown: step 4, image 2 of 3 Samsung SCH-8500 Teardown: step 4, image 3 of 3
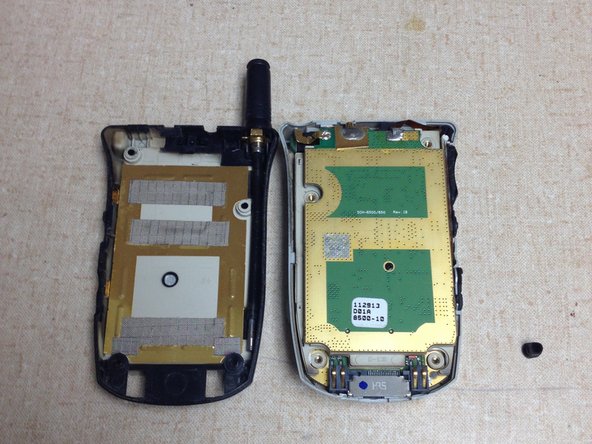
      • Remove the little rubber piece.

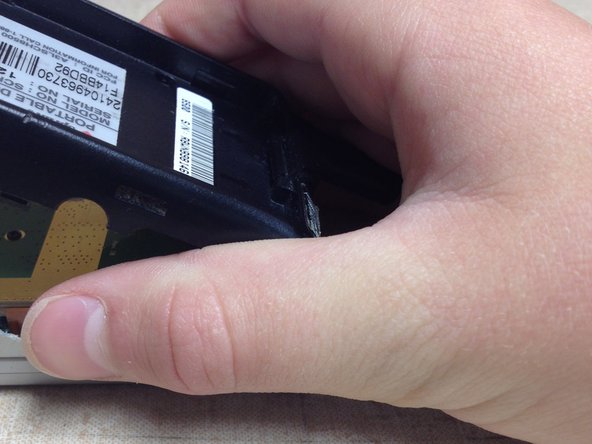
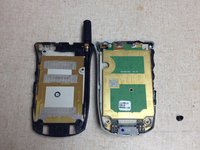
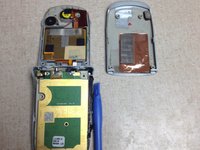
      • Then gently lift off back case.

      Ask FixBot

      Add Comment

    5. Samsung SCH-8500 Teardown: step 5, image 1 of 3 Samsung SCH-8500 Teardown: step 5, image 2 of 3 Samsung SCH-8500 Teardown: step 5, image 3 of 3
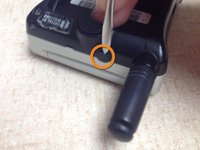
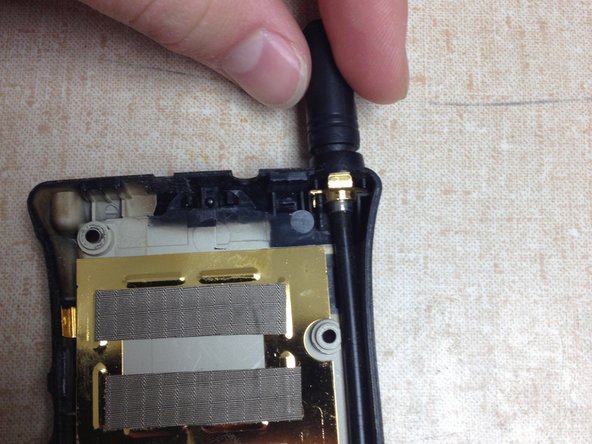
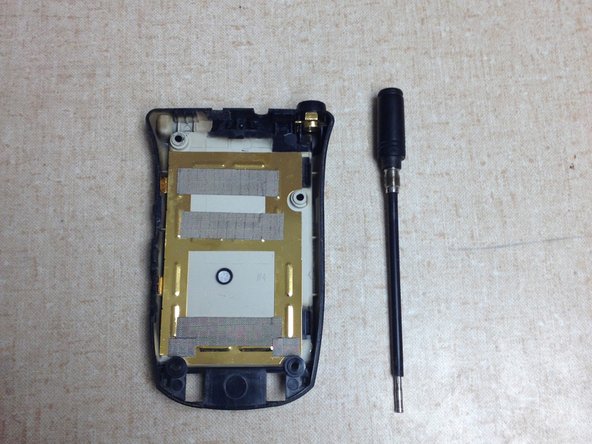
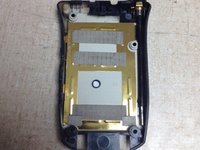
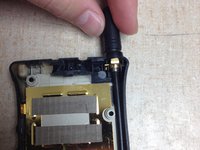
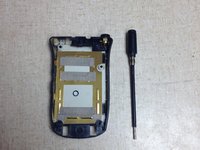
      • Unscrew the antenna from back case.

      Ask FixBot

      Add Comment

    6. Samsung SCH-8500 Teardown: step 6, image 1 of 3 Samsung SCH-8500 Teardown: step 6, image 2 of 3 Samsung SCH-8500 Teardown: step 6, image 3 of 3
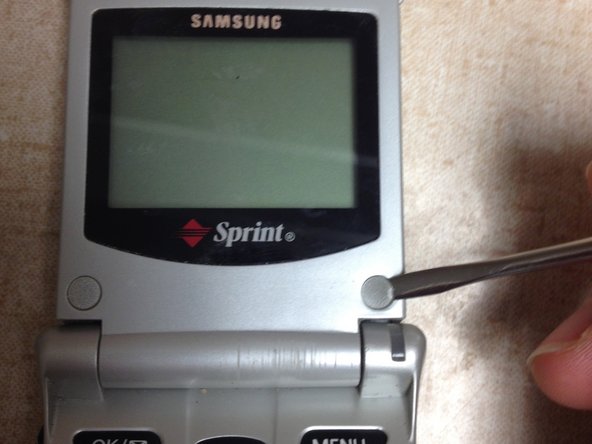
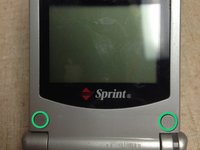
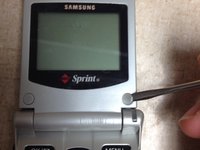
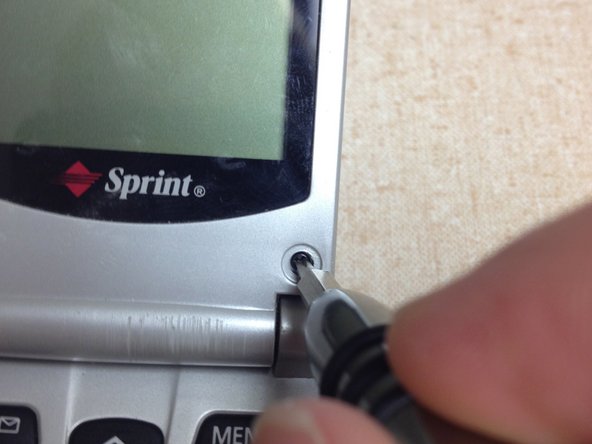
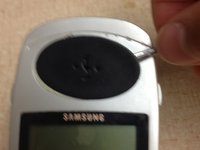
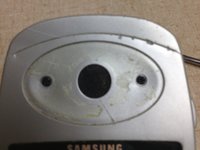
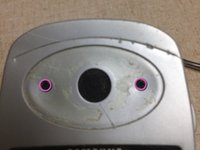
      • Pry off the 2 covers on the display.

      Ask FixBot

      Add Comment

    7. Samsung SCH-8500 Teardown: step 7, image 1 of 3 Samsung SCH-8500 Teardown: step 7, image 2 of 3 Samsung SCH-8500 Teardown: step 7, image 3 of 3
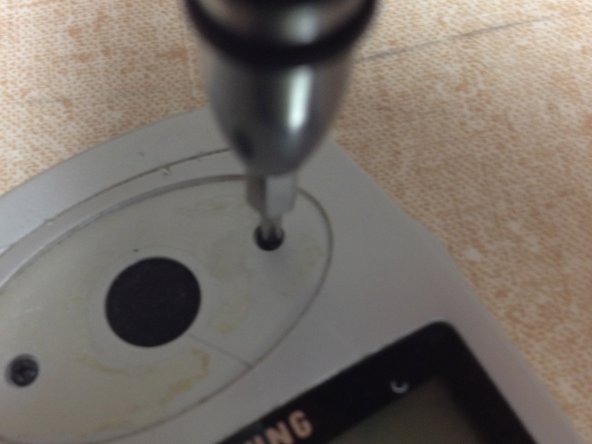
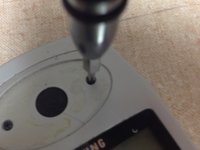
      • Remove the 2 0.3mm screws from display

      Ask FixBot

      Add Comment

    8. Samsung SCH-8500 Teardown: step 8, image 1 of 3 Samsung SCH-8500 Teardown: step 8, image 2 of 3 Samsung SCH-8500 Teardown: step 8, image 3 of 3
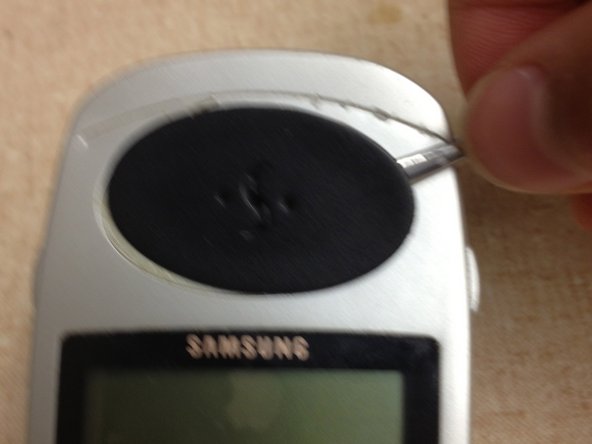
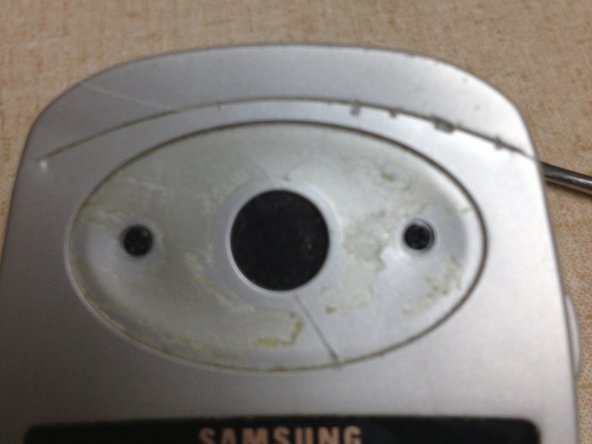
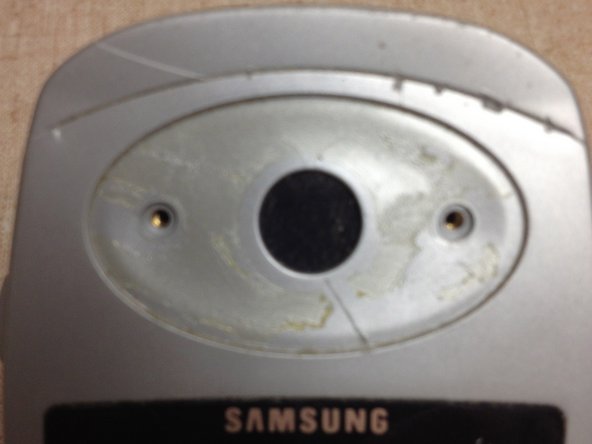
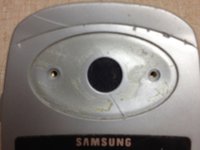
      • Pry the speaker cover off display, to reveal 2 screws.

      Ask FixBot

      Add Comment

    9. Samsung SCH-8500 Teardown: step 9, image 1 of 3 Samsung SCH-8500 Teardown: step 9, image 2 of 3 Samsung SCH-8500 Teardown: step 9, image 3 of 3
      • Remove 2 0.3mm screws.

      Ask FixBot

      Add Comment

    10. Samsung SCH-8500 Teardown: step 10, image 1 of 2 Samsung SCH-8500 Teardown: step 10, image 2 of 2
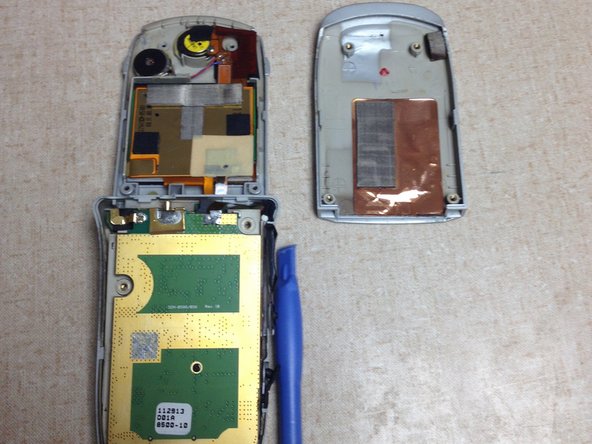
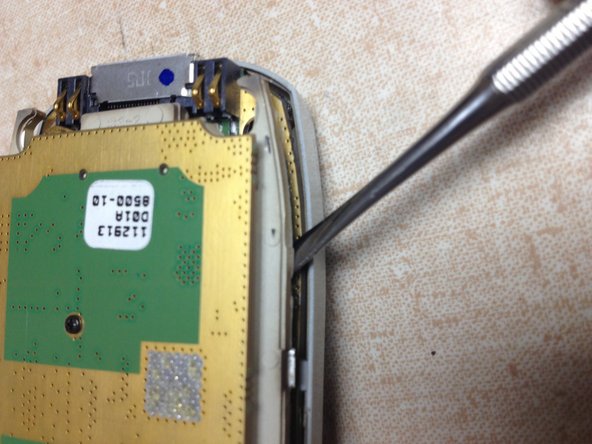
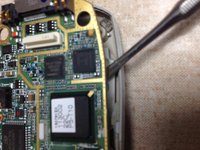
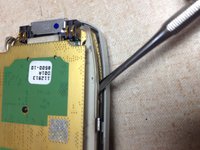
      • Use a case opening tool and pry the case of the display.

      Ask FixBot

      Add Comment

    11. Samsung SCH-8500 Teardown: step 11, image 1 of 3 Samsung SCH-8500 Teardown: step 11, image 2 of 3 Samsung SCH-8500 Teardown: step 11, image 3 of 3
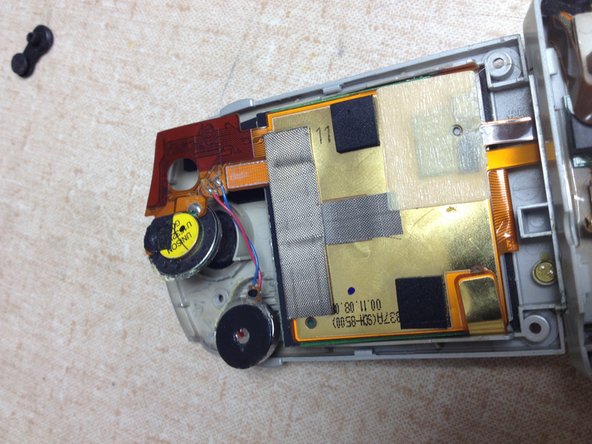
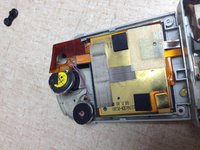
      • Pry the display, speakers, and main board of of phone

      • Take off the keys

      Ask FixBot

      Add Comment

    12. Samsung SCH-8500 Teardown: step 12, image 1 of 1
      • Voila! You're done.

      Ask FixBot

      Add Comment

William Maddrey

Member since: 03/13/13

131 Reputation

1 Guide authored

0 Guide Comments

Add Comment

View Statistics:

Past 24 Hours: 1

Past 7 Days: 6

Past 30 Days: 23

All Time: 1,316