Introduction
This guide shows you how to install the front panel of your camera.
What you need
-
-
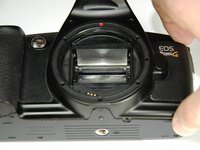
Using a #00 Phillips screw driver, remove three 4.4 mm Phillips screws as indicated by the red circles.
 Ask FixBot
-
-
-
-
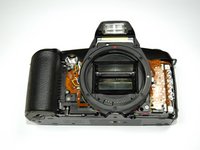
Using your finger, peel back the textured grip so the components are separated.
-
-
-
Using the flat end of a spudger, loosen the connection between the front panel and the device.
-
Remove the front panel using your hands.
-


To reassemble your device, follow these instructions in reverse order.
Cancel: I did not complete this guide.
One other person completed this guide.

Team

Cal Poly, Team 14-9, Forte Spring 2012 Member of Cal Poly, Team 14-9, Forte Spring 2012
CPSU-FORTE-S12S14G9
5 Members
36 Guides authored