Free Shipping on Domestic Orders $75+

Canon EOS Rebel G Flash Replacement

What you need

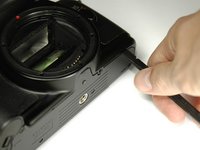
  1. Canon EOS Rebel G Flash Replacement, Front Panel: step 1, image 1 of 1
    • Using a #00 Phillips screw driver, remove three 4.4 mm Phillips screws as indicated by the red circles.

    Ask FixBot
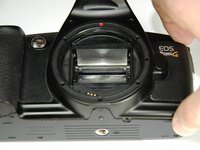
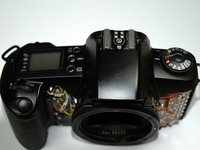
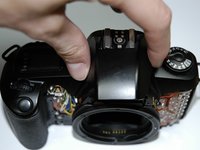
  2. Canon EOS Rebel G Flash Replacement: step 2, image 1 of 2 Canon EOS Rebel G Flash Replacement: step 2, image 2 of 2
    • Using your finger, peel back the textured grip so the components are separated.

    Ask FixBot
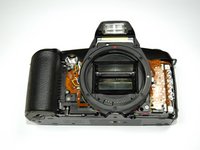
  3. Canon EOS Rebel G Flash Replacement: step 3, image 1 of 3 Canon EOS Rebel G Flash Replacement: step 3, image 2 of 3 Canon EOS Rebel G Flash Replacement: step 3, image 3 of 3
    • Using the flat end of a spudger, loosen the connection between the front panel and the device.

    • Remove the front panel using your hands.

    Ask FixBot
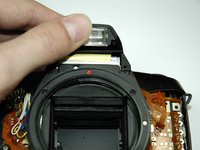
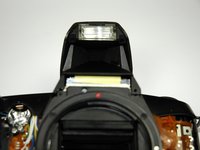
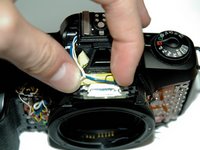
  4. Canon EOS Rebel G Flash Replacement, Flash: step 4, image 1 of 2 Canon EOS Rebel G Flash Replacement, Flash: step 4, image 2 of 2
    • Pop the flash up with your thumb

    Ask FixBot
  5. Canon EOS Rebel G Flash Replacement: step 5, image 1 of 1
    • Unscrew the two screws on the front of the flash near the bulb cover.

    Ask FixBot
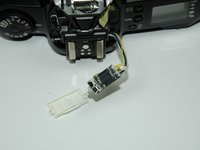
  6. Canon EOS Rebel G Flash Replacement: step 6, image 1 of 3 Canon EOS Rebel G Flash Replacement: step 6, image 2 of 3 Canon EOS Rebel G Flash Replacement: step 6, image 3 of 3
    • Close the flash.

    • Lift the flash cover off.

    Ask FixBot
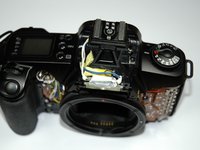
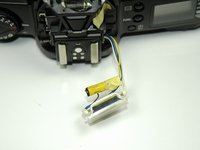
  7. Canon EOS Rebel G Flash Replacement: step 7, image 1 of 2 Canon EOS Rebel G Flash Replacement: step 7, image 2 of 2
    • Pull off yellow capacitor from flash wiring.

    Ask FixBot
  8. Canon EOS Rebel G Flash Replacement: step 8, image 1 of 1
    • Remove white cocking with a razor blade, and then unsolder connection.

    Ask FixBot
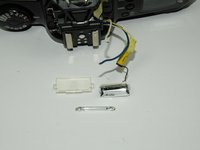
  9. Canon EOS Rebel G Flash Replacement: step 9, image 1 of 2 Canon EOS Rebel G Flash Replacement: step 9, image 2 of 2
    • Remove the flash cover to access the flash bulb.

    • After wires are unsoldered, slide flash bulb out from housing.

    Ask FixBot
Conclusion

To reassemble your device, follow these instructions in reverse order.

One other person completed this guide.

Zach

Member since: 04/04/12

46 Reputation

8 Guides authored

Team

Cal Poly, Team 14-9, Forte Spring 2012 Member of Cal Poly, Team 14-9, Forte Spring 2012

CPSU-FORTE-S12S14G9

5 Members

36 Guides authored

0 Guide Comments

Add Comment

View Statistics:

Past 24 Hours: 1

Past 7 Days: 14

Past 30 Days: 94

All Time: 3,036