
Canon EOS 40D Shutter Assembly Replacement

leggman7 and
Last updated on Jul 7, 2021
Views: 9K
View statistics:
- Past 24 Hours:
- 6
- Past 7 Days:
- 39
- Past 30 Days:
- 151
- All Time:
- 9,026
Comments: 2
2 guide comments.
Go to guide commentsCompleted: 6 7
6 people have marked this guide "completed." Will you be next?
7 people have marked this guide "completed." Including you — great job!
Favorites: 11 12
11 people have favorited (and subscribed to) this guide. Will you be next?
12 people have favorited (and subscribed to) this guide — including you!
Missing Steps
Oops! This guide is currently missing one or more important steps.
Community-Contributed Guide
An awesome member of our community made this guide. It was not created by iFixit staff.
Introduction
Go to step 1 ↓An Error 99 is an non specific error which means that camera doesn't know or have a code for the problem. In my case the shutter assembly needed replacing. This was a fairly involved process for a beginner such as myself.
This is not a comprehensive guide but should be used in conjunction with the Canon Service Manual and youtube videos. I hope that some of the pictures I took along the way might help you identify or remember how each step works.
What you need
Tools

-
-
-
Get the Canon 40D Service Repair Manual
-
Have a clean and organized workspace. I labelled plastic trays by step number and put all items for each step in a separate tray.
-
Watch a couple Youtube videos on this process
 Ask FixBot
-
-
-
-
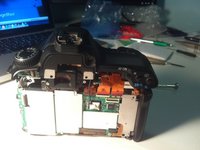
take off rear
-
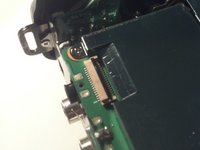
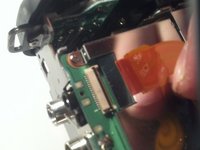
connectors disconnect by flipping black/brown tab up and sliding plastic tab out.
-
-
-
remove metal back
-
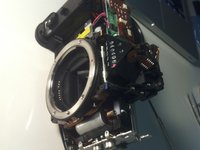
remove and replace shutter assembly, transfering components that aren't on the new one
-
-




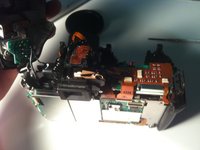

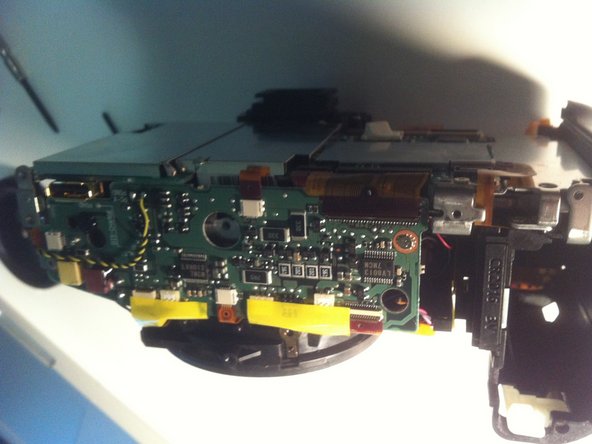
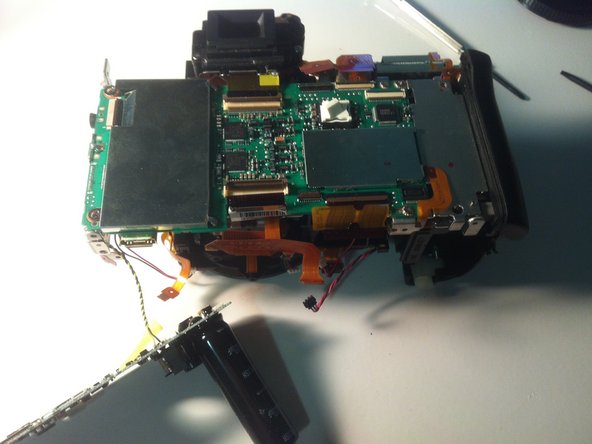
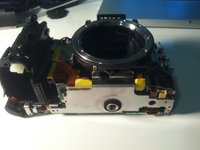
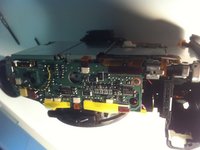
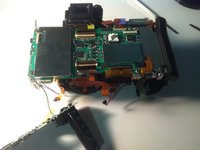


To reassemble your device, follow these instructions in reverse order.
Cancel: I did not complete this guide.
6 other people completed this guide.

2 Guide Comments
how do you replace the bridge (male portion on camera) other than putting the card in a card reader
how to replace the focus lock beeper
