
Canon ELPH Z3 Camera Rear Screen Replacement

What you need

  1. Canon ELPH Z3 Camera Rear Screen Replacement, Shutter Button: step 1, image 1 of 3 Canon ELPH Z3 Camera Rear Screen Replacement, Shutter Button: step 1, image 2 of 3 Canon ELPH Z3 Camera Rear Screen Replacement, Shutter Button: step 1, image 3 of 3
    • Unscrew the 7 4.1mm screws around the camera using a PH000 screwdriver.

  2. Canon ELPH Z3 Camera Rear Screen Replacement: step 2, image 1 of 3 Canon ELPH Z3 Camera Rear Screen Replacement: step 2, image 2 of 3 Canon ELPH Z3 Camera Rear Screen Replacement: step 2, image 3 of 3
    • Split the front and back coverings of the camera.

    • Remove the back covering completely.

    • This allows for easier access to the shutter button carrier.

  3. Canon ELPH Z3 Camera Rear Screen Replacement: step 3, image 1 of 2 Canon ELPH Z3 Camera Rear Screen Replacement: step 3, image 2 of 2
    • Slide the shutter button carrier off of the camera.

    • Notice shutter button is on the right hand side of the carrier.

  4. Canon ELPH Z3 Camera Rear Screen Replacement: step 4, image 1 of 3 Canon ELPH Z3 Camera Rear Screen Replacement: step 4, image 2 of 3 Canon ELPH Z3 Camera Rear Screen Replacement: step 4, image 3 of 3
    • Press upward on the shutter button from the underside of the carrier by using your thumb.

    • Separate the shutter button from the carrier.

  5. Canon ELPH Z3 Camera Rear Screen Replacement, Rear Screen: step 5, image 1 of 2 Canon ELPH Z3 Camera Rear Screen Replacement, Rear Screen: step 5, image 2 of 2
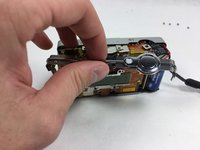
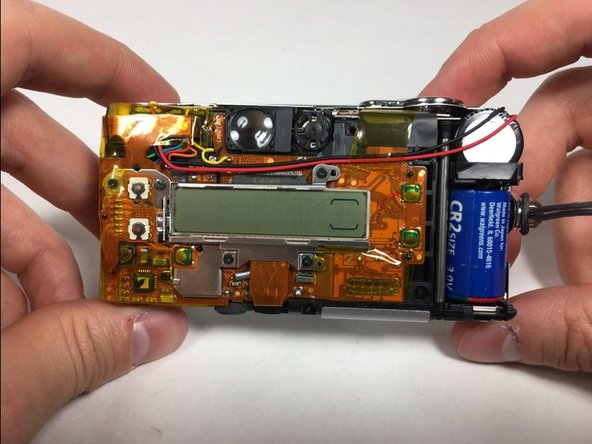
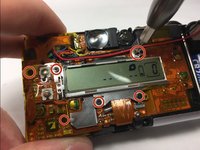
    • Pull apart the front and back coverings of the camera.

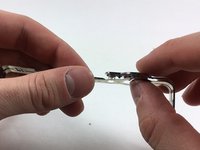
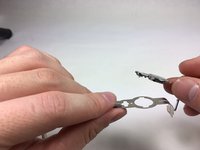
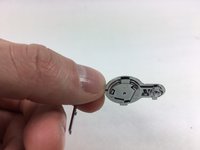
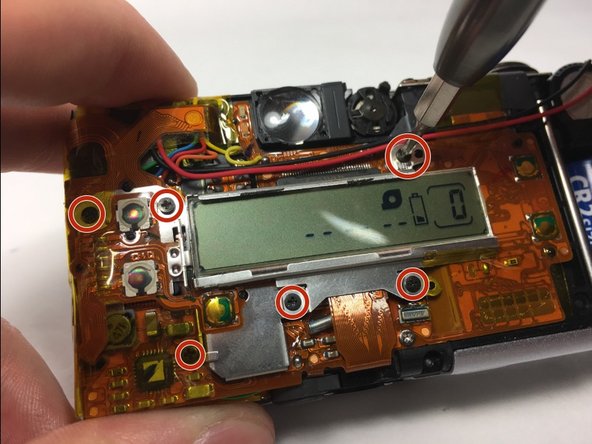
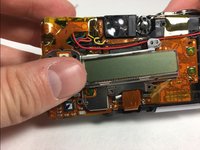
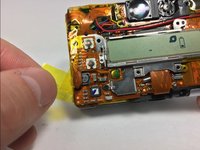
    • Remove the back covering completely to gain access of the rear screen.

  6. Canon ELPH Z3 Camera Rear Screen Replacement: step 6, image 1 of 3 Canon ELPH Z3 Camera Rear Screen Replacement: step 6, image 2 of 3 Canon ELPH Z3 Camera Rear Screen Replacement: step 6, image 3 of 3
    • Unscrew the 6 4.1mm screws that are holding the back screen in place by using the PH000 screwdriver.

    • This step may require for you to pull back tape to gain access to some screws.

  7. Canon ELPH Z3 Camera Rear Screen Replacement: step 7, image 1 of 2 Canon ELPH Z3 Camera Rear Screen Replacement: step 7, image 2 of 2
    • Pull the yellow tape away from the side that is attached to the back screen.

    • Remove the back screen.

Conclusion

To reassemble your device, follow these instructions in reverse order.

Katy Skillings

Member since: 10/21/16

1 Reputation

2 Guides authored

Team

UMass Dartmouth, Team 1-7, Catania Fall 2016 Member of UMass Dartmouth, Team 1-7, Catania Fall 2016

UMASSD-CATANIA-F16S1G7

3 Members

10 Guides authored

0 Comments

Add Comment

View Statistics:

Past 24 Hours: 0

Past 7 Days: 0

Past 30 Days: 0

All Time: 220