Free Shipping on Domestic Orders $75+

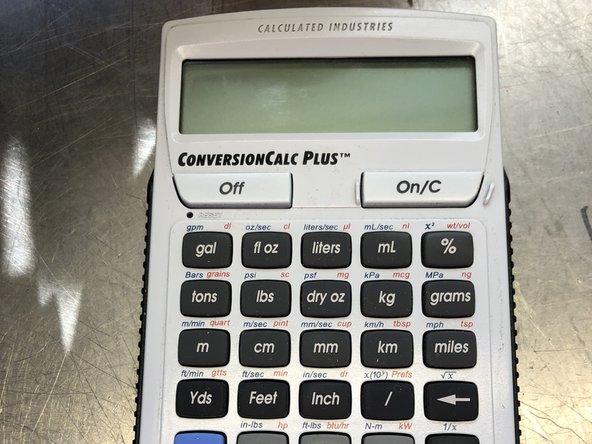
Calculated Industries 8030 Disassembly

What you need

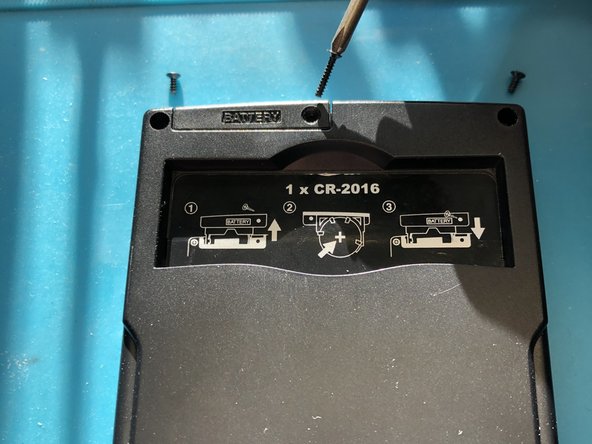
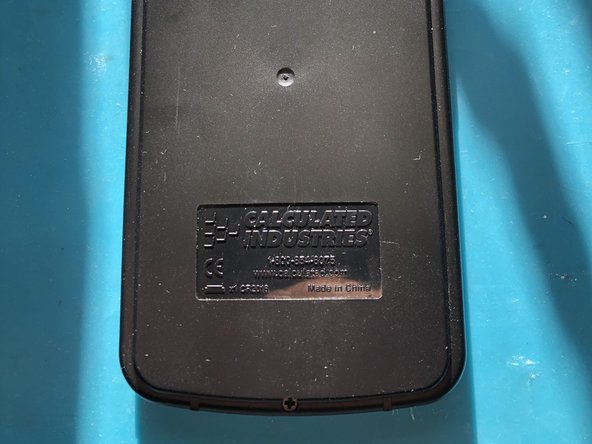
    1. Calculated Industries 8030 Disassembly, Removing Screws: step 1, image 1 of 3 Calculated Industries 8030 Disassembly, Removing Screws: step 1, image 2 of 3 Calculated Industries 8030 Disassembly, Removing Screws: step 1, image 3 of 3
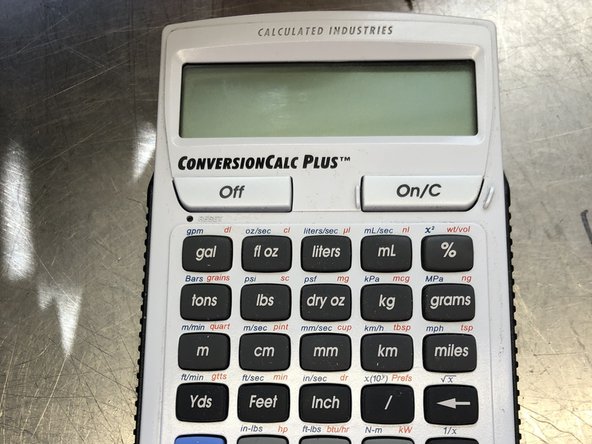
      • Remove 3 Back panel screws + 1 battery cover screw.

      • The battery cover screw is larger than the other 3.

      Ask FixBot

      Add Comment

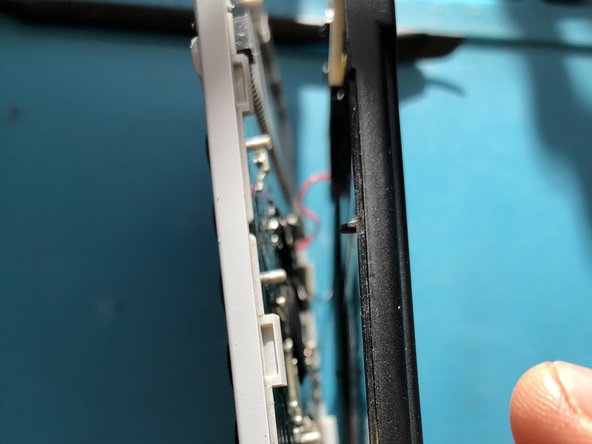
    2. Calculated Industries 8030 Disassembly, Releasing side clips: step 2, image 1 of 3 Calculated Industries 8030 Disassembly, Releasing side clips: step 2, image 2 of 3 Calculated Industries 8030 Disassembly, Releasing side clips: step 2, image 3 of 3
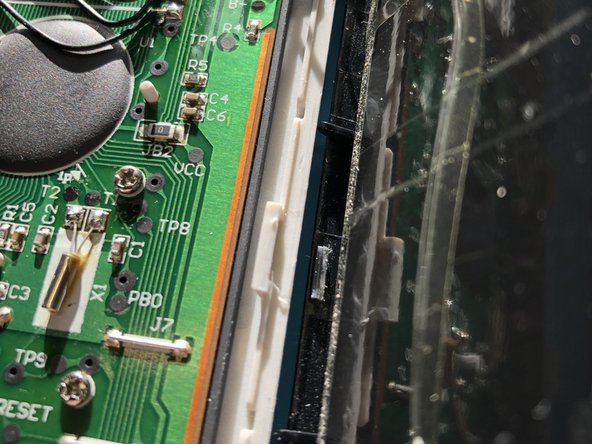
      • 3 plastic clips on each side must be released. Using the Jimmy and Prying tool spread the back and front appart slightly. Pry the black plastic out away from the white front cover

      • Tabs are located roughly beside keys "gal" "Yds" Rcl"

      Ask FixBot

      Add Comment

    3. Calculated Industries 8030 Disassembly, removing circuit board and cleaning: step 3, image 1 of 2 Calculated Industries 8030 Disassembly, removing circuit board and cleaning: step 3, image 2 of 2
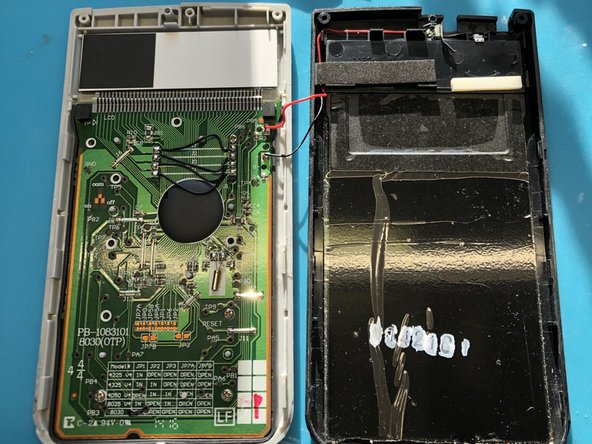
      • Remove 10 screws from circuit board

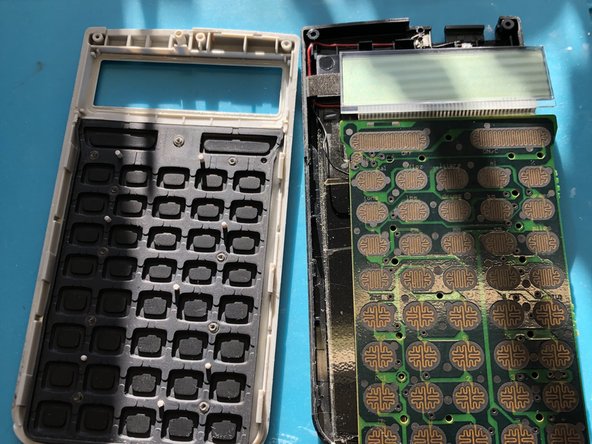
      • Lift up circuit board careful to support the LCD.

      • Clean the contacts with Isopropyl Alcohol and or repair any broken wires.

      Ask FixBot

      Add Comment

Conclusion

To reassemble your device, follow these instructions in reverse order. Use caution with power wires, ensure they are inside case and not caught in edge.

Cancel: I did not complete this guide.

Bryan Lord

Member since: 01/15/21

97 Reputation

1 Guide authored

0 Guide Comments

Add Comment

View Statistics:

Past 24 Hours: 1

Past 7 Days: 8

Past 30 Days: 47

All Time: 201