Introduction
If the buttons on your CRKD NEO S CK24NS controller are unresponsive or not functioning properly, use this guide to replace them.
Over time, dirt or sediment can build up under the buttons, causing them to become unresponsive. Use a cotton swab lightly dipped in isopropyl alcohol to clean around the edges and gaps of the buttons. Let the alcohol evaporate naturally before testing the buttons again. If they still don’t function, follow this guide to disassemble your controller and replace the faulty buttons with new ones.
Ensure the controller is powered off and disconnected from any power source before beginning the repair.
What you need
-
-
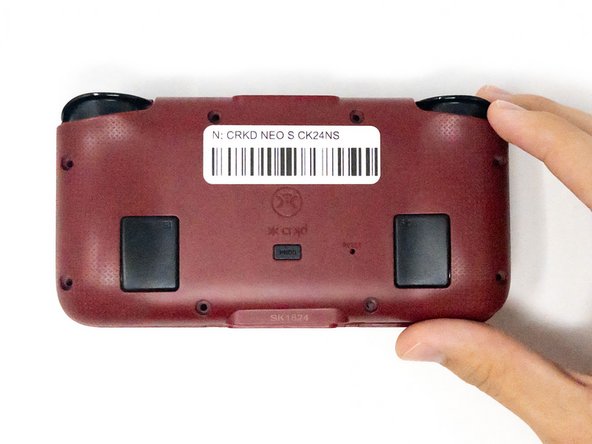
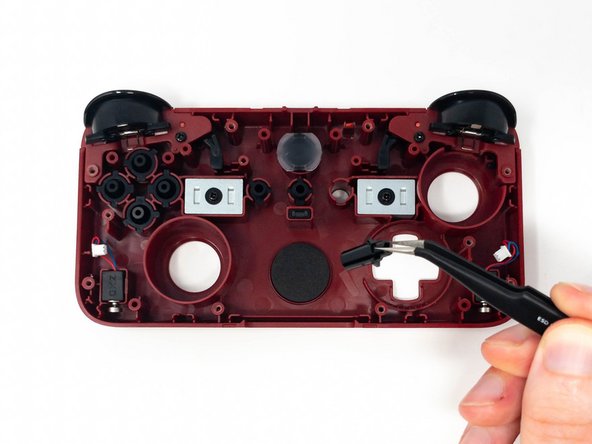
Turn the CRKD NEO S CK24NS upside down with the front-facing buttons facing downward.
-
-
-
-
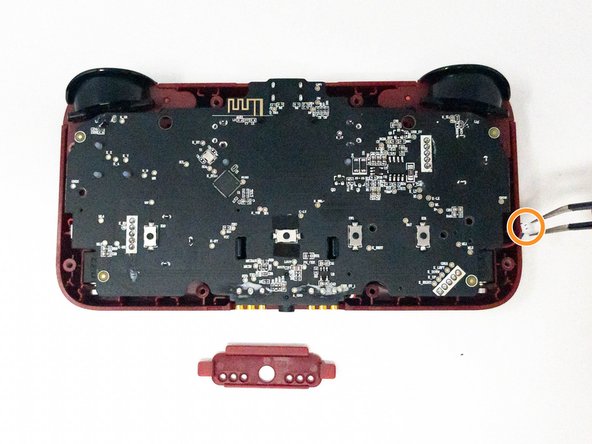
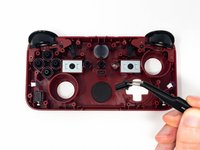
Depending on the button(s) you want to replace, lift them out with a pair of tweezers and put the new buttons in.
-


To reassemble your device, follow these instructions in reverse order.

Team

Utah Tech University, Team 1-1, Crenshaw Fall 2024 Member of Utah Tech University, Team 1-1, Crenshaw Fall 2024
UTAHTECH-CRENSHAW-F24S1G1
3 Members
5 Guides authored