CHI Original Circuit Board Replacement

What you need

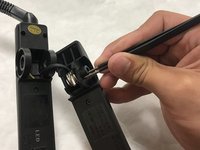
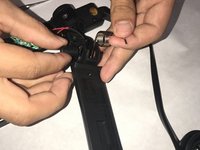
  1. CHI Original Circuit Board Replacement, Hinge Spring: step 1, image 1 of 2 CHI Original Circuit Board Replacement, Hinge Spring: step 1, image 2 of 2
    • Insert a nylon or metal spudger under the plastic CHI spring covers. Pry them up to pop them off. Do this for each side.

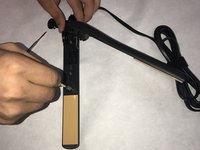
  2. CHI Original Circuit Board Replacement: step 2, image 1 of 1
    • Remove the .53" long screw from the hinge pin.

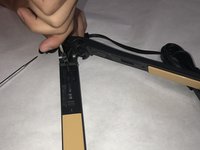
  3. CHI Original Circuit Board Replacement: step 3, image 1 of 1
    • Remove the hinge pin.

  4. CHI Original Circuit Board Replacement: step 4, image 1 of 1
    • Separate the two halves of the CHI Original.

  5. CHI Original Circuit Board Replacement: step 5, image 1 of 2 CHI Original Circuit Board Replacement: step 5, image 2 of 2
    • Remove the spring pin with a pair of pliers or tweezers.

    • Remove the spring.

  6. CHI Original Circuit Board Replacement, Power Cord: step 6, image 1 of 2 CHI Original Circuit Board Replacement, Power Cord: step 6, image 2 of 2
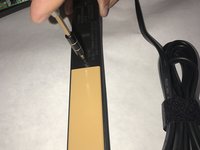
    • Remove (2) .31" Phillips head screws from back cover.

    • Remove cover.

  7. CHI Original Circuit Board Replacement: step 7, image 1 of 1
    • Gently pull upwards on the connection point and disconnect the power cord.

  8. CHI Original Circuit Board Replacement, Circuit Board: step 8, image 1 of 3 CHI Original Circuit Board Replacement, Circuit Board: step 8, image 2 of 3 CHI Original Circuit Board Replacement, Circuit Board: step 8, image 3 of 3
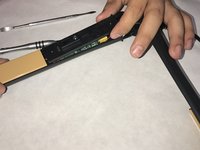
    • Remove the (2) .27" Phillips head screws on each half of the CHI Original.

  9. CHI Original Circuit Board Replacement: step 9, image 1 of 3 CHI Original Circuit Board Replacement: step 9, image 2 of 3 CHI Original Circuit Board Replacement: step 9, image 3 of 3
    • Remove the covers on both halves.

  10. CHI Original Circuit Board Replacement: step 10, image 1 of 1
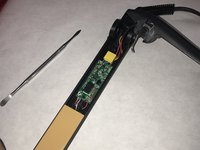
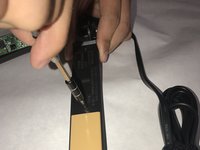
    • Remove (2) .15" Phillips screws from the circuit board.

  11. CHI Original Circuit Board Replacement: step 11, image 1 of 2 CHI Original Circuit Board Replacement: step 11, image 2 of 2
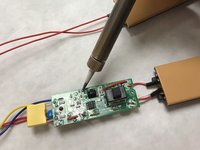
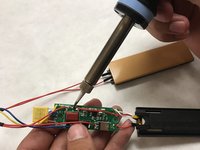
    • Desolder all points of contact between the circuit board and wires on the ceramic heating elements.

Conclusion

To reassemble your device, follow these instructions in reverse order.

One other person completed this guide.
Eric Knigga

Member since: 08/23/17

215 Reputation

2 Guides authored

Team

IUPUI, Team S1-G2, Freund Fall 2017 Member of IUPUI, Team S1-G2, Freund Fall 2017

IUPUI-FREUND-F17S1G2

4 Members

3 Guides authored

0 Comments

Add Comment

View Statistics:

Past 24 Hours: 0

Past 7 Days: 10

Past 30 Days: 29

All Time: 2,987