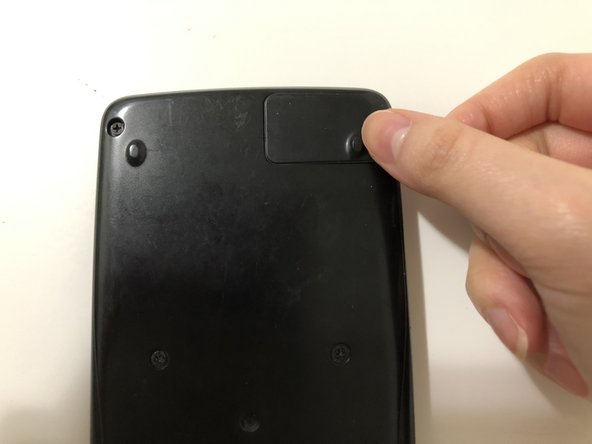
CASIO fx-50FH II Scientific Calculator Battery Replacement

What you need

  1. CASIO fx-50FH II Scientific Calculator Battery Replacement, Battery: step 1, image 1 of 1
    • To turn the calculator off, first press the "shift" button.

    • Release the "shift" button, then press the "AC" button.

  2. CASIO fx-50FH II Scientific Calculator Battery Replacement: step 2, image 1 of 2 CASIO fx-50FH II Scientific Calculator Battery Replacement: step 2, image 2 of 2
    • Place the calculator face down, then use a Phillips #00 screwdriver to remove the single screw securing the battery hatch in the top right corner.

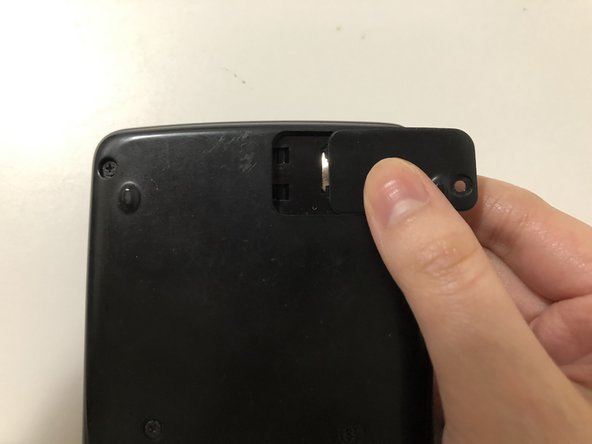
  3. CASIO fx-50FH II Scientific Calculator Battery Replacement: step 3, image 1 of 3 CASIO fx-50FH II Scientific Calculator Battery Replacement: step 3, image 2 of 3 CASIO fx-50FH II Scientific Calculator Battery Replacement: step 3, image 3 of 3
    • Push the battery hatch to the right until it slides off.

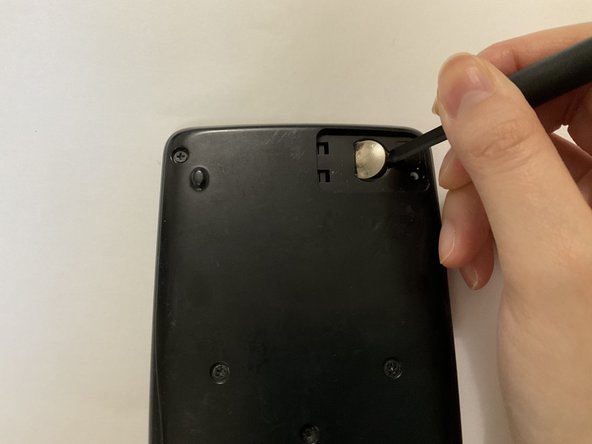
  4. CASIO fx-50FH II Scientific Calculator Battery Replacement: step 4, image 1 of 3 CASIO fx-50FH II Scientific Calculator Battery Replacement: step 4, image 2 of 3 CASIO fx-50FH II Scientific Calculator Battery Replacement: step 4, image 3 of 3
    • Put on a pair of protective gloves before handling the battery to eliminate the risk of chemical burns.

    • Insert the tip of a spudger into the indent on the right-hand side of the battery to lift the edge of the battery up.

    • Lift the battery up and out.

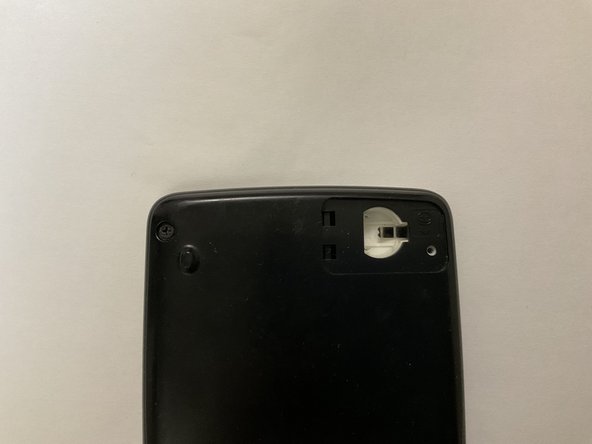
  5. CASIO fx-50FH II Scientific Calculator Battery Replacement: step 5, image 1 of 1
    • Inspect the battery compartment any alkaline residue.

    • If no residue is present, skip to Step 7.

  6. CASIO fx-50FH II Scientific Calculator Battery Replacement: step 6, image 1 of 3 CASIO fx-50FH II Scientific Calculator Battery Replacement: step 6, image 2 of 3 CASIO fx-50FH II Scientific Calculator Battery Replacement: step 6, image 3 of 3
    • Use a cotton swab dabbed with white vinegar to wipe the alkaline off the battery compartment.

    • Use a dry cotton swab to remove the vinegar and alkaline residues.

    • Let the battery compartment dry completely.

  7. CASIO fx-50FH II Scientific Calculator Battery Replacement: step 7, image 1 of 1
    • Insert a new LR44 1.5V alkaline button battery into the compartment, with the positive sign facing up.

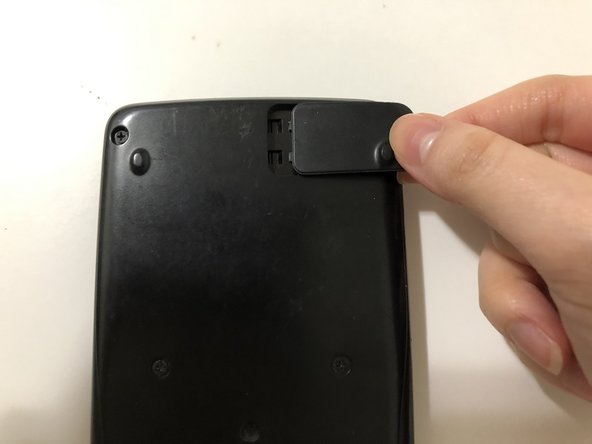
  8. CASIO fx-50FH II Scientific Calculator Battery Replacement: step 8, image 1 of 3 CASIO fx-50FH II Scientific Calculator Battery Replacement: step 8, image 2 of 3 CASIO fx-50FH II Scientific Calculator Battery Replacement: step 8, image 3 of 3
    • Reattach the battery hatch by sliding the hatch in from the right to the left.

  9. CASIO fx-50FH II Scientific Calculator Battery Replacement: step 9, image 1 of 1
    • Use a Phillips #00 to secure the screw.

Conclusion

You have successfully replaced the battery of  a CASIO fx-50FH II Scientific Calculator!

One other person completed this guide.

Cheuk Wai Chan

Member since: 07/05/22

196 Reputation

1 Guide authored

Team

2 Comments

Very nice guide! I found the pictures to be very good and corresponding to the steps very well.

Frank Loi - Reply

Thank you for the steps. I followed the steps and managed to salvage my calculator which I almost had to throw away. This has helped reduce waste. :)

Nancy Yeo - Reply

Add Comment

View Statistics:

Past 24 Hours: 1

Past 7 Days: 13

Past 30 Days: 91

All Time: 1,856