Free Shipping on Domestic Orders $75+

Buttons Removal (Action and D-pad)

Prerequisite Only
This is a prerequisite-only guide! This guide is part of another procedure and isn’t meant to be used alone.

What you need

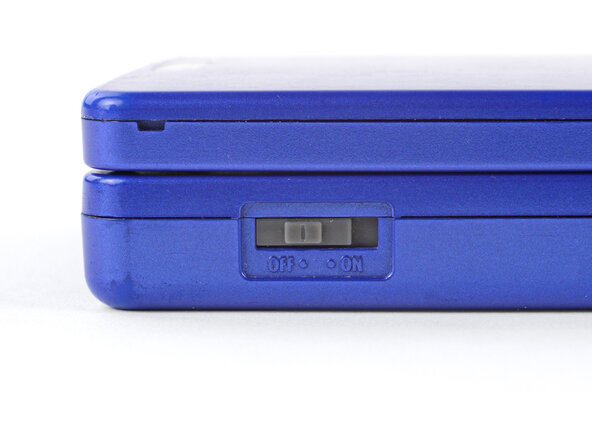
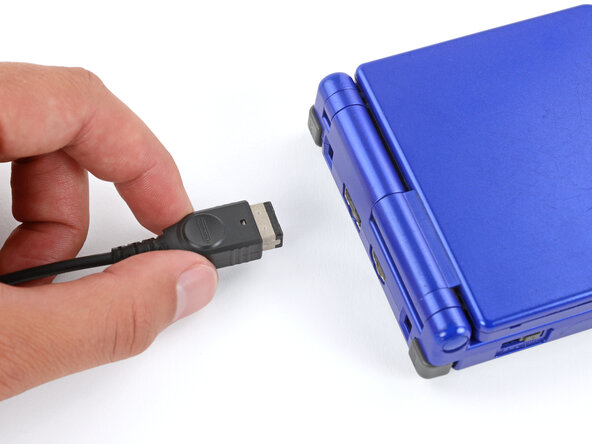
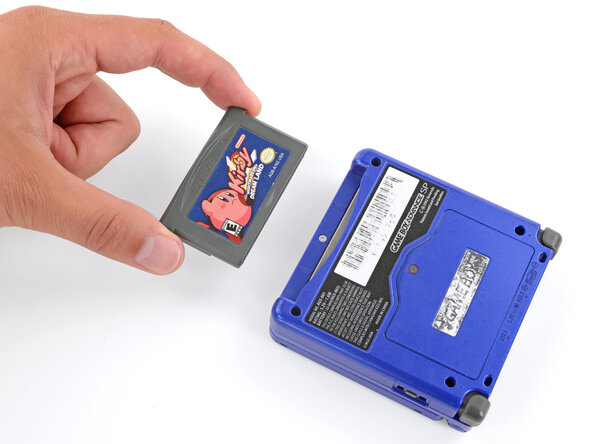
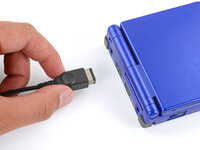
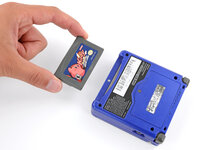
    1. Buttons Removal (Action and D-pad), Prepare your Game Boy for disassembly: step 1, image 1 of 3 Buttons Removal (Action and D-pad), Prepare your Game Boy for disassembly: step 1, image 2 of 3 Buttons Removal (Action and D-pad), Prepare your Game Boy for disassembly: step 1, image 3 of 3
      • Slide the power switch to the OFF position and unplug any cables.

      • If you have a game cartridge in, remove it.

      Ask FixBot

      Add Comment

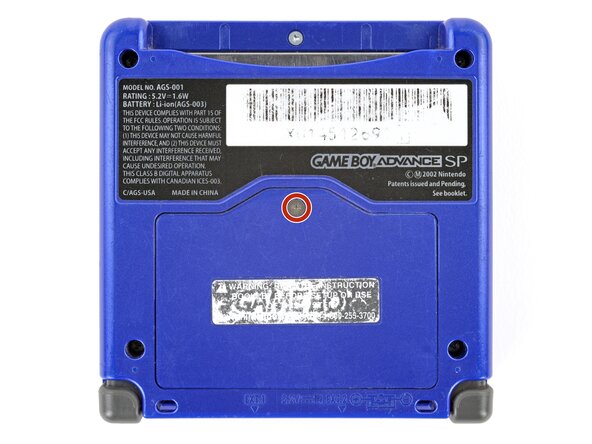
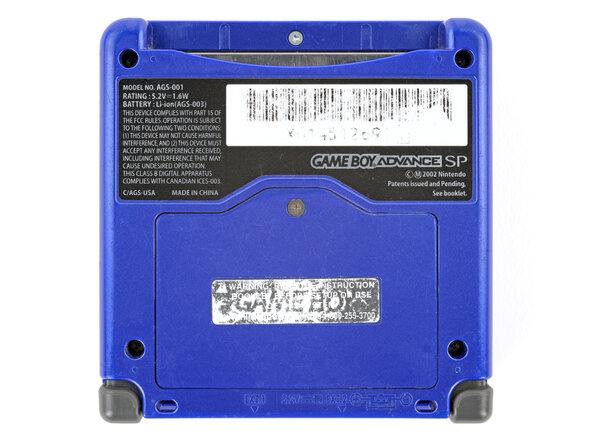
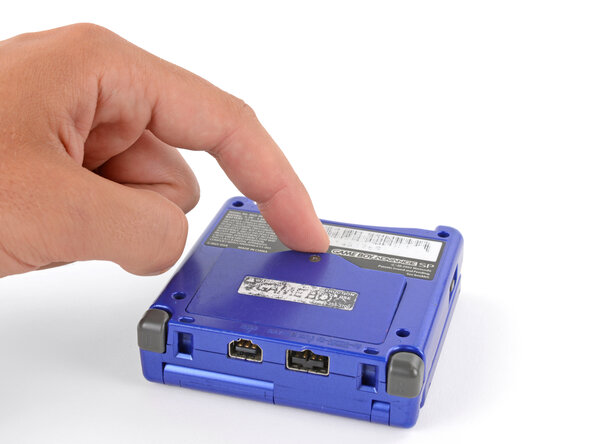
    2. Buttons Removal (Action and D-pad), Remove the battery cover: step 2, image 1 of 2 Buttons Removal (Action and D-pad), Remove the battery cover: step 2, image 2 of 2
      • Use a JIS 00 screwdriver to loosen the captive screw securing the battery cover.

      • You can try to use a non-iFixit Phillips driver in a pinch, but you risk damaging or stripping the screw. Push down firmly on the driver and twist slowly.

      Ask FixBot

      Add Comment

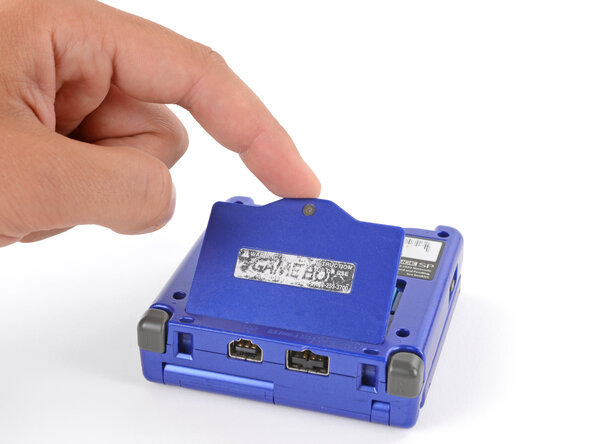
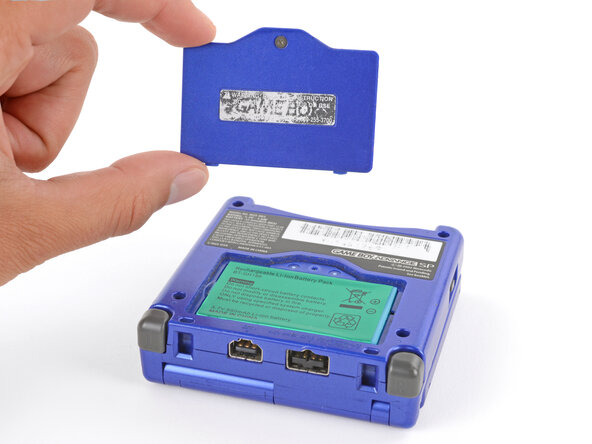
    3. Buttons Removal (Action and D-pad): step 3, image 1 of 3 Buttons Removal (Action and D-pad): step 3, image 2 of 3 Buttons Removal (Action and D-pad): step 3, image 3 of 3
      • Lift the edge of the cover near the screw and remove the cover.

      • During reassembly, hook the tabs on the bottom edge of the cover into their slots and lay the cover into place.

      Ask FixBot

      Add Comment

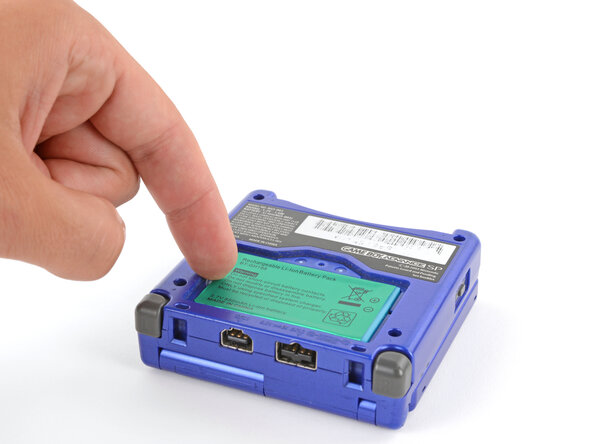
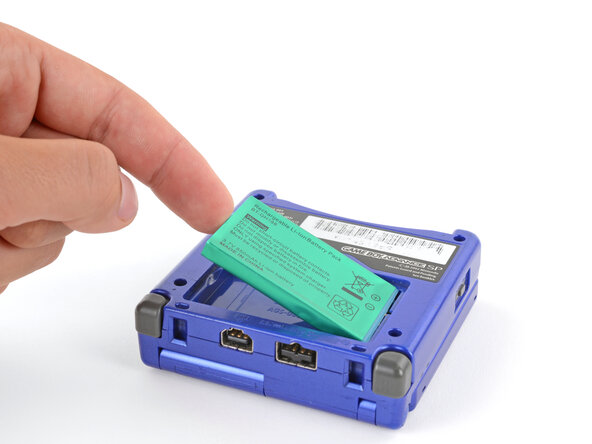
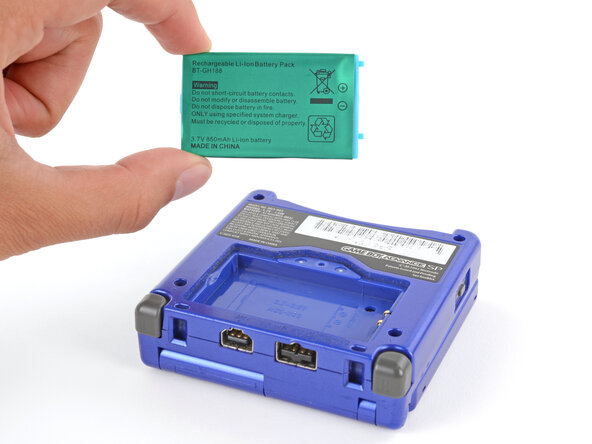
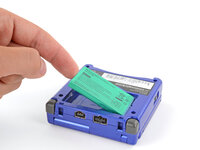
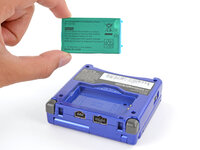
    4. Buttons Removal (Action and D-pad), Remove the battery: step 4, image 1 of 3 Buttons Removal (Action and D-pad), Remove the battery: step 4, image 2 of 3 Buttons Removal (Action and D-pad), Remove the battery: step 4, image 3 of 3
      • Use your finger to lift the battery by the tab on its left edge, then remove it.

      • During reassembly:

      • Never reuse a deformed or damaged battery—it's a fire hazard. Replace it with a new battery.

      • Your replacement battery may come with a plastic enclosure that slides over the battery.

      • Insert the edge of the battery with contacts at a slight downward angle—aligning the contacts with their prongs in the recess—and press the battery into place.

      Ask FixBot

      Add Comment

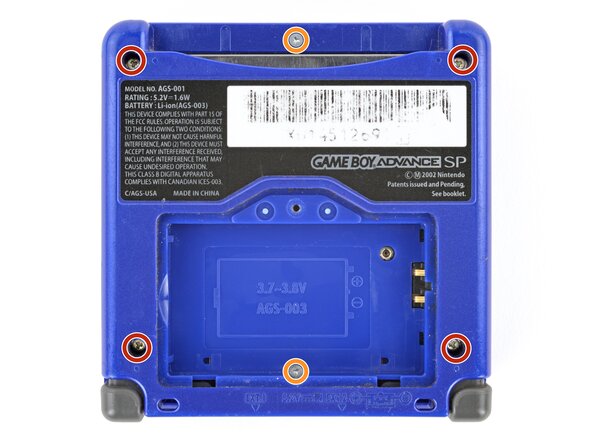
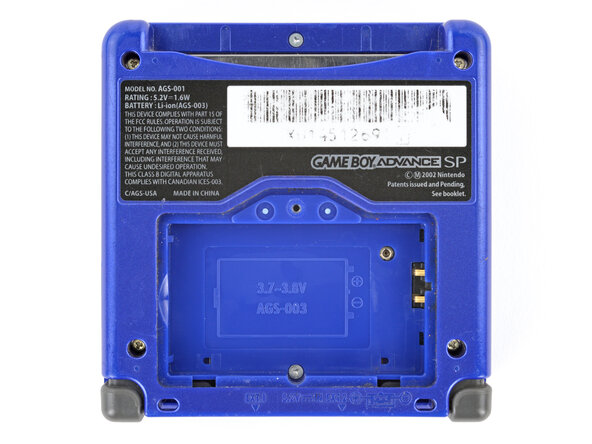
    1. Buttons Removal (Action and D-pad), Remove the bottom shell: step 5, image 1 of 2 Buttons Removal (Action and D-pad), Remove the bottom shell: step 5, image 2 of 2
      • Use a tri‑point Y0 screwdriver to remove the six screws securing the bottom shell:

      • Four 6.3 mm‑long recessed screws

      • Two 4.6 mm‑long screws

      Ask FixBot

      Add Comment

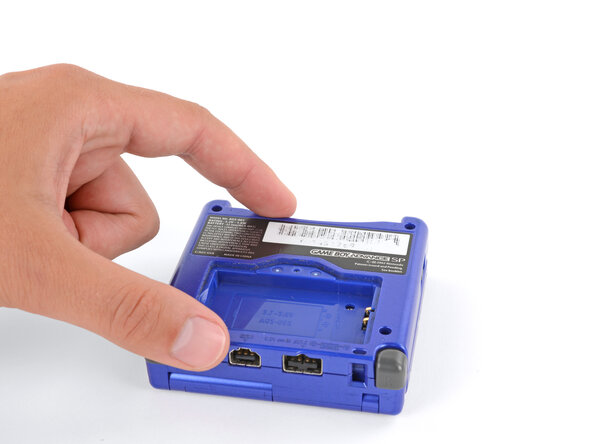
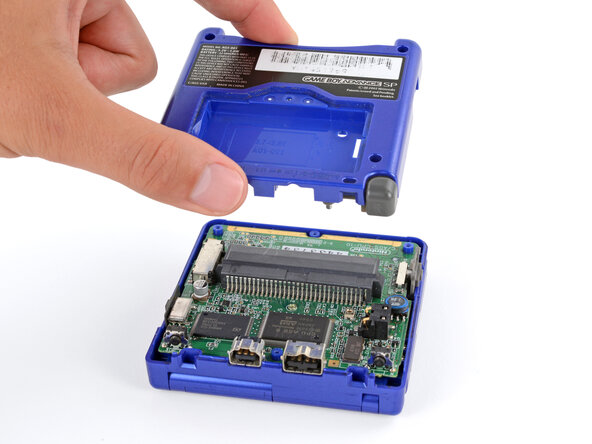
    2. Buttons Removal (Action and D-pad): step 6, image 1 of 2 Buttons Removal (Action and D-pad): step 6, image 2 of 2
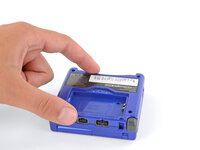
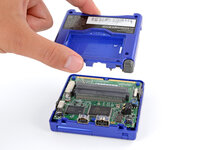
      • Lift the bottom shell straight up and remove it.

      Ask FixBot

      Add Comment

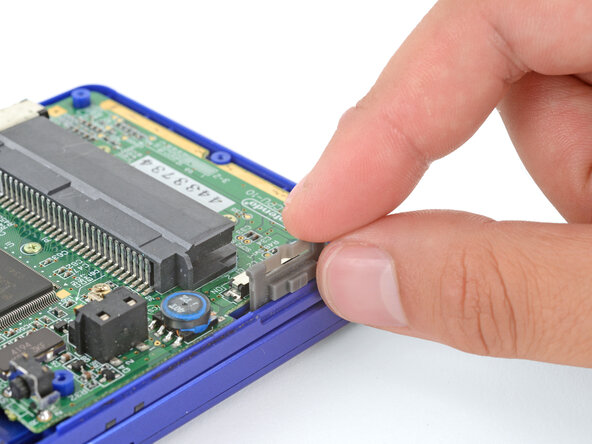
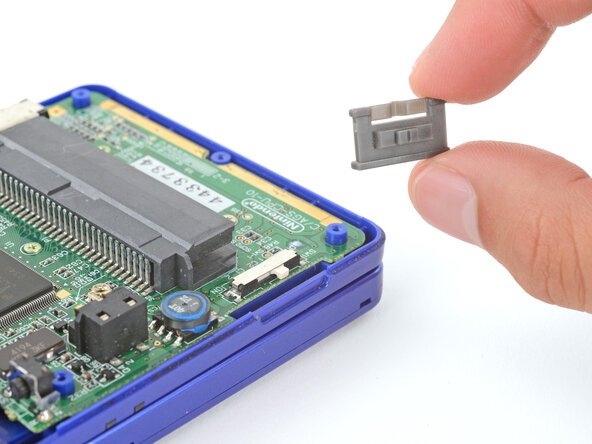
    1. Buttons Removal (Action and D-pad), Remove the power switch cover: step 7, image 1 of 2 Buttons Removal (Action and D-pad), Remove the power switch cover: step 7, image 2 of 2
      • Use your fingers to lift and remove the power switch cover.

      • During reassembly:

      • Use your fingers to put the power switch cover (notched side up) into place so the cutout goes around the actual switch.

      • Gently slide the cover back and forth to make sure it's positioned properly and moving the switch.

      • If the switch isn't properly in its cutout, you won't be able to power on your Game Boy.

      Ask FixBot

      Add Comment

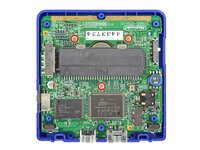
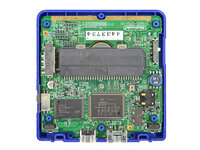
    2. Buttons Removal (Action and D-pad), Remove the motherboard screws: step 8, image 1 of 2 Buttons Removal (Action and D-pad), Remove the motherboard screws: step 8, image 2 of 2
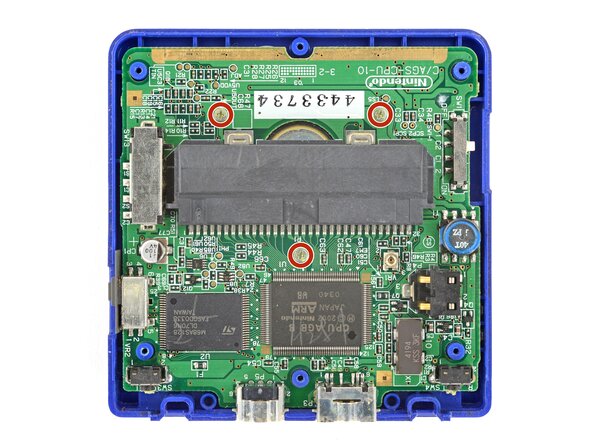
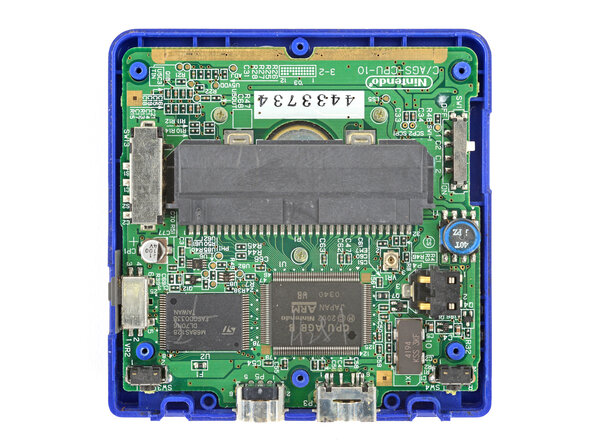
      • Use a JIS 00 screwdriver to remove the three 4.1 mm‑long screws securing the motherboard.

      Ask FixBot

      Add Comment

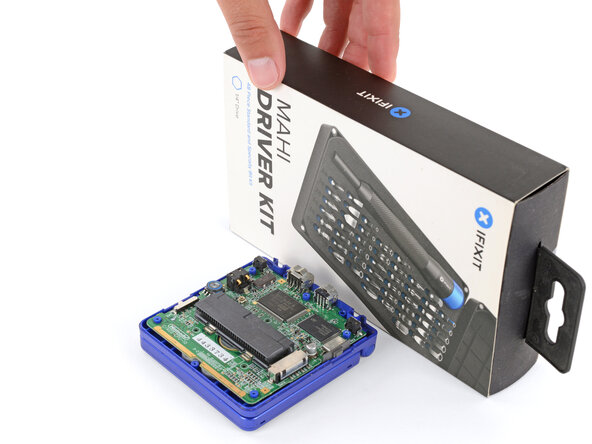
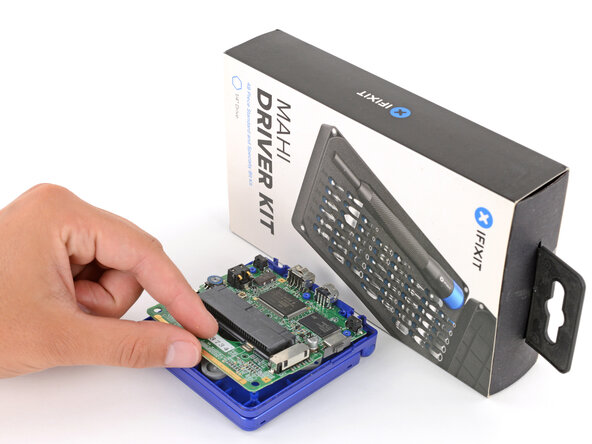
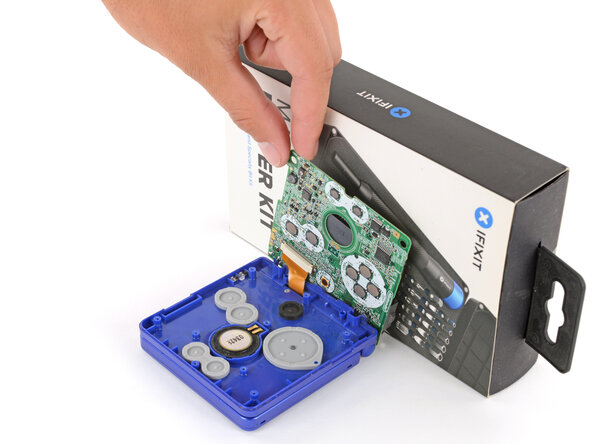
    3. Buttons Removal (Action and D-pad), Prop up the motherboard: step 9, image 1 of 3 Buttons Removal (Action and D-pad), Prop up the motherboard: step 9, image 2 of 3 Buttons Removal (Action and D-pad), Prop up the motherboard: step 9, image 3 of 3
      • Place a sturdy object such as a stack of books or tool case along the edge of your Game Boy with the hinges.

      • Use your fingers to gently flip the motherboard over the hinges and prop it up.

      Ask FixBot

      Add Comment

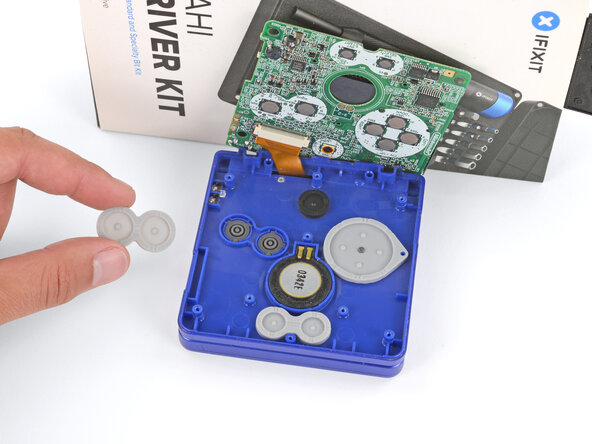
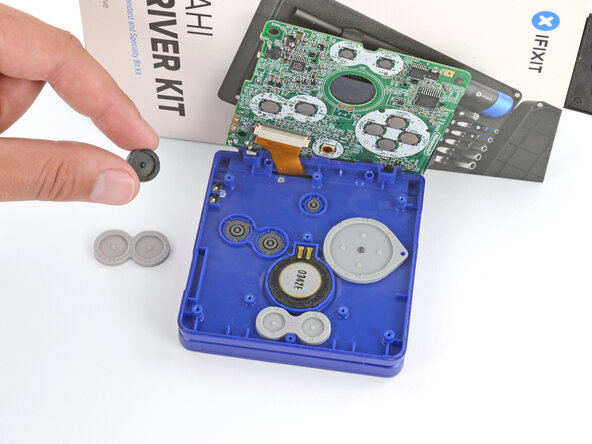
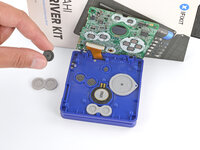
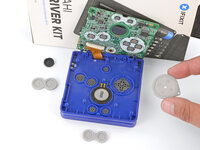
    1. Buttons Removal (Action and D-pad), Remove the silicone pads: step 10, image 1 of 3 Buttons Removal (Action and D-pad), Remove the silicone pads: step 10, image 2 of 3 Buttons Removal (Action and D-pad), Remove the silicone pads: step 10, image 3 of 3
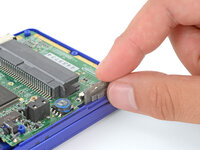
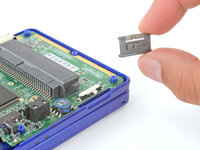
      • Use tweezers or your fingers to remove the four silicone pads covering the buttons (A and B, D‑pad, brightness, and Start/Select).

      • If any of the pads are missing, they may be stuck to their corresponding spot on the motherboard.

      Ask FixBot

      Add Comment

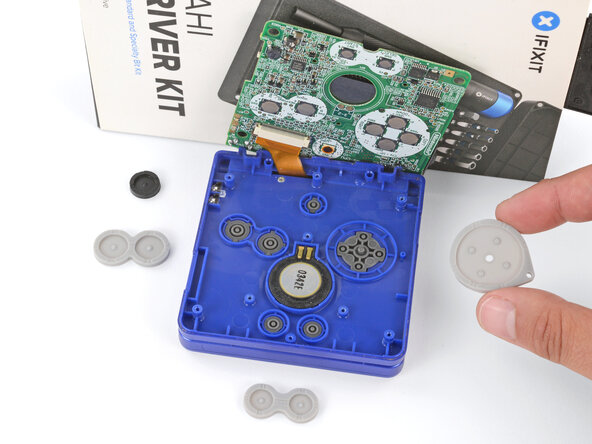
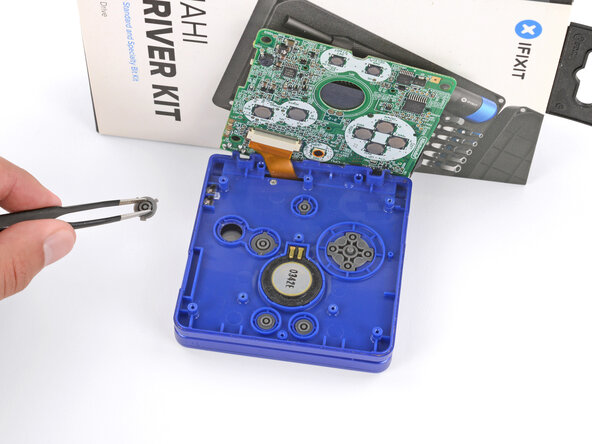
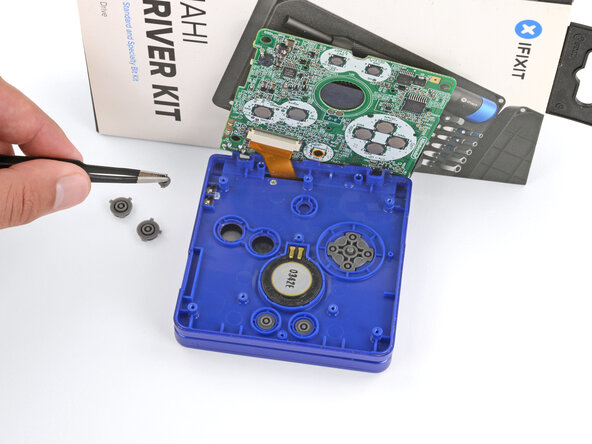
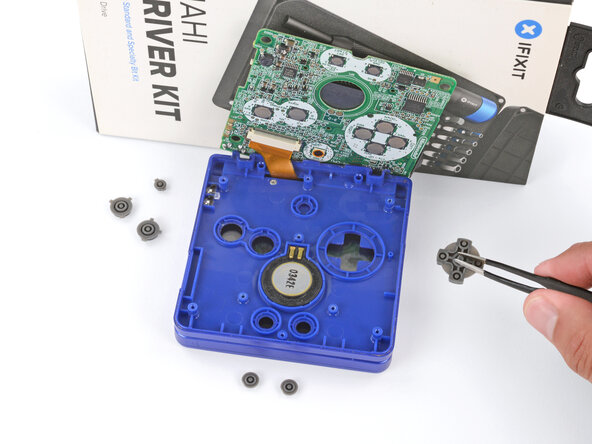
    2. Buttons Removal (Action and D-pad), Remove the buttons: step 11, image 1 of 3 Buttons Removal (Action and D-pad), Remove the buttons: step 11, image 2 of 3 Buttons Removal (Action and D-pad), Remove the buttons: step 11, image 3 of 3
      • Use tweezers or your fingers to remove the buttons (A and B, D‑pad, brightness, and Start/Select).

      • When re‑inserting the action buttons, note that each one is keyed specifically for its recess and proper orientation.

      Ask FixBot

      Add Comment

Finish Line

Cancel: I did not complete this guide.

Spencer Day

Member since: 09/14/22

206,063 Reputation

1,267 Guides authored

0 Guide Comments

Add Comment

View Statistics:

Past 24 Hours: 1

Past 7 Days: 4

Past 30 Days: 12

All Time: 137