Introduction
How to remove the button board in your Analogue Pocket.
What you need
-
-
Unplug all cables and fully power off your device.
-
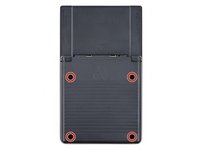
Working on your device requires laying it screen-side down. To prevent damage, lay it on a soft surface such as a towel.
-
-
-
Use a T6 Torx screwdriver to remove the four 13.4 mm‑long screws securing the battery shell.
-
-
-
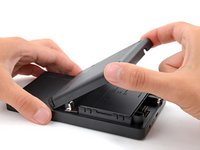
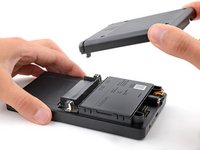
Lift the bottom edge of the battery shell to unhook its tabs.
-
Remove the battery shell.
-
-
-
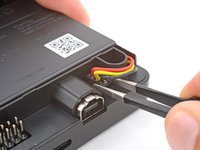
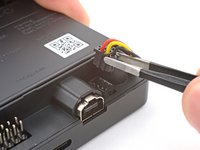
Tool used on this step:Tweezers$4.99
-
Use blunt nose tweezers to pull the battery connector out of its socket on the bottom right corner of your device.
-
-
-
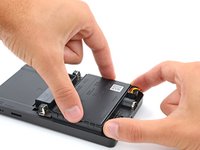
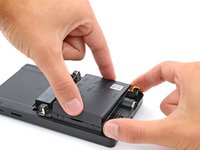
Lift one of the battery's short edges until the clips release.
-
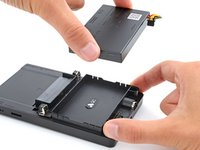
Remove the battery.
-
-
-
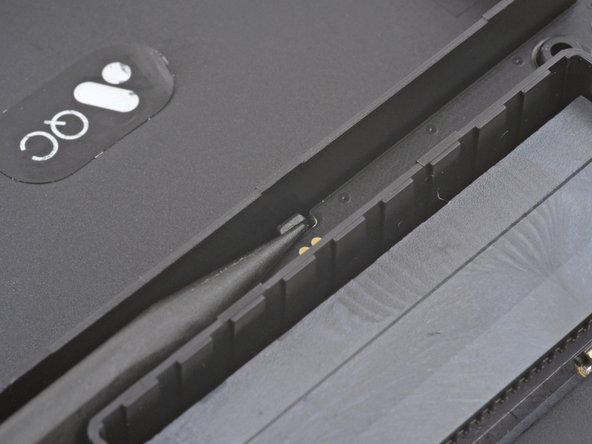
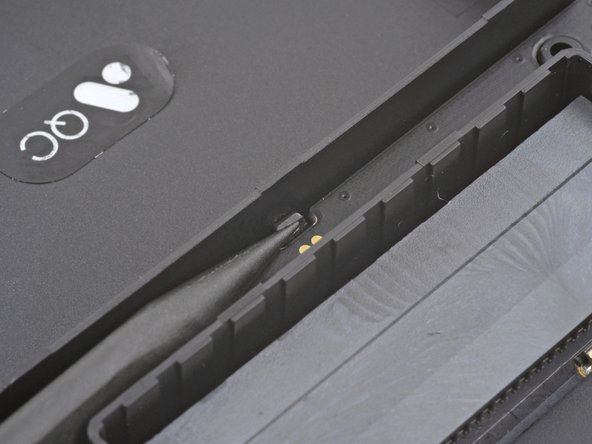
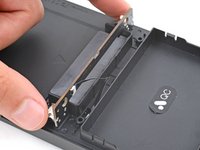
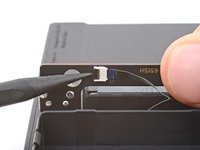
Use the point of a spudger to push the clip out and release the board.
-
-
-
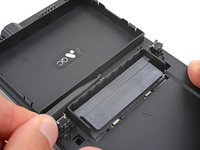
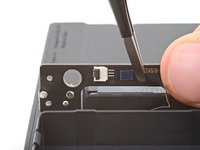
Swing the bottom edge of the button board up and over the cartridge reader.
-
Set the board on top of the cartridge reader so the cable's connector is facing the bottom of the device.
-
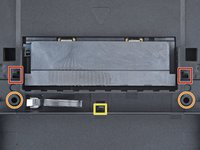
Put the top edges of the board under their tabs on the rear shell.
-
Lay the board onto the rear shell so the alignment posts go into their circular cutouts on the board.
-
Press the board down until the plastic clip engages.
-
-
-
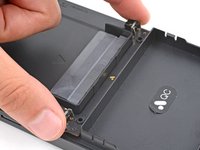
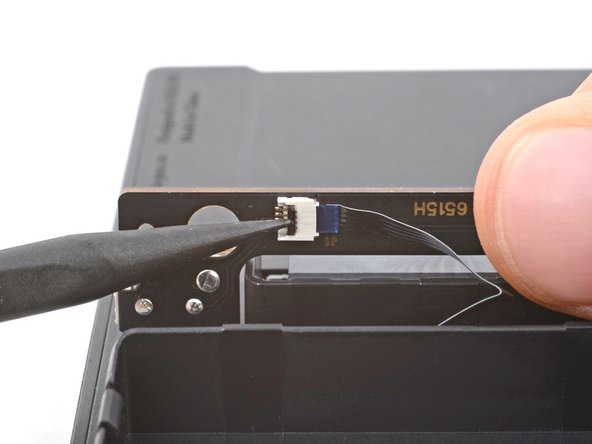
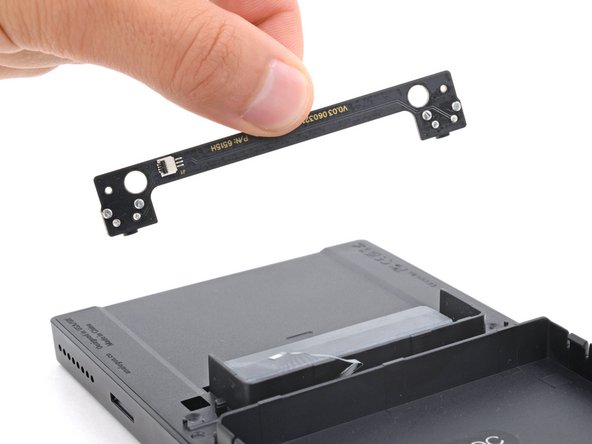
Use the tip of a spudger or a clean fingernail to flip up the hinged locking flap on the board cable ZIF connector located on the board itself.
-
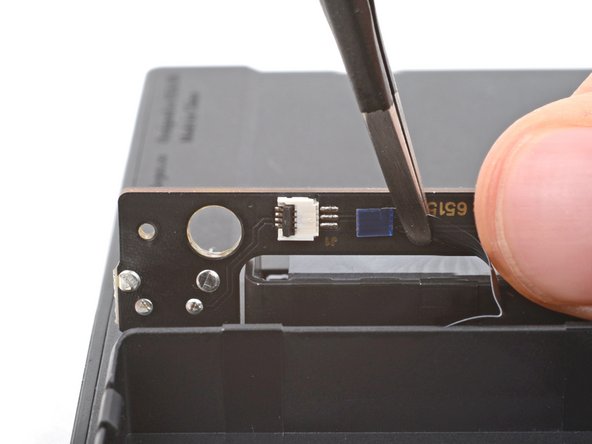
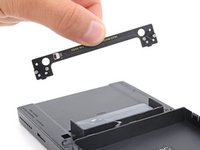
Use blunt nose tweezers to pull the cable straight out of its socket.
-


To reassemble your device, follow these instructions in reverse order.

