Introduction
Hard drive failed? Want to increase the storage capacity? This guide will help you open the Linkstation.
Notes:
1) I tried to replace the standard 500 GB hard drives with SSD items, it was not succcessful; the unit would not initialise.
You need to therefore buy the SSD version if you want the latest technology.
What you need
-
-
-
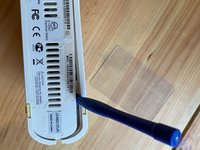
Using a thin blade, gently prise the strip-sticker from the front of the unit.
 Ask FixBot
-
-
-
There are two catches to release on the front face.
-
Using the iFixit opening tools, insert the first blade between the long opening and the first hole.
-
The second blade should be inserted between the third and fourth holes
-
Gently manipulate the tools to disengage the catches.
-
Open the case wider to be able to get the ifixit tools in the gap on the side of the unit - go to the next step.
-
-
-
-
The first catch is next to the rubber foot. Insert the tool under the lip and lift the side to disengage the catch
-
The second catch can be found at the beginning of the vents, use the same technique to open the catch
-
Repeat the steps on the opposite side and the lid will come off.
-
-
-
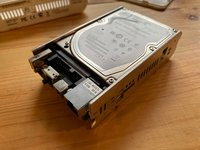
Pull the until out of the case, there are no catches, it is simply held in.
-
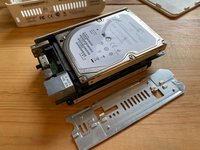
Place the unit on it's side and remove the metal plate that is clamped to the board.
-
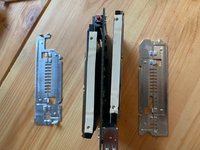
Turn the unit over the remove the second plate.
-
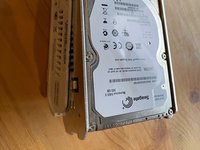
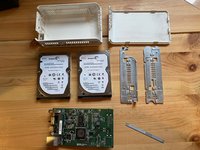
The hard drives can now be removed.
-
-
-
The unit is now disassembled, assembly is simply done in the reverse order.
-
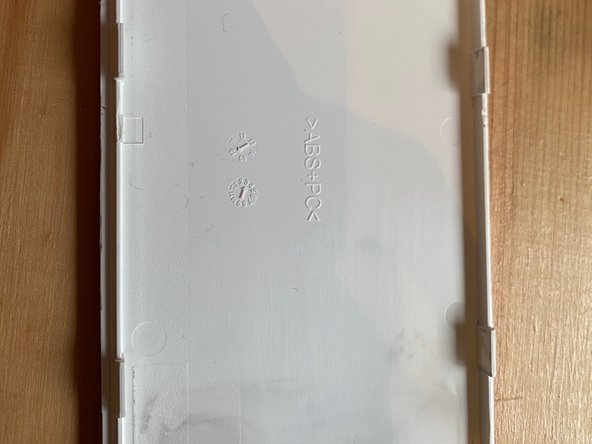
When reassembling the unit, pay attention to the orientation of the metal plates.
-
-






To reassemble your device, follow these instructions in reverse order.
Cancel: I did not complete this guide.
2 other people completed this guide.

4 Guide Comments
I have the 2x1TB version and DID manage to successfully replace HDD's with SSD's! I only had 500GB SSD's and don't recall having any problems (but it was years ago though). I do have a number of downloaded utilities, including TFTP Boot Recovery (presumably from Buffalo website) so it's possible I had to use this (too long ago to recall)!
I need the TFTP Boot Recovery files. Have you the files?
Thanks to all...I opened it without breaking anything thanks to you.
