
Brother PT-110 Back Plate Replacement

Kimberly Larsen and 4 other contributors
Last updated on Sep 18, 2026
Views: 198
View statistics:
- Past 24 Hours:
- 0
- Past 7 Days:
- 3
- Past 30 Days:
- 16
- All Time:
- 198
Comments: 0
No one has left comments on this guide. Will you be first?
Go to guide commentsCompleted: 0 1
No one has marked this guide "completed." Will you be the first?
1 person has marked this guide "completed." It's you — great job!
Favorites: 0 1
No one has favorited (and subscribed to) this guide. Will you be the first?
1 person has favorited (and subscribed to) this guide — and that's you!
Introduction
Go to step 1 ↓In order to replace or repair the motors, gears, etc., the back plate has to be removed. Ensure the batteries are not in the device before starting this guide.
What you need
Tools


-
-
-
-
Remove the cartridge and the yellow tape cutter.
-
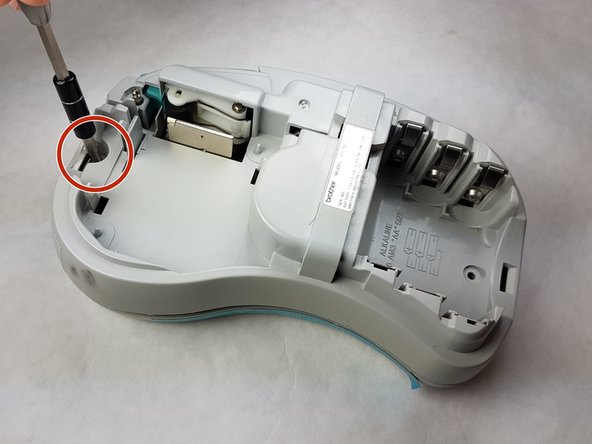
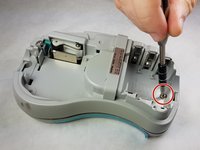
Unscrew the two 9 mm Phillips #1 screws from the top and bottom.
-
-
-
First: To separate the top cover from the body, insert a spudger between the two halves.
-
Gently twist the spudger until the two halves separate. Do this in multiple spots around the perimeter of the cover to distribute the pressure.
-
A small flat screwdriver works for this step. Use on the left and right sides.
-
-
-
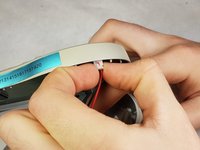
Gently grasp the ribbon wire and top cover, then gently pull the ribbon wire out of its connection.
-
-
-
-
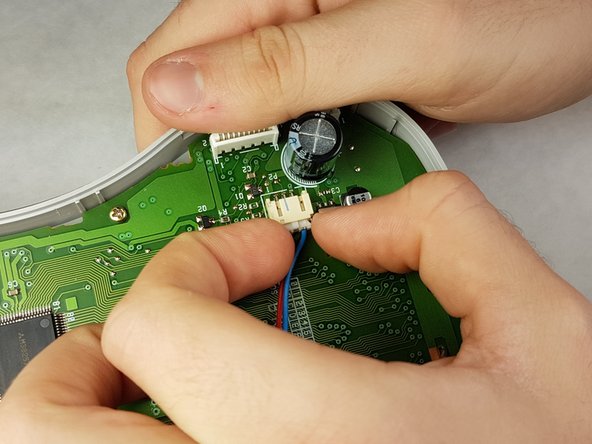
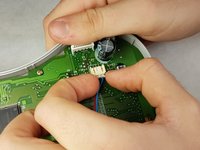
Carefully pinch the top of the connector.
-
Pull perpendicular to the device until the wire is disconnected. Remove the other connector by pulling it parallel to the circuit board.
-
-
-
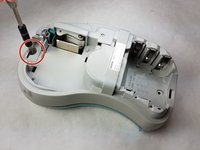
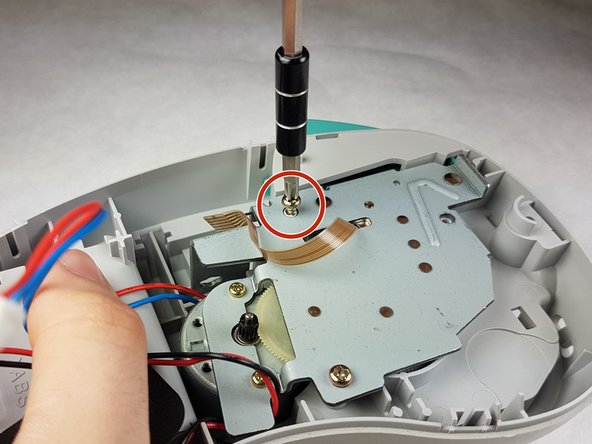
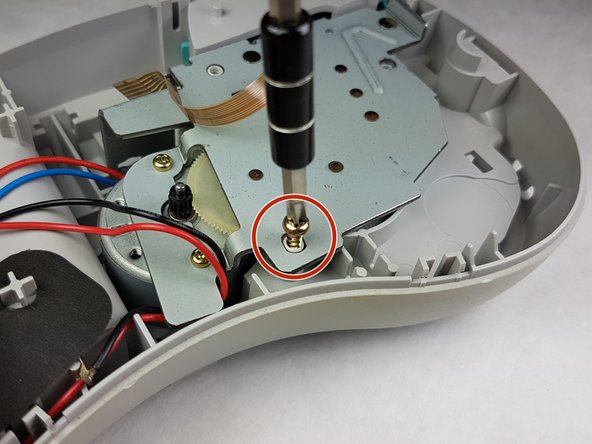
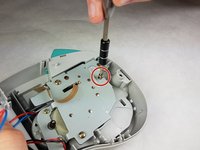
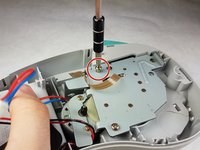
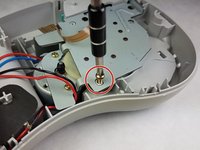
Unscrew the three 9 mm Phillips #1 screws shown.
-
Lift the metal plate upwards, don't unscrew the motor, this will remain attached to the plate. If you didn't remove the yellow tape cutter then it will simply fall out.
-
-


 Ask FixBot





To reassemble your device, follow these instructions in reverse order.

Team

IUPUI, Team 1-1, Harley Fall 2016 Member of IUPUI, Team 1-1, Harley Fall 2016
IUPUI-HARLEY-F16S1G1
3 Members
84 Guides authored
