Broil-King BBQ Heat Indicator Replacement Guide

What you need

  1. Broil-King BBQ Heat Indicator Replacement Guide, Heat Indicator: step 1, image 1 of 3 Broil-King BBQ Heat Indicator Replacement Guide, Heat Indicator: step 1, image 2 of 3 Broil-King BBQ Heat Indicator Replacement Guide, Heat Indicator: step 1, image 3 of 3
    • Gather the tools and parts needed for the repair:

    • Crescent Wrench

    • Scraper

    • Replacement Heat Indicator

    • Be sure that the grill is completely cool and disconnect any gas tanks before beginning the repair.

  2. Broil-King BBQ Heat Indicator Replacement Guide: step 2, image 1 of 2 Broil-King BBQ Heat Indicator Replacement Guide: step 2, image 2 of 2
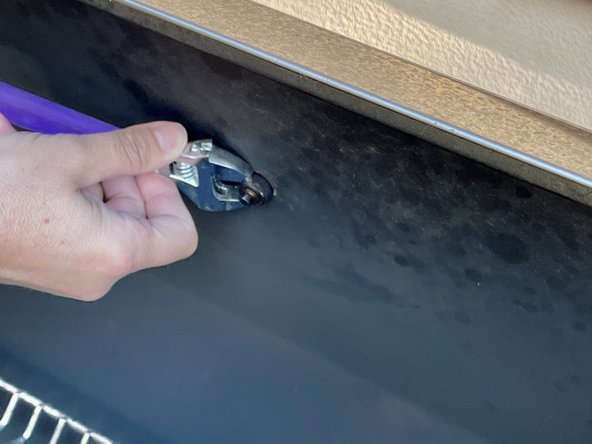
    • Open the lid and then remove the nut securing the heat indicator.

    • Use a crescent wrench to loosen the nut.

    • Continue to unthread the nut with your fingers.

    • Place the nut in a secure location for later use.

  3. Broil-King BBQ Heat Indicator Replacement Guide: step 3, image 1 of 2 Broil-King BBQ Heat Indicator Replacement Guide: step 3, image 2 of 2
    • Close the lid.

    • Slide the flat edge of the paint scraper under the existing heat indicator plate to pry the plate loose.

    • Lift the plate up, then off of the predrilled holes.

  4. Broil-King BBQ Heat Indicator Replacement Guide: step 4, image 1 of 3 Broil-King BBQ Heat Indicator Replacement Guide: step 4, image 2 of 3 Broil-King BBQ Heat Indicator Replacement Guide: step 4, image 3 of 3
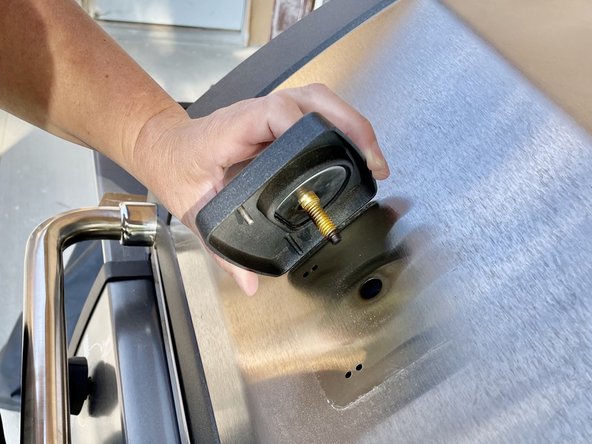
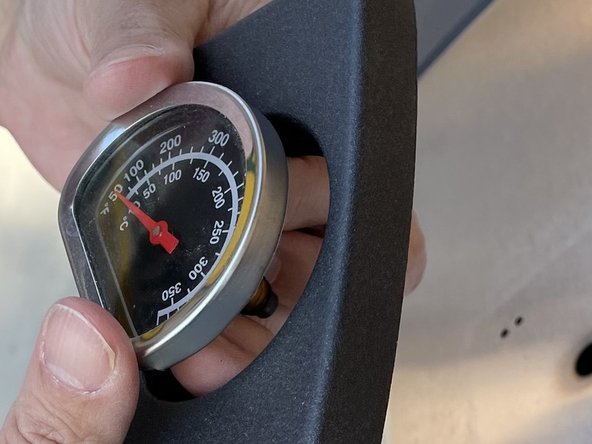
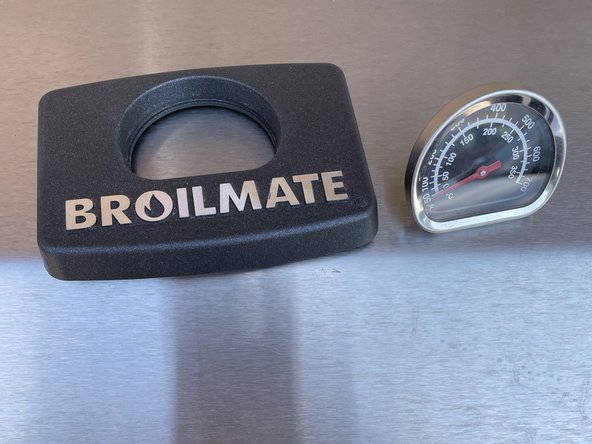
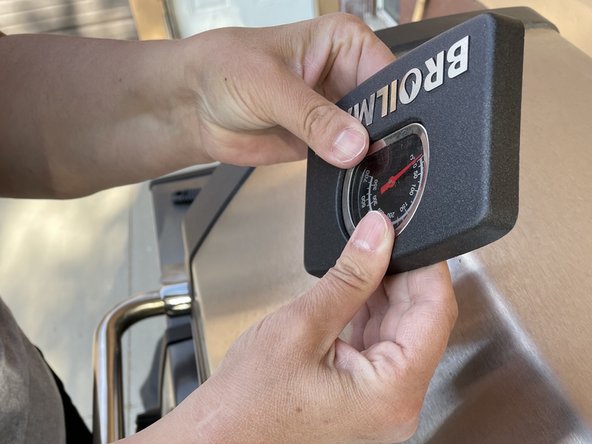
    • Push the heat indicator from the back to remove it from the Broilmate plate.

  5. Broil-King BBQ Heat Indicator Replacement Guide: step 5, image 1 of 3 Broil-King BBQ Heat Indicator Replacement Guide: step 5, image 2 of 3 Broil-King BBQ Heat Indicator Replacement Guide: step 5, image 3 of 3
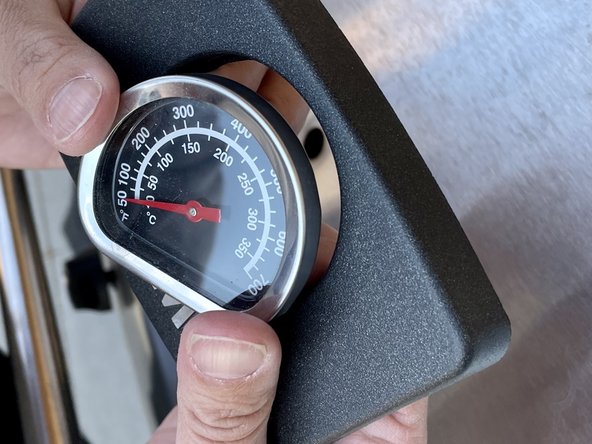
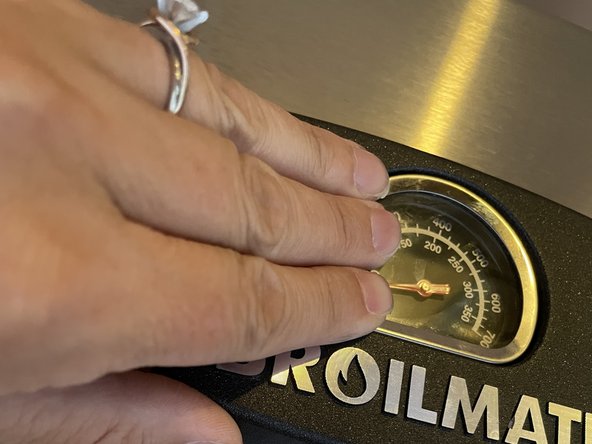
    • Align the new heat indicator through the front of the plate.

    • Move your thumbs around the plate until the heat indicator is secure.

  6. Broil-King BBQ Heat Indicator Replacement Guide: step 6, image 1 of 3 Broil-King BBQ Heat Indicator Replacement Guide: step 6, image 2 of 3 Broil-King BBQ Heat Indicator Replacement Guide: step 6, image 3 of 3
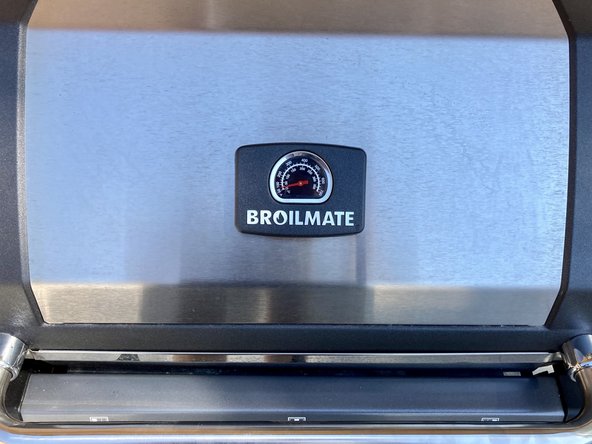
    • Align the new heat indicator and plate with the factory drilled holes on the face of the BBQ.

    • Hold the plate in place while opening the lid.

  7. Broil-King BBQ Heat Indicator Replacement Guide: step 7, image 1 of 2 Broil-King BBQ Heat Indicator Replacement Guide: step 7, image 2 of 2
    • Retrieve the nut used on the previous heat indicator (remember you put it in a secure location).

    • Thread the nut on the new heat indicator.

    • Use a crescent wrench to finish tightening the nut on the new bolt.

  8. Broil-King BBQ Heat Indicator Replacement Guide: step 8, image 1 of 1
    • Close the lid. You're done!

Conclusion

This simple repair doesn’t take much time, yet is well worth the effort. A working heat indicator provides the necessary information about the temperature to ensure safe food practices, and produce a tasty outcome.

2 other people completed this guide.

0 Comments

Add Comment

View Statistics:

Past 24 Hours: 0

Past 7 Days: 11

Past 30 Days: 37

All Time: 762