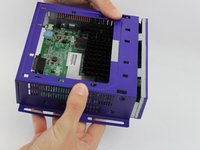
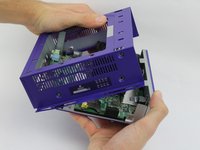
Brightsign 4k Outer Shell Replacement

What you need

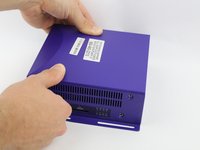
  1. Brightsign 4k Outer Shell Replacement, Outer Shell: step 1, image 1 of 3 Brightsign 4k Outer Shell Replacement, Outer Shell: step 1, image 2 of 3 Brightsign 4k Outer Shell Replacement, Outer Shell: step 1, image 3 of 3
    • Remove three 8mm screws from the left side of the device.

    • Remove four 8mm screws from the right side of the device.

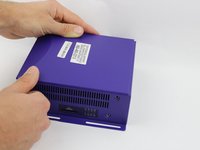
  2. Brightsign 4k Outer Shell Replacement: step 2, image 1 of 3 Brightsign 4k Outer Shell Replacement: step 2, image 2 of 3 Brightsign 4k Outer Shell Replacement: step 2, image 3 of 3
    • Apply pressure on the SD card to pop it out of the port.

    • Remove the card by pulling it out.

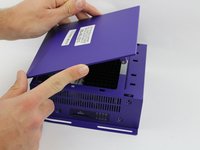
  3. Brightsign 4k Outer Shell Replacement: step 3, image 1 of 3 Brightsign 4k Outer Shell Replacement: step 3, image 2 of 3 Brightsign 4k Outer Shell Replacement: step 3, image 3 of 3
    • Press down on the top cover of the device and slid it towards you until you see a slight gap created.

    • Lift the top cover off.

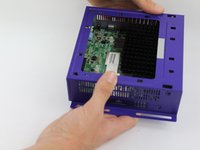
  4. Brightsign 4k Outer Shell Replacement: step 4, image 1 of 3 Brightsign 4k Outer Shell Replacement: step 4, image 2 of 3 Brightsign 4k Outer Shell Replacement: step 4, image 3 of 3
    • Slide the body case back away from the bottom.

    • Pull up the body case to remove it from the bottom.

Conclusion

To reassemble your device, follow these instructions in reverse order.

2 other people completed this guide.

Zackery

Member since: 02/15/18

347 Reputation

2 Guides authored

Team

USF Tampa, Team S17-G6, Boczar Spring 2018 Member of USF Tampa, Team S17-G6, Boczar Spring 2018

USFT-BOCZAR-S18S17G6

4 Members

6 Guides authored

0 Comments

Add Comment

View Statistics:

Past 24 Hours: 0

Past 7 Days: 4

Past 30 Days: 14

All Time: 249