
Brightsign 4k LED Display Replacement

Nhi Pham and 5 other contributors
Last updated on Mar 7, 2024
Views: 700
View statistics:
- Past 24 Hours:
- 2
- Past 7 Days:
- 16
- Past 30 Days:
- 66
- All Time:
- 700
Comments: 0
No one has left comments on this guide. Will you be first?
Go to guide commentsCompleted: 0 1
No one has marked this guide "completed." Will you be the first?
1 person has marked this guide "completed." It's you — great job!
Favorites: 0 1
No one has favorited (and subscribed to) this guide. Will you be the first?
1 person has favorited (and subscribed to) this guide — and that's you!
Introduction
Go to step 1 ↓If the device's LED display is not working, follow this guide to replace the LED display on your BrightSign 4k player.
Tech Tip: this Replacement guide will require the use of a soldering iron to remove solders, so check out the soldering guide if you're unfamiliar with the process.
What you need
Tools


-
-
-
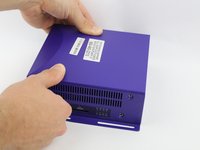
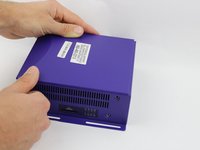
Remove three 8mm screws from the left side of the device.
-
Remove four 8mm screws from the right side of the device.
 Ask FixBot
-
-
-
Apply pressure on the SD card to pop it out of the port.
-
Remove the card by pulling it out.
-
-
-
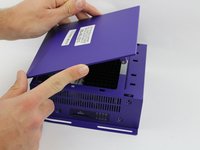
Press down on the top cover of the device and slid it towards you until you see a slight gap created.
-
Lift the top cover off.
-
-
-
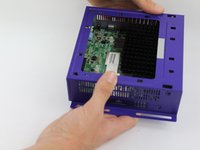
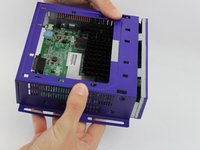
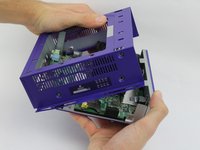
Slide the body case back away from the bottom.
-
Pull up the body case to remove it from the bottom.
-
-
-
-
-
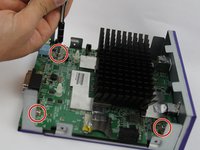
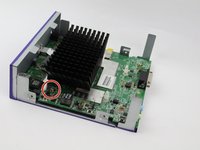
Remove the four 8mm screws at each corner of the motherboard with a JIS #0 screwdriver.
-
-
-
-
-
-
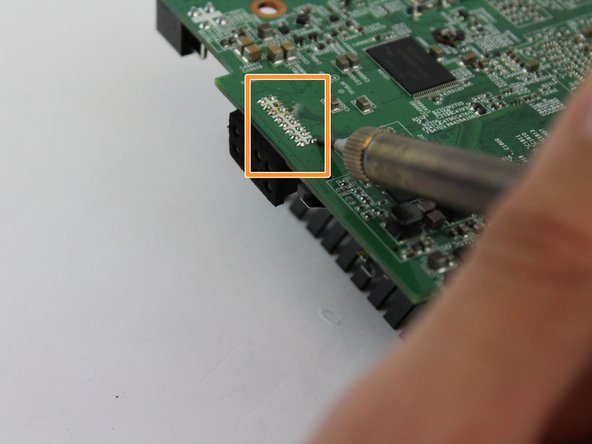
Turn the motherboard over and locate the solders holding the LED Display in place.
-
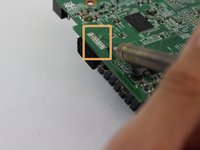
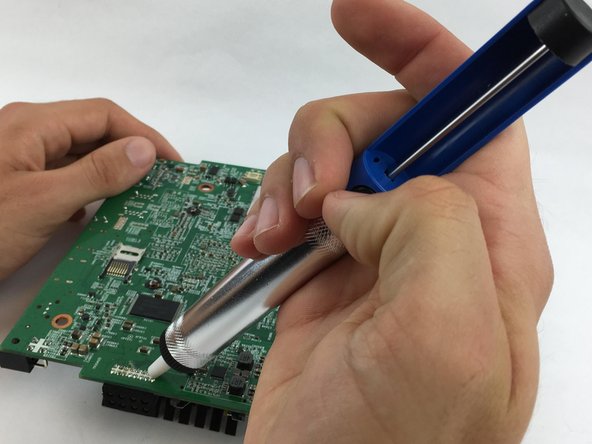
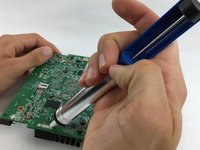
Use the soldering iron to desolder the sixteen solder joints and remove the melted solder with the pump shown in Step 8.
-
-
Tool used on this step:Desoldering Pump$3.99
-
Apply the desoldering pump to remove the melted part from the motherboard (press the button to release it).
-
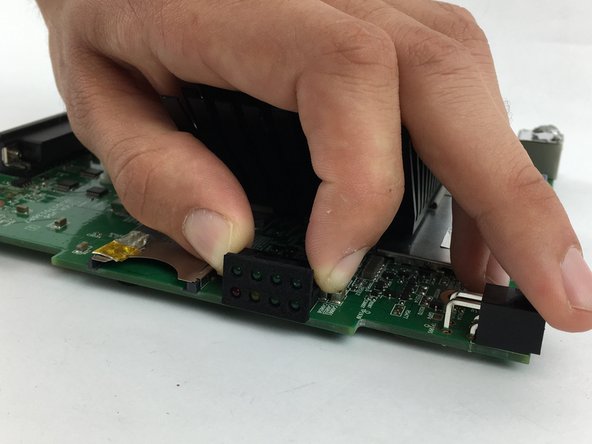
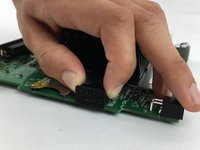
After the solders have been removed, gently pull the LED Display from the motherboard.
-
-








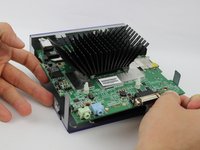
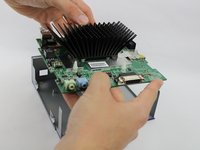

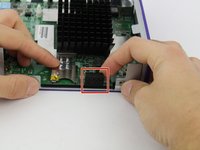

To reassemble your device, follow these instructions in reverse order.

Team

USF Tampa, Team S17-G6, Boczar Spring 2018 Member of USF Tampa, Team S17-G6, Boczar Spring 2018
USFT-BOCZAR-S18S17G6
4 Members
72 Guides authored
