Free Shipping on Domestic Orders $75+

This translation was generated by a machine and has not been reviewed by a person yet. Speak this language? Review it.

Braun Digital Alarm Clock: Spring Replacement

What you need

    1. Braun Digital Alarm Clock: Spring Replacement, Remove the plexiglass plate: step 1, image 1 of 3 Braun Digital Alarm Clock: Spring Replacement, Remove the plexiglass plate: step 1, image 2 of 3 Braun Digital Alarm Clock: Spring Replacement, Remove the plexiglass plate: step 1, image 3 of 3
      • First, the plexiglass plate must be removed.

      • Use a suction cup to lift it, then use the opening picks to separate it from the alarm clock.

      Ask FixBot

      Add Comment

    2. Braun Digital Alarm Clock: Spring Replacement, Remove the frame: step 2, image 1 of 2 Braun Digital Alarm Clock: Spring Replacement, Remove the frame: step 2, image 2 of 2
      • Behind the glass, four Phillips #00 screws are revealed, which must be removed.

      • After that, the frame can be removed and the screen is revealed.

      Ask FixBot

      Add Comment

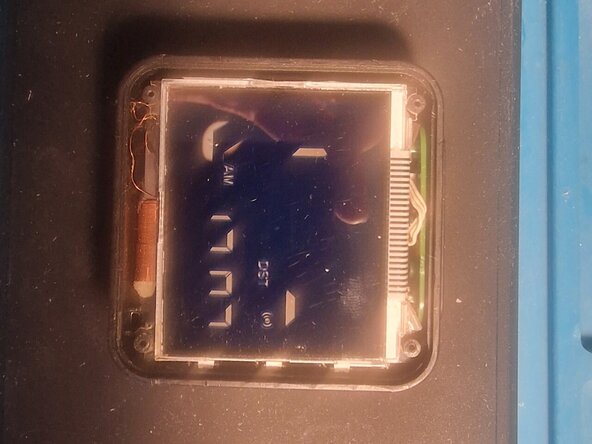
    3. Braun Digital Alarm Clock: Spring Replacement, Fold the screen away: step 3, image 1 of 2 Braun Digital Alarm Clock: Spring Replacement, Fold the screen away: step 3, image 2 of 2
      • The screen can be folded back. The diffuser screen is located between the screen and the PCB. It is not secured and can be set aside.

      Ask FixBot

      Add Comment

    4. Braun Digital Alarm Clock: Spring Replacement, Fold away the screen and PCB: step 4, image 1 of 2 Braun Digital Alarm Clock: Spring Replacement, Fold away the screen and PCB: step 4, image 2 of 2
      • The screen and PCB can now be folded away together to the left.

      • The capacitor on the right is lightly glued in place and can be carefully detached for better access.

      Ask FixBot

      Add Comment

    5. Braun Digital Alarm Clock: Spring Replacement, Remove the plastic clip: step 5, image 1 of 2 Braun Digital Alarm Clock: Spring Replacement, Remove the plastic clip: step 5, image 2 of 2
      • A plastic clip holds the small upper PCB with the switches for the alarm function in place. Use a spudger to lift the clip out.

      Ask FixBot

      Add Comment

    6. Braun Digital Alarm Clock: Spring Replacement, Editing or replacing the spring: step 6, image 1 of 2 Braun Digital Alarm Clock: Spring Replacement, Editing or replacing the spring: step 6, image 2 of 2
      • The upper PCB can now be easily removed.

      • The spring can now be stretched, compressed, or replaced entirely.

      • Tip: For reassembly, it may be helpful to stick the spring to the green switch.

      Ask FixBot

      Add Comment

Conclusion

Follow the steps in reverse order to reassemble your device.

Cancel: I did not complete this guide.

Fidecaro

Member since: 05/25/24

265 Reputation

2 Guides authored

0 Guide Comments

Add Comment

View Statistics:

Past 24 Hours: 0

Past 7 Days: 19

Past 30 Days: 53

All Time: 418