Free Shipping on Domestic Orders $75+

Bose SoundTouch Portable Motherboard Replacement

What you need

    1. Bose SoundTouch Portable Motherboard Replacement, Speaker Battery: step 1, image 1 of 1
      • Remove the two T-10 machine screws at the bottom of the device.

      Ask FixBot

      Add Comment

    2. Bose SoundTouch Portable Motherboard Replacement: step 2, image 1 of 1
      • Turn the device around.

      • From the top, lightly push down the back cover to release it.

      • Lift the bottom of the cover and pull it up.

      Ask FixBot

      Add Comment

    3. Bose SoundTouch Portable Motherboard Replacement: step 3, image 1 of 1
      • Remove the two T-10 machine screws, then pull the battery straight out.

      Ask FixBot

      Add Comment

    1. Bose SoundTouch Portable Motherboard Replacement, Metal Trim: step 4, image 1 of 1
      • Remove the two screws using a torx screwdriver.

      Ask FixBot

      Add Comment

    2. Bose SoundTouch Portable Motherboard Replacement: step 5, image 1 of 1
      • With the bottom of the device facing you, pull down the trim pieces to remove from the device body.

      Ask FixBot

      Add Comment

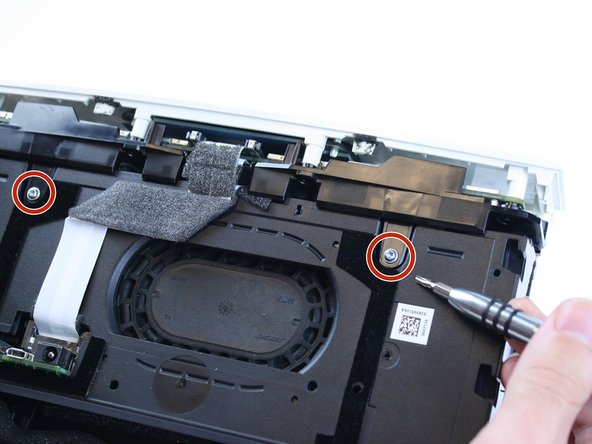
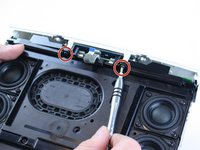
    1. Bose SoundTouch Portable Motherboard Replacement, Motherboard: step 6, image 1 of 2 Bose SoundTouch Portable Motherboard Replacement, Motherboard: step 6, image 2 of 2
      • Remove four T-10 Torx screws; there are two on the front and two on the back.

      Ask FixBot

      Add Comment

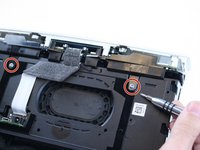
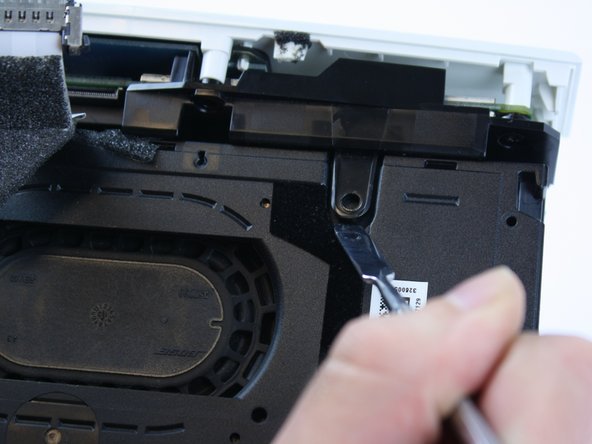
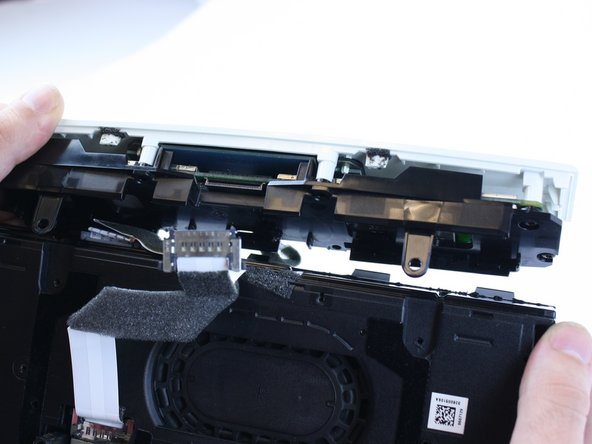
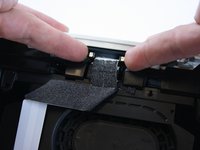
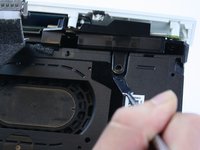
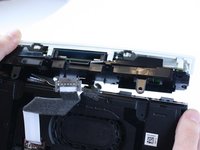
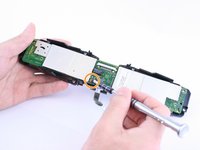
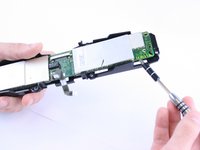
    2. Bose SoundTouch Portable Motherboard Replacement: step 7, image 1 of 3 Bose SoundTouch Portable Motherboard Replacement: step 7, image 2 of 3 Bose SoundTouch Portable Motherboard Replacement: step 7, image 3 of 3
      • Pinch and remove the connectors.

      • Use a flat tool to pry off the top piece.

      Ask FixBot

      Add Comment

    3. Bose SoundTouch Portable Motherboard Replacement: step 8, image 1 of 3 Bose SoundTouch Portable Motherboard Replacement: step 8, image 2 of 3 Bose SoundTouch Portable Motherboard Replacement: step 8, image 3 of 3
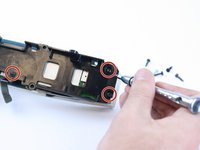
      • Remove the four T-10 Torx screws holding the plastic cover in place.

      • Remove the one T-10 Torx screw that is holding the motherboard in place.

      • Pry off the motherboard.

      Ask FixBot

      Add Comment

Conclusion

To reassemble your device, follow these instructions in reverse order.

Cancel: I did not complete this guide.

3 other people completed this guide.

Chelsea Martin

Member since: 02/20/17

706 Reputation

6 Guides authored

Team

USF Tampa, Team S1-G3, Leahy Spring 2017 Member of USF Tampa, Team S1-G3, Leahy Spring 2017

USFT-LEAHY-S17S1G3

3 Members

84 Guides authored

0 Guide Comments

Add Comment

View Statistics:

Past 24 Hours: 2

Past 7 Days: 11

Past 30 Days: 52

All Time: 3,810