Free Shipping on Domestic Orders $75+

Body Panel Removal

What you need

    1. Body Panel Removal, Remove film door: step 1, image 1 of 1
      • Push down the latch to release the film door.

      Ask FixBot

      Add Comment

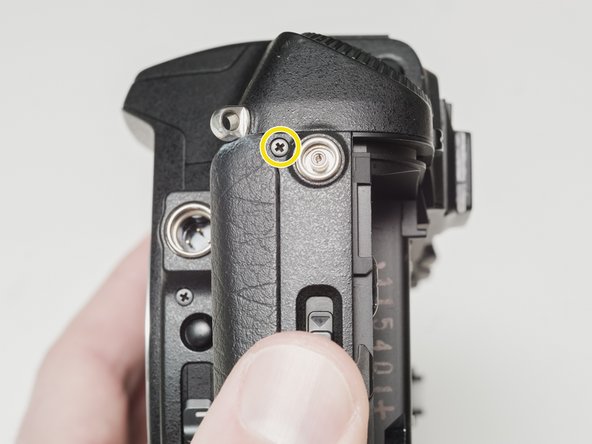
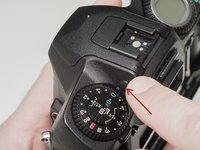
    2. Body Panel Removal, Remove top cover screws: step 2, image 1 of 3 Body Panel Removal, Remove top cover screws: step 2, image 2 of 3 Body Panel Removal, Remove top cover screws: step 2, image 3 of 3
      • Remove two 7.5 mm #00 screws.

      • Remove one 9.0 mm #00 screw.

      • Remove one 13.5 mm #00 screw from inside the battery compartment.

      Ask FixBot

      Add Comment

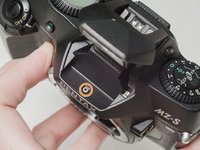
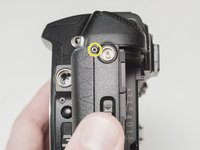
    3. Body Panel Removal, Remove top cover screws: step 3, image 1 of 3 Body Panel Removal, Remove top cover screws: step 3, image 2 of 3 Body Panel Removal, Remove top cover screws: step 3, image 3 of 3
      • Push the button to pop up the flash.

      • Remove one 3.5 mm #00 screw.

      • Remove one 5.5 mm #00 screw.

      Ask FixBot

      Add Comment

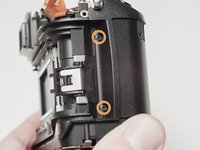
    4. Body Panel Removal, Lift top cover: step 4, image 1 of 1
      • Carefully lift the top cover away from the body to access wired connections.

      • The top cover is still connected in several locations.

      Ask FixBot
      Add Comment

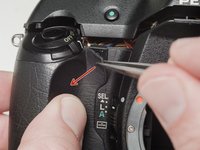
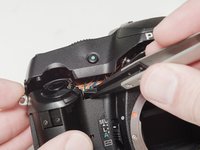
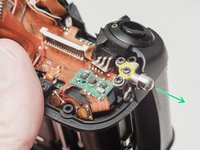
    5. Body Panel Removal, Access flash connections: step 5, image 1 of 2 Body Panel Removal, Access flash connections: step 5, image 2 of 2
      • Peel back the corner of the rubber grip.

      • Remove the small plastic cover.

      • Be careful not to short the wires before the flash capacitors have been properly discharged.

      Ask FixBot
      Add Comment

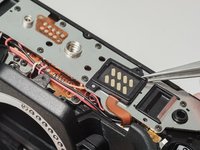
    6. Body Panel Removal, Discharge flash capacitors: step 6, image 1 of 1
      • Use a 1kΩ-10kΩ high power resistor to discharge the capacitor. Place the resistor between the blue wire, exposed in the previous step, and ground.

      • The flash capacitors store energy at a very high voltage. Failing to discharge the capacitors properly could result in personal injury and/or damage to the camera.

      Ask FixBot
      Add Comment

    7. Body Panel Removal, Disconnect right flex cable: step 7, image 1 of 1
      • Carefully lift the sides of the white latch.

      • Hold the flex PCB on the camera body in place as you lift to prevent damaging the flex.

      Ask FixBot

      Add Comment

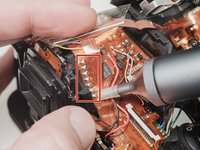
    8. Body Panel Removal, Disconnect left flex cable: step 8, image 1 of 1
      • Desolder the red wire.

      • Carefully lift the sides of the white latch.

      • Hold the flex PCB on the camera body in place as you lift to prevent damaging the flex.

      Ask FixBot

      Add Comment

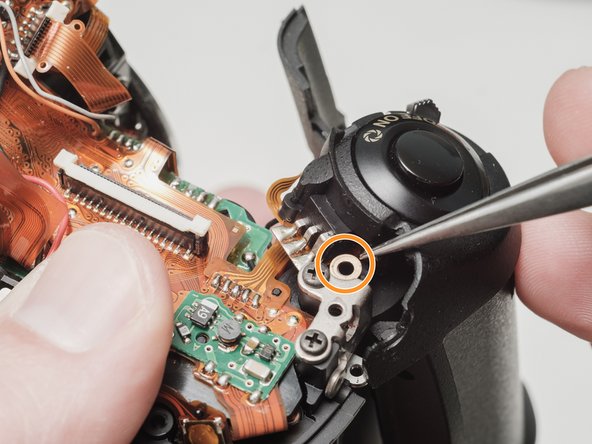
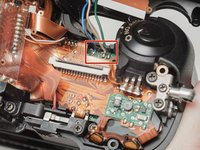
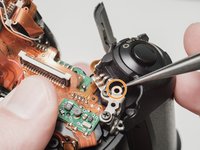
    9. Body Panel Removal, Desolder flash connections: step 9, image 1 of 2 Body Panel Removal, Desolder flash connections: step 9, image 2 of 2
      • Desolder blue, black, brown and green wires.

      • Remove the loose shim washer if present.

      Ask FixBot

      Add Comment

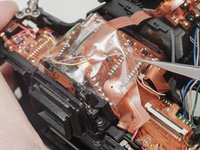
    10. Body Panel Removal, Desolder the flash flex cable: step 10, image 1 of 2 Body Panel Removal, Desolder the flash flex cable: step 10, image 2 of 2
      • Remove the piece of cellophane tape covering the flex connections.

      • Desolder flex connetions.

      Ask FixBot
      Add Comment
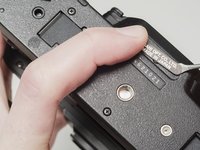
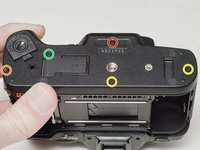
    1. Body Panel Removal, Remove bottom cover: step 11, image 1 of 3 Body Panel Removal, Remove bottom cover: step 11, image 2 of 3 Body Panel Removal, Remove bottom cover: step 11, image 3 of 3
      • Use isopropyl alcohol to soften the adhesive under the country plate and remove.

      • Remove one 5mm #00 screw.

      • Remove one 7.5mm #00 screw.

      • Remove two 4.5mm #00 screws.

      • Remove one 5.5mm #00 screw.

      • Remove the plastic frame around the accessory grip contacts.

      • Reassembly Note: The camera can be checked for functionality at this point. Install the rear door, insert a fresh pair of batteries and try to fire the shutter.

      Ask FixBot

      Add Comment

    2. Body Panel Removal, Remove front left cover: step 12, image 1 of 1
      • Remove one 4.0 mm #00 screw.

      • Remove left cover.

      Ask FixBot

      Add Comment

    3. Body Panel Removal, Remove front cover: step 13, image 1 of 1
      • Remove front cover.

      Ask FixBot

      Add Comment

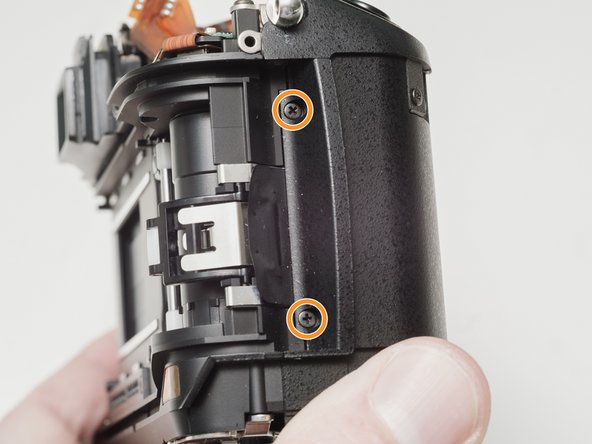
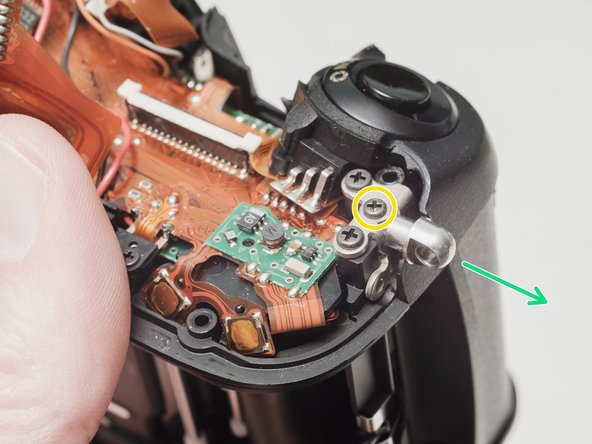
    4. Body Panel Removal, Unscrew front right cover: step 14, image 1 of 3 Body Panel Removal, Unscrew front right cover: step 14, image 2 of 3 Body Panel Removal, Unscrew front right cover: step 14, image 3 of 3
      • Remove one 6.0 mm #00 screw.

      • Remove two 3.5 mm #00 screws.

      • Remove one 5.0 mm #00 screw.

      • Remove the strap lug.

      Ask FixBot

      Add Comment

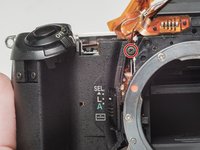
    5. Body Panel Removal, Remove the front right cover: step 15, image 1 of 1
      • Carefully pull the right panel away from the body. It is still attached.

      • Desolder the flex connections.

      Ask FixBot

      Add Comment

Conclusion

To reassemble your device, follow these instructions in reverse order.

Cancel: I did not complete this guide.

Sam Gustafson

Member since: 09/01/22

14,454 Reputation

78 Guides authored

0 Guide Comments

Add Comment

View Statistics:

Past 24 Hours: 0

Past 7 Days: 6

Past 30 Days: 33

All Time: 625