Introduction
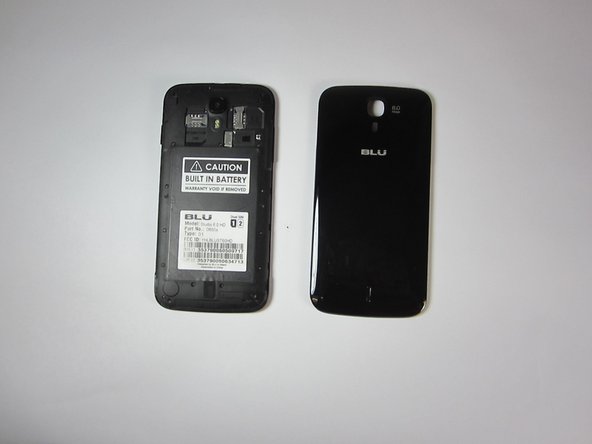
In this guide you'll be replacing your Blu Studio battery with a new one.
So along with the tools listed for this guide you will need to have already purchased a battery.
What you need
-
-
To begin the removal of your back panel, first locate the lift tab on the bottom-right corner.
-
-
-
Next, gently slide your thumb (or plastic tool if you prefer) down the seem running the length of your Blu Studio until the rear panel is completely removed.
-
Your rear panel should be placed nearby and in a safe location until you are finished with your task.
-
-
-
With your back panel already removed from the previous guide you'll need to acquire a Philips head screw driver size (PH00)
-
-
-
-
Next proceed to remove all 16 screws (2.5mm in length), all screws are the same size so getting them mixed up will not be an issue later on.
-
One of the lower right hand screws will be hidden under a sticker.
-
-
-
After removing all 16 screws you can begin the process of removing the battery housing panel.
-
You will need to use the thinner plastic prying tool to slowly outline the seem of the case starting from the top (near the camera).
-
Try to be careful around the side buttons as the plastic is weakest there.
-
After the top half of the case has been opened insert the thicker prying tool to keep the case open. This will help as the battery and battery housing have a suction cup like action that keeps them from separating.
-
-
-
At this point your battery, motherboard, rear camera, and front camera should all be readily available for fixing. Happy fixing.
-
-
-
With your back panel and battery housing removed you can proceed to replacing your battery.
-
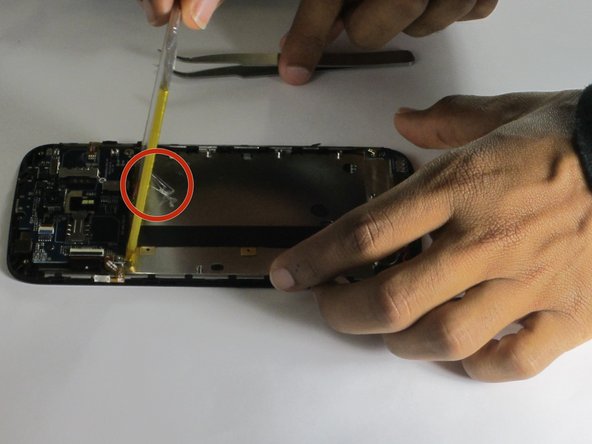
Locate the white indicator and wired connections.
-
-
-
One way to tell if your battery needs to be replaced is water damage.
-
If you believe your phone has water damage an indicator on your battery will tell you if water has been in contact with your battery by turning pink or red.
-
-
-
Begin by lifting the battery from the phone frame. This can be done with plastic prying tools or tweezers.
-
The battery is held in place with thermal glue so it will offer some resistance.
-
-
-
This next step will involve your soldering workstation.
-
Begin by desoldering the wires.
-
At this point the battery can be removed and your replacement inserted in its place. (remember to properly dispose of your old battery).
-
Re-solder the wires back onto the new battery's connector board.(Depending on the battery replacement purchased, it may come with its own wires which will have to be desoldered as well)
-


Team

USF Tampa, Team 9-1, Blackwell Fall 2014 Member of USF Tampa, Team 9-1, Blackwell Fall 2014
USFT-BLACKWELL-F14S9G1
3 Members
8 Guides authored