Blu Studio 5.5 S Motherboard Replacement

What you need

  1. Blu Studio 5.5 S Motherboard Replacement, Back Casing: step 1, image 1 of 1
    • In order to remove the back case, start by flipping the phone to the back side and look at it from the top.

  2. Blu Studio 5.5 S Motherboard Replacement, Applying Pressure: step 2, image 1 of 3 Blu Studio 5.5 S Motherboard Replacement, Applying Pressure: step 2, image 2 of 3 Blu Studio 5.5 S Motherboard Replacement, Applying Pressure: step 2, image 3 of 3
    • Place your finger in the small notch on the left side of the charging port (facing from the back).

    • Once your finger is in the notch, pull the back case towards yourself to remove it.

  3. Blu Studio 5.5 S Motherboard Replacement, Battery: step 3, image 1 of 3 Blu Studio 5.5 S Motherboard Replacement, Battery: step 3, image 2 of 3 Blu Studio 5.5 S Motherboard Replacement, Battery: step 3, image 3 of 3
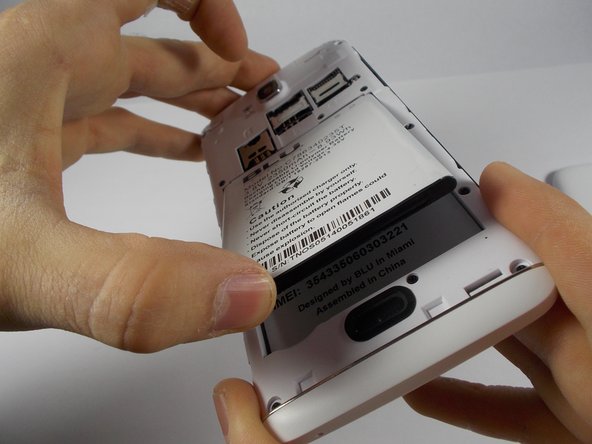
    • Once the back case is removed, locate the battery. It is the large brick embedded in the phone. It has BLU Products, a caution statement, and a barcode on it.

    • Insert your finger into the notch near the lower left of the battery, apply pressure and lift up.

  4. Blu Studio 5.5 S Motherboard Replacement, Midframe: step 4, image 1 of 3 Blu Studio 5.5 S Motherboard Replacement, Midframe: step 4, image 2 of 3 Blu Studio 5.5 S Motherboard Replacement, Midframe: step 4, image 3 of 3
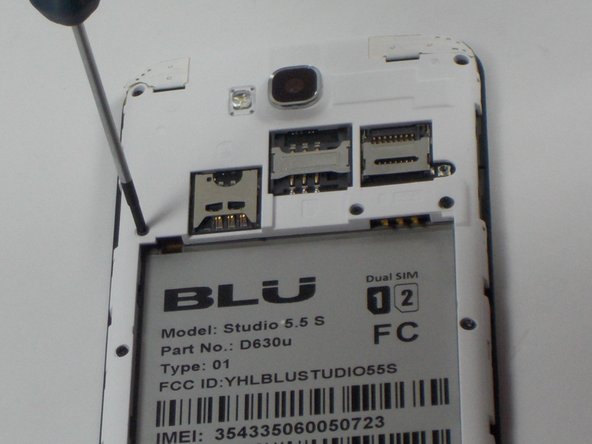
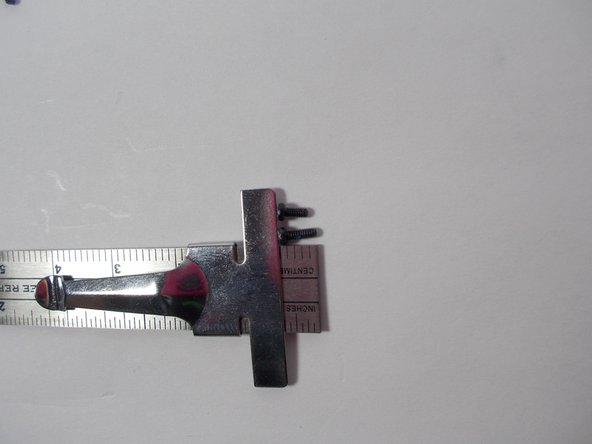
    • The speaker is located behind the inner back case. Using a Phillips #0 screwdriver, unscrew the 10, 7mm screws.

    • Using the Phillips #00 screwdriver, unscrew the two, 10mm screws at the bottom.

  5. Blu Studio 5.5 S Motherboard Replacement, Aesthetic Bottom Case: step 5, image 1 of 1
    • Apply pressure and pop off the bottom aesthetic case, being careful not to break it.

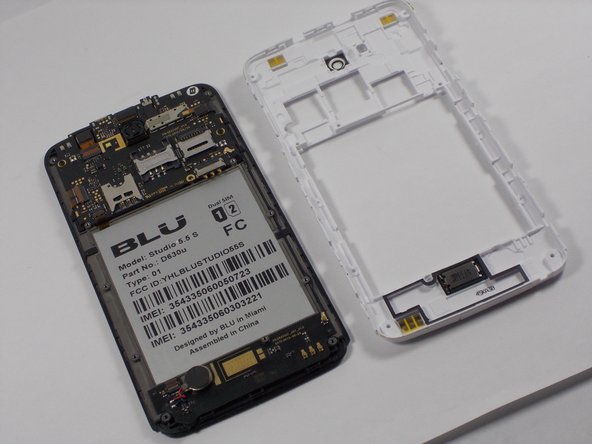
  6. Blu Studio 5.5 S Motherboard Replacement: step 6, image 1 of 3 Blu Studio 5.5 S Motherboard Replacement: step 6, image 2 of 3 Blu Studio 5.5 S Motherboard Replacement: step 6, image 3 of 3
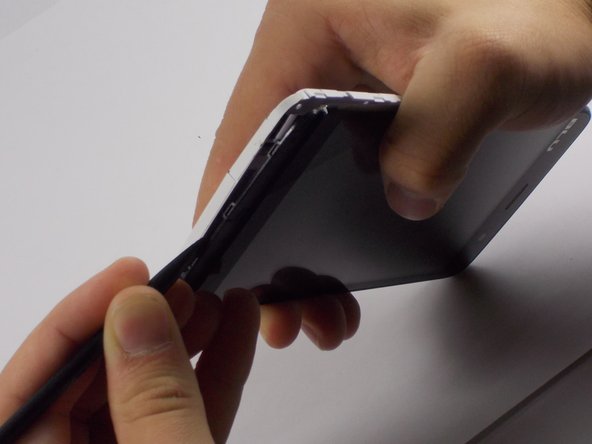
    • Use the Spudger to pop the inner back casing off. Do this by lightly raising the side of the battery housing, then sliding the Spudger around the case.

    • Pick up the inner back case and flip it over.

  7. Blu Studio 5.5 S Motherboard Replacement, Motherboard: step 7, image 1 of 3 Blu Studio 5.5 S Motherboard Replacement, Motherboard: step 7, image 2 of 3 Blu Studio 5.5 S Motherboard Replacement, Motherboard: step 7, image 3 of 3
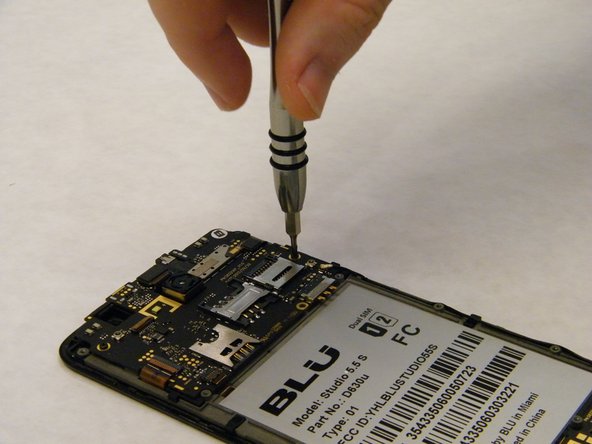
    • Remove the three 7 mm screws using the Phillips #00 Screwdiver.

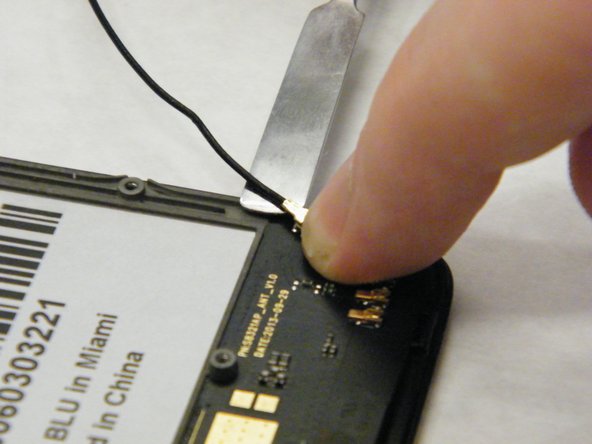
    • Disconnect motherboard plug connector near bottom right of battery using fingers to pull off the cap plug.

  8. Blu Studio 5.5 S Motherboard Replacement: step 8, image 1 of 3 Blu Studio 5.5 S Motherboard Replacement: step 8, image 2 of 3 Blu Studio 5.5 S Motherboard Replacement: step 8, image 3 of 3
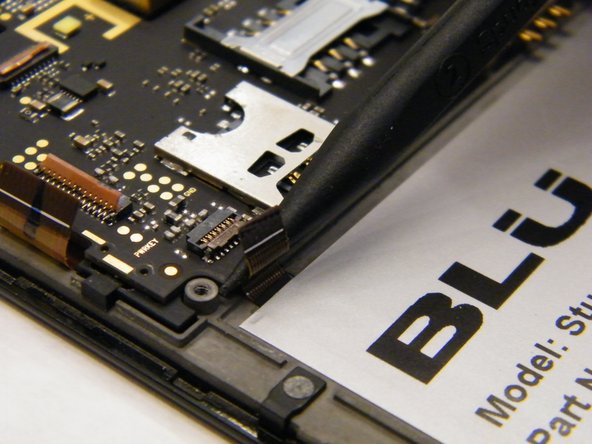
    • Use the nylon spudger to lift the release tabs by carefully grabbing the tabs from the sides and lifting up.

    • Release the four ribbon wires from the motherboard.

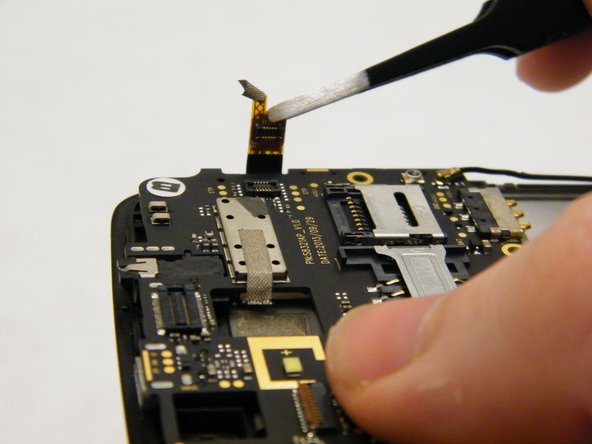
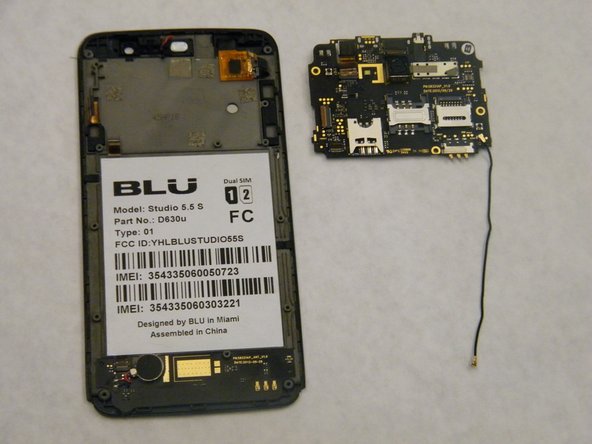
  9. Blu Studio 5.5 S Motherboard Replacement: step 9, image 1 of 2 Blu Studio 5.5 S Motherboard Replacement: step 9, image 2 of 2
    • Use the tweezers to grip the bottom of the motherboard and lift up.

Guna Sathyamurthy

Member since: 03/04/17

138 Reputation

1 Guide authored

Team

IUPUI, Team S2-G2, Wilson Spring 2017 Member of IUPUI, Team S2-G2, Wilson Spring 2017

IUPUI-WILSON-S17S2G2

5 Members

2 Guides authored

View Statistics:

Past 24 Hours: 0

Past 7 Days: 4

Past 30 Days: 11

All Time: 502