Free Shipping on Domestic Orders $75+

Blu Studio 5.5 Back Panel Assembly Removal

Prerequisite Only
This is a prerequisite-only guide! This guide is part of another procedure and isn’t meant to be used alone.

What you need

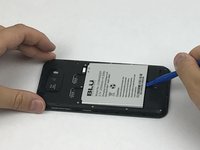
    1. Blu Studio 5.5 Back Panel Assembly Removal, Battery: step 1, image 1 of 3 Blu Studio 5.5 Back Panel Assembly Removal, Battery: step 1, image 2 of 3 Blu Studio 5.5 Back Panel Assembly Removal, Battery: step 1, image 3 of 3
      • Locate the notch to remove the back panel at the lower left corner of the panel.

      • Insert the plastic opening tool or a fingernail into the notch.

      • Apply force upwards until back panel becomes loosened.

      Ask FixBot

      Add Comment

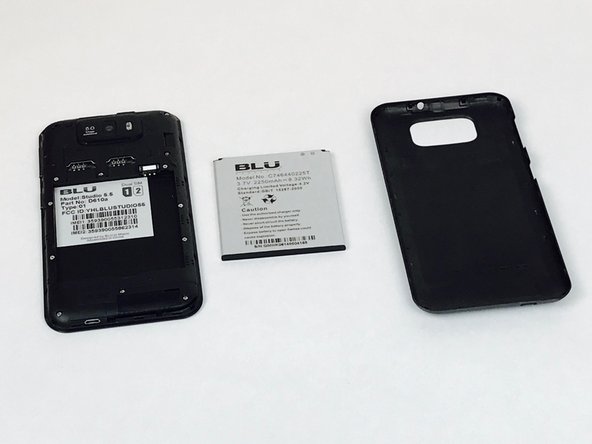
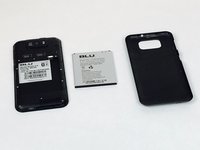
    2. Blu Studio 5.5 Back Panel Assembly Removal: step 2, image 1 of 2 Blu Studio 5.5 Back Panel Assembly Removal: step 2, image 2 of 2
      • Remove the loosened back panel and set aside.

      • Locate the notch to remove the battery.

      Ask FixBot

      Add Comment

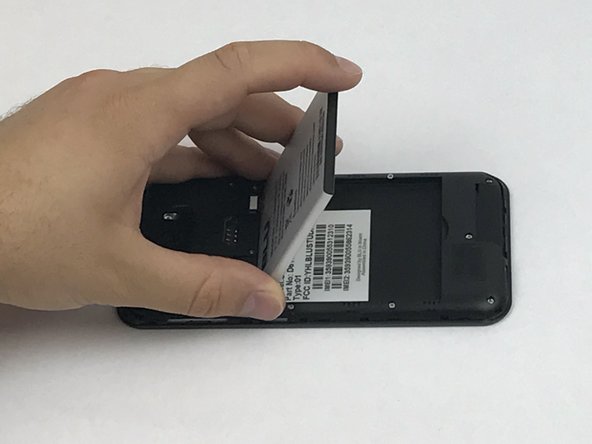
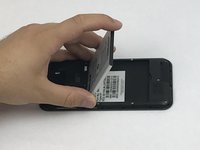
    3. Blu Studio 5.5 Back Panel Assembly Removal: step 3, image 1 of 3 Blu Studio 5.5 Back Panel Assembly Removal: step 3, image 2 of 3 Blu Studio 5.5 Back Panel Assembly Removal: step 3, image 3 of 3
      • Insert a plastic opening tool or your fingernail into the notch and apply force upwards until the battery is loosened.

      • Remove the battery and set aside.

      Ask FixBot

      Add Comment

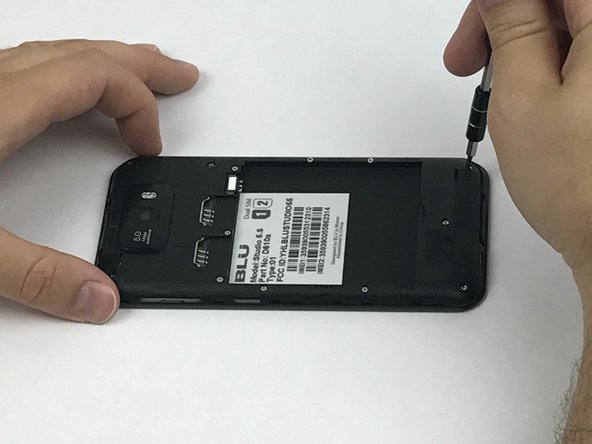
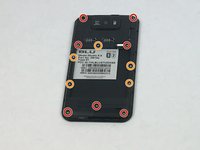
    1. Blu Studio 5.5 Back Panel Assembly Removal, Back Panel Assembly: step 4, image 1 of 2 Blu Studio 5.5 Back Panel Assembly Removal, Back Panel Assembly: step 4, image 2 of 2
      • Locate all twelve screws along the back panel:

      • Seven 5mm screws.

      • Five 3.5mm screws.

      • Using a Phillips #000 screwdriver, remove all twelve screws.

      Ask FixBot

      Add Comment

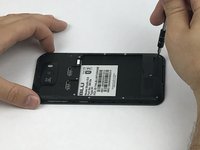
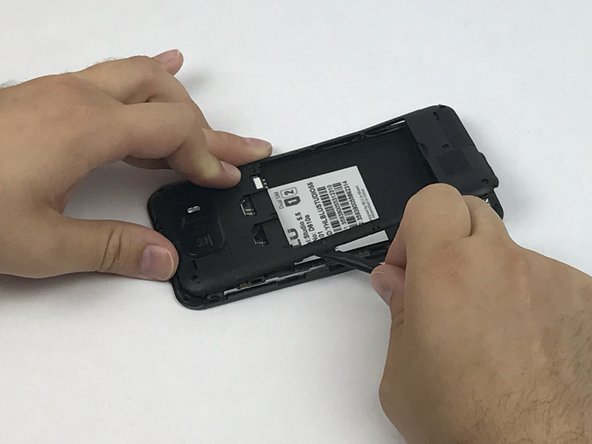
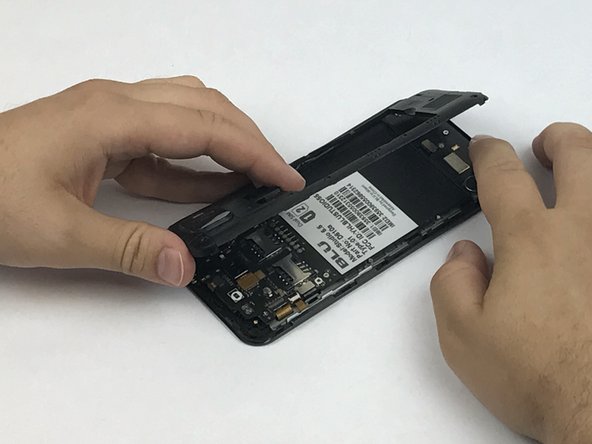
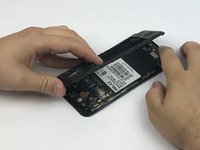
    2. Blu Studio 5.5 Back Panel Assembly Removal: step 5, image 1 of 3 Blu Studio 5.5 Back Panel Assembly Removal: step 5, image 2 of 3 Blu Studio 5.5 Back Panel Assembly Removal: step 5, image 3 of 3
      • Now that all the screws have been removed, use a plastic opening tool to carefully pry at each of the corners until loosened.

      • Be extra careful when prying open as it may damage or snap the thin sides of the panel.

      • Place the plastic opening tool inside the loosened panel and gently push upwards and move along the phone to remove the back panel.

      • Remove the panel as if you were turning the page of a book.

      Ask FixBot

      Add Comment

Conclusion

To reassemble your device, follow these instructions in reverse order.

Cancel: I did not complete this guide.

Luis Gomez-Atehortua

Member since: 02/28/17

452 Reputation

4 Guides authored

Team

USF Tampa, Team S1-G6, Nance Spring 2017 Member of USF Tampa, Team S1-G6, Nance Spring 2017

USFT-NANCE-S17S1G6

3 Members

96 Guides authored

0 Guide Comments

Add Comment

View Statistics:

Past 24 Hours: 1

Past 7 Days: 1

Past 30 Days: 6

All Time: 223