
Blackberry RIM 7250 Side Button Replacement

What you need

  1. Blackberry RIM 7250 Side Button Replacement, Battery: step 1, image 1 of 3 Blackberry RIM 7250 Side Button Replacement, Battery: step 1, image 2 of 3 Blackberry RIM 7250 Side Button Replacement, Battery: step 1, image 3 of 3
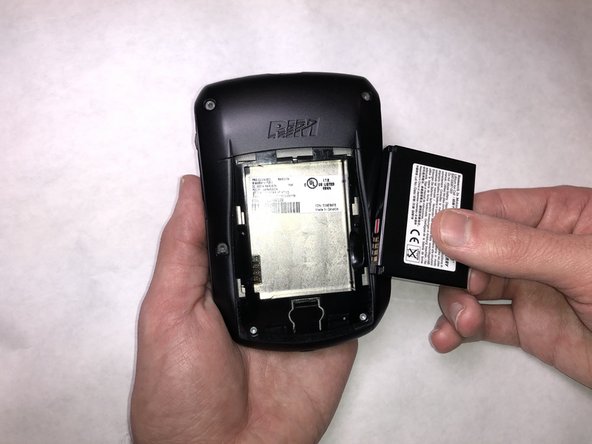
    • Push the release button down and away from the device.

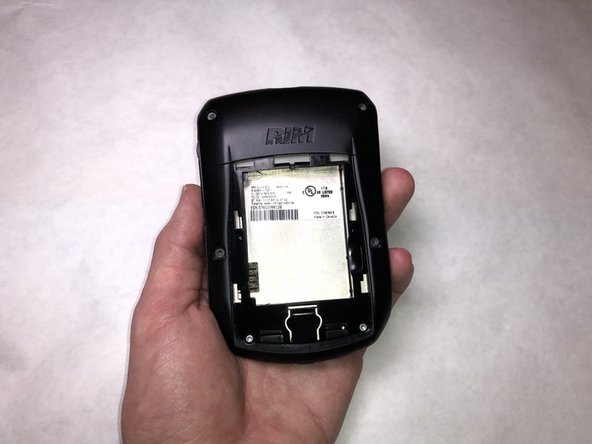
    • Slide the cover off toward the bottom of the device, revealing the battery compartment.

  2. Blackberry RIM 7250 Side Button Replacement: step 2, image 1 of 3 Blackberry RIM 7250 Side Button Replacement: step 2, image 2 of 3 Blackberry RIM 7250 Side Button Replacement: step 2, image 3 of 3
    • Place your finger in the groove next to the battery.

    • Lift your finger up to eject the battery from the battery compartment.

  3. Blackberry RIM 7250 Side Button Replacement: step 3, image 1 of 3 Blackberry RIM 7250 Side Button Replacement: step 3, image 2 of 3 Blackberry RIM 7250 Side Button Replacement: step 3, image 3 of 3
    • Remove the battery from the compartment.

  4. Blackberry RIM 7250 Side Button Replacement, Back Housing: step 4, image 1 of 2 Blackberry RIM 7250 Side Button Replacement, Back Housing: step 4, image 2 of 2
    • Remove the four 10.7 mm Torx T6 screws.

  5. Blackberry RIM 7250 Side Button Replacement: step 5, image 1 of 2 Blackberry RIM 7250 Side Button Replacement: step 5, image 2 of 2
    • Remove the two 5 mm Torx T6 screws.

  6. Blackberry RIM 7250 Side Button Replacement: step 6, image 1 of 1
    • Hold the phone with one hand, with the bottom facing toward you.

    • For both clips, insert the plastic opening tool and push away from you.

    • You will hear a clicking sound for each clip that is released.

  7. Blackberry RIM 7250 Side Button Replacement: step 7, image 1 of 3 Blackberry RIM 7250 Side Button Replacement: step 7, image 2 of 3 Blackberry RIM 7250 Side Button Replacement: step 7, image 3 of 3
    • Grab the back housing from the bottom and lift the housing away from you.

  8. Blackberry RIM 7250 Side Button Replacement, Front Housing: step 8, image 1 of 2 Blackberry RIM 7250 Side Button Replacement, Front Housing: step 8, image 2 of 2
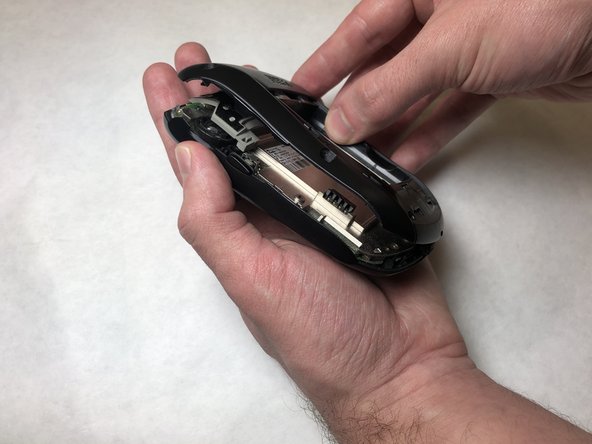
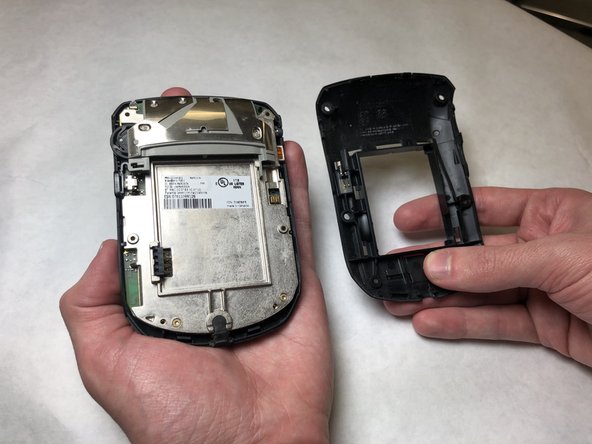
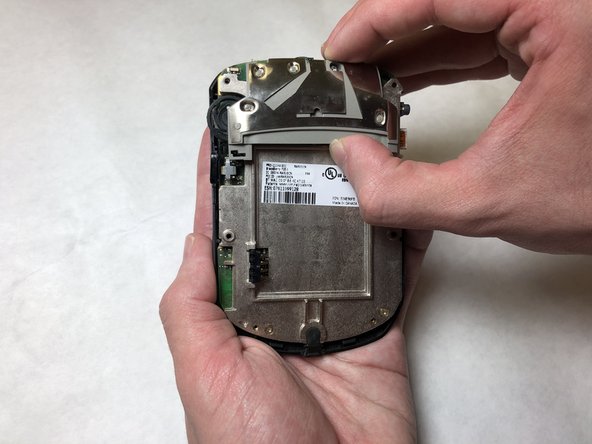
    • Place your thumb on the bottom rectangle and your index finger on the top rectangle.

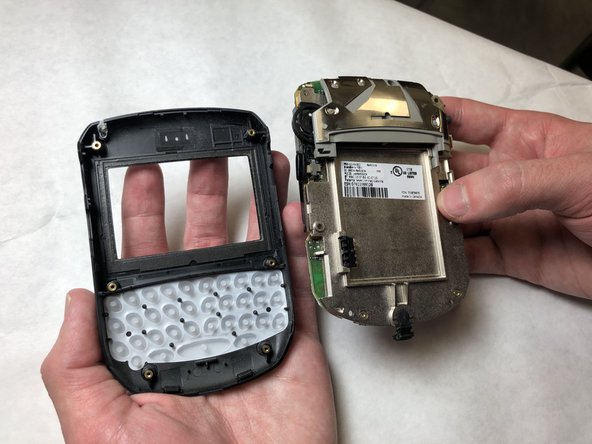
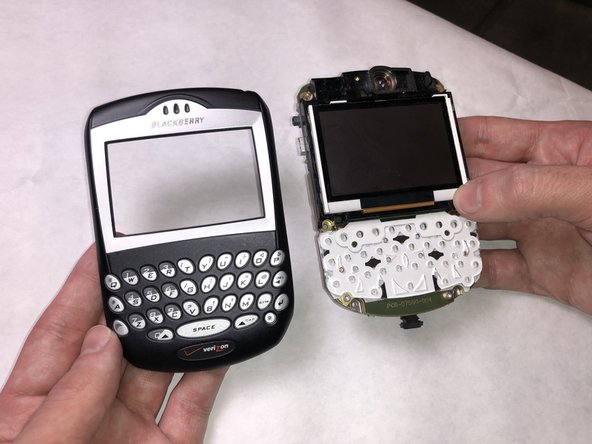
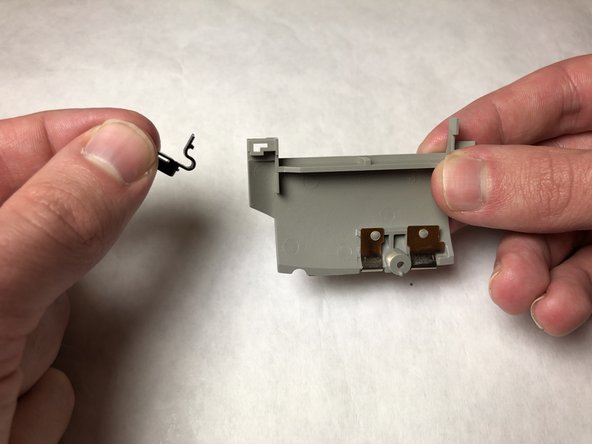
    • Squeeze your fingers together to release the internals from the front housing.

  9. Blackberry RIM 7250 Side Button Replacement: step 9, image 1 of 3 Blackberry RIM 7250 Side Button Replacement: step 9, image 2 of 3 Blackberry RIM 7250 Side Button Replacement: step 9, image 3 of 3
    • Pull the two pieces apart to separate the front housing from the internals.

  10. Blackberry RIM 7250 Side Button Replacement, Side Button: step 10, image 1 of 2 Blackberry RIM 7250 Side Button Replacement, Side Button: step 10, image 2 of 2
    • Remove the single 5 mm Torx T6 screw.

  11. Blackberry RIM 7250 Side Button Replacement: step 11, image 1 of 3 Blackberry RIM 7250 Side Button Replacement: step 11, image 2 of 3 Blackberry RIM 7250 Side Button Replacement: step 11, image 3 of 3
    • Grab side button housing with your thumb and index finger.

    • Remove the side button housing from the internals.

  12. Blackberry RIM 7250 Side Button Replacement: step 12, image 1 of 3 Blackberry RIM 7250 Side Button Replacement: step 12, image 2 of 3 Blackberry RIM 7250 Side Button Replacement: step 12, image 3 of 3
    • Hold the side button housing with one hand and hold the side button with the other.

    • Lift the side button from side button housing.

    • There will be a subtle click when the side button is detached from the side button housing.

Conclusion

To reassemble your device, follow these instructions in reverse order.

Noah Eckert

Member since: 11/05/18

519 Reputation

5 Guides authored

Team

IUPUI, Team S2-G4, Baechle Fall 2018 Member of IUPUI, Team S2-G4, Baechle Fall 2018

IUPUI-BAECHLE-F18S2G4

3 Members

5 Guides authored

0 Comments

Add Comment

View Statistics:

Past 24 Hours: 0

Past 7 Days: 1

Past 30 Days: 4

All Time: 129