Introduction
Guide for opening the device to reveal internals.
What you need
-
-
Use a T9 Screwdriver to unscrew the two screws on the backside of the BlackBerry, one on the bottom left and one on the top right.
-
-
-
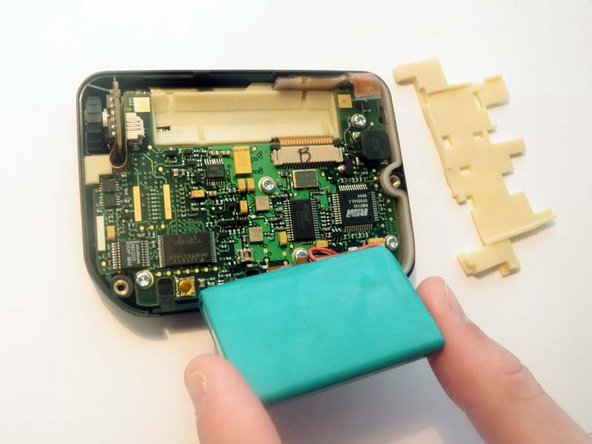
Remove the rubber placement pad that sits under the battery and set aside for later use. Gently fold back the battery, making sure the small plug connecting the battery to the logic board remains intact. It is quite delicate, and is easy to damage.
-
-
-
-
Use the T9 Screwdriver to remove the five visible screws: Top right, bottom right, middle center, bottom center, bottom left.
-
-
-
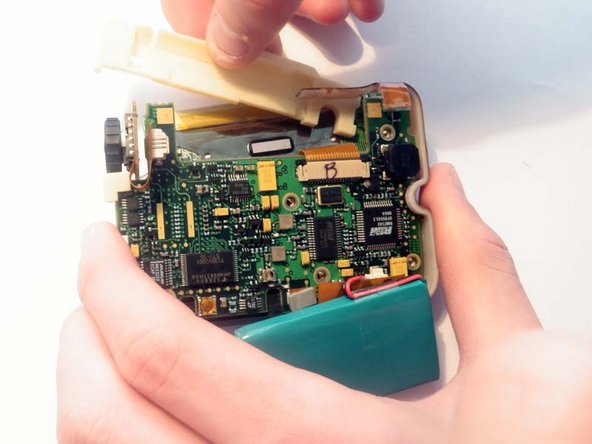
Carefully remove the board from the device by gently pushing on the screen from the front side. The battery, screen, and scroll wheel are all connected to the logic board. Be sure to support these components so they do not break.
-
There is a rubber piece between the logic board and the screen that you must carefully remove. At this point, you should have: three rubber inserts, the top case, the bottom case, and the logic board. It is okay to have the rubber inserts to fall loose.
-
-
-
Pull the two black clips securing the screen’s ribbon so that they are as far out as they go.
-
-
-
Gently remove the screen’s ribbon from the slot. Be sure to support the screen and connected parts.
-
-
-
Pinch the white plastic clip that connects the ribbon of the scroll wheel to the logic board.
-
Gently wiggle and pull upward to remove the scroll wheel.
-


Team

Cal Poly, Team 33-83, Johann Spring 2010 Member of Cal Poly, Team 33-83, Johann Spring 2010
CPSU-JOHANN-S10S33G83
4 Members
9 Guides authored