Introduction
This guide for the Bissell CleanView Compact 3508 will give you step-by-step instructions to separate the vacuum chamber/motor from the bottom, brush, and wheels. From there, you can replace either section or have access to more parts.
What you need
-
-
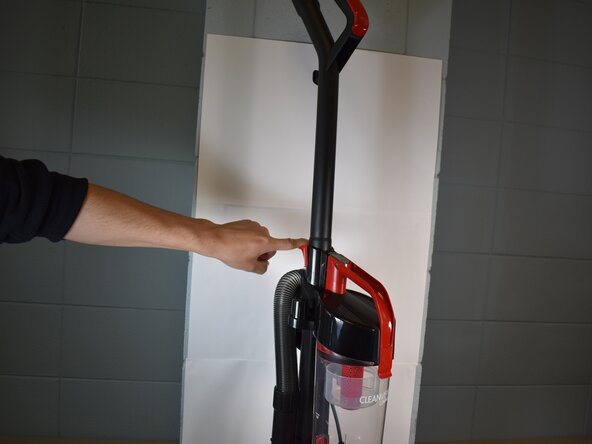
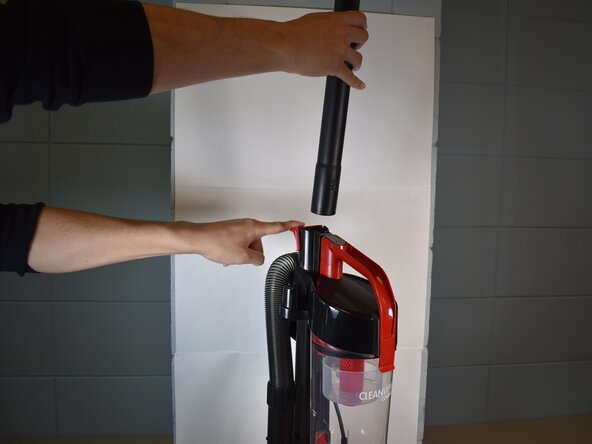
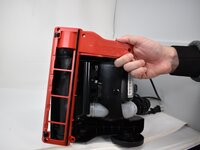
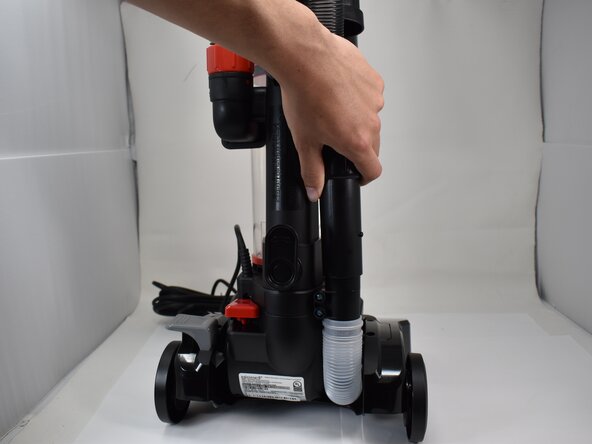
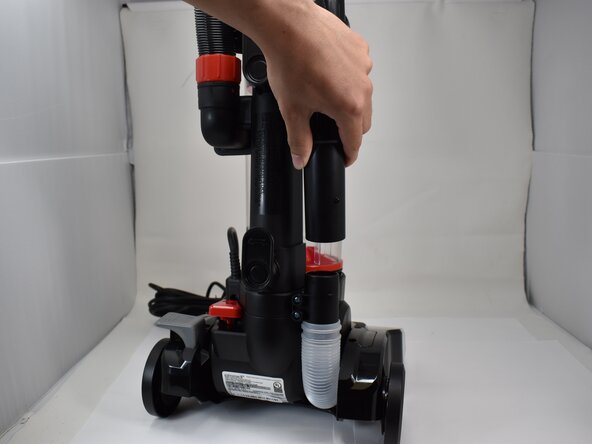
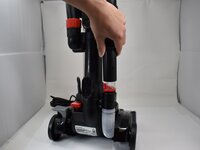
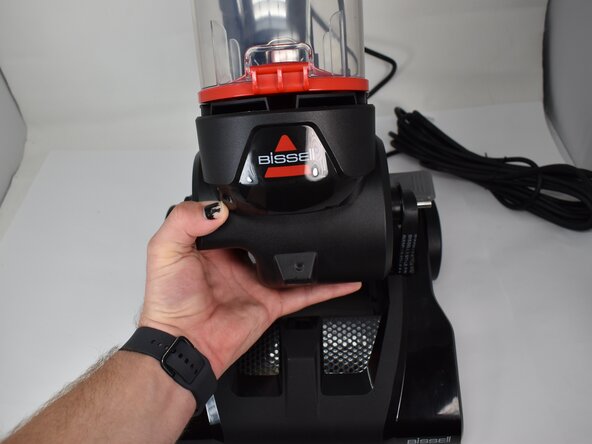
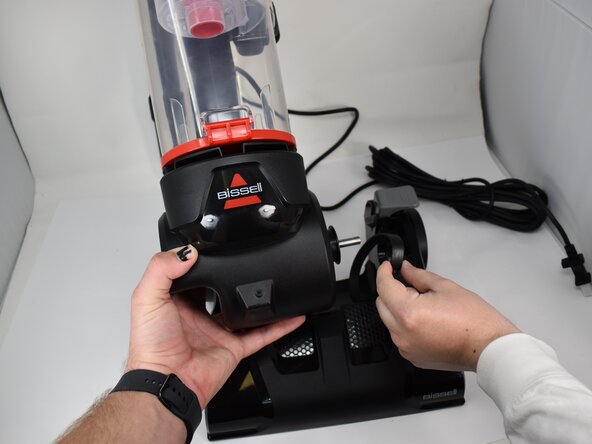
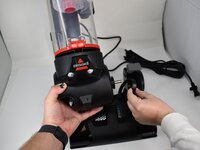
With the vacuum in an upright position, press the latch on the rear of the spine to remove the handle from the vacuum.
 Ask FixBot
-
-
-
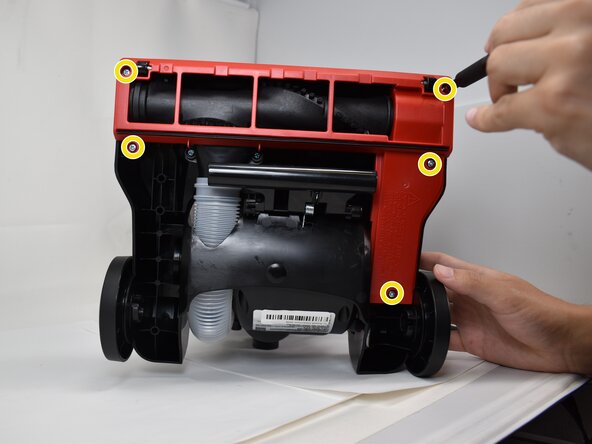
Use a Phillips #2 screwdriver to remove the five 20.7 mm screws on the underside of the brush roll cover.
-
-
-
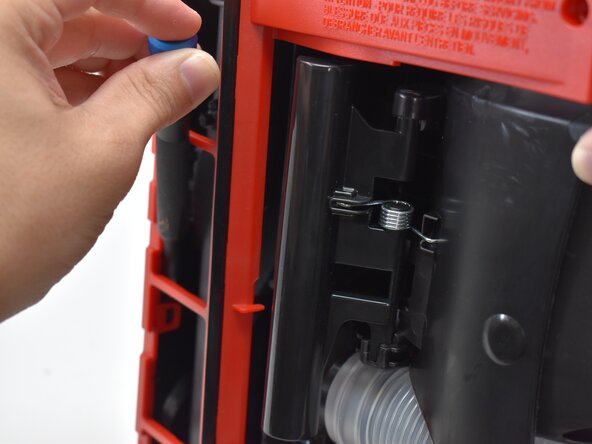
Use a pry tool or flathead screwdriver to disengage the two retaining clips securing the brush roll cover.
-
Remove the brush roll cover.
-
-
-
-
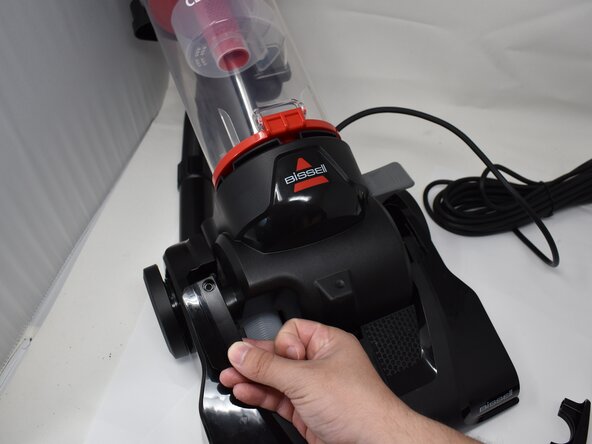
Use a Phillips #2 screwdriver to remove the two 20.7 mm screws from the lower hose attachment point.
-
-
-
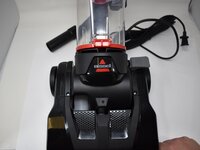
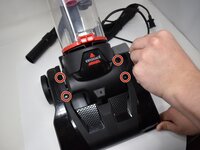
Use a Phillips #2 screwdriver to remove the four 20.7 mm screws on the upper cover plates.
-
Remove the two upper cover plates.
-
-
-
Gently pull the top half up and to the side away from the drive shaft to separate both halves.
-
Pull the belt through the socket, and remove the belt from the drive shaft.
-


Now your Bissell CleanView 3508 is separated from the top and bottom. To reassemble your device, follow these instructions in reverse order.
Team

University of Memphis, Team 1-4, Sneed Spring 2025 Member of University of Memphis, Team 1-4, Sneed Spring 2025
UM-SNEED-S25S1G4
4 Members
7 Guides authored