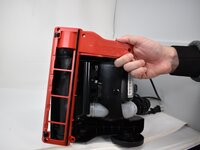
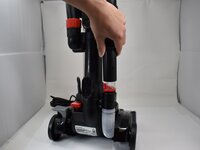
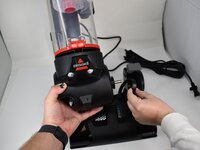
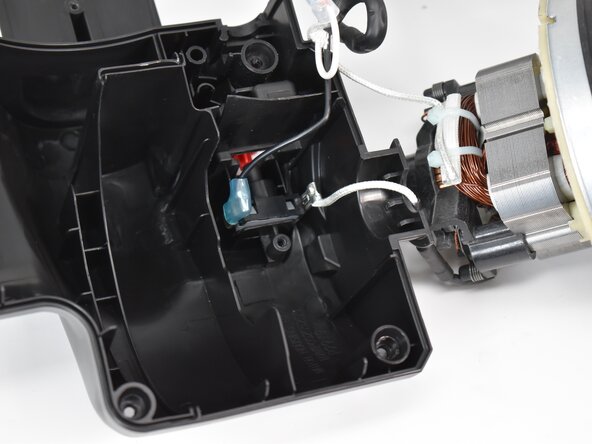
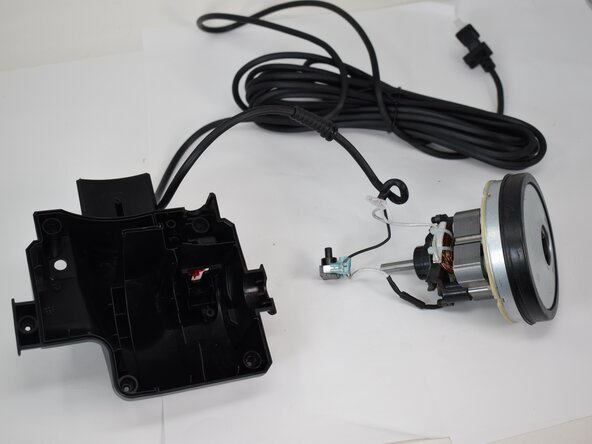
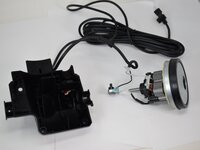
Bissell CleanView Compact 3508 Motor/Power Supply Replacement

What you need

  1. Bissell CleanView Compact 3508 Motor/Power Supply Replacement, Brush Roll Cover: step 1, image 1 of 3 Bissell CleanView Compact 3508 Motor/Power Supply Replacement, Brush Roll Cover: step 1, image 2 of 3 Bissell CleanView Compact 3508 Motor/Power Supply Replacement, Brush Roll Cover: step 1, image 3 of 3
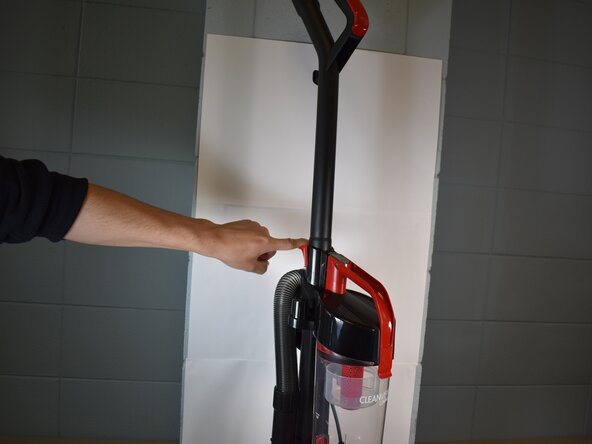
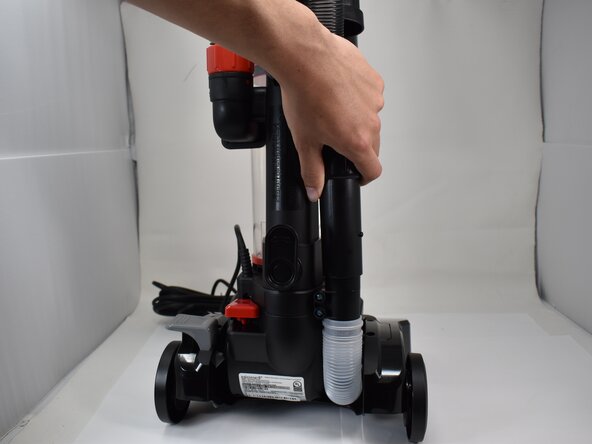
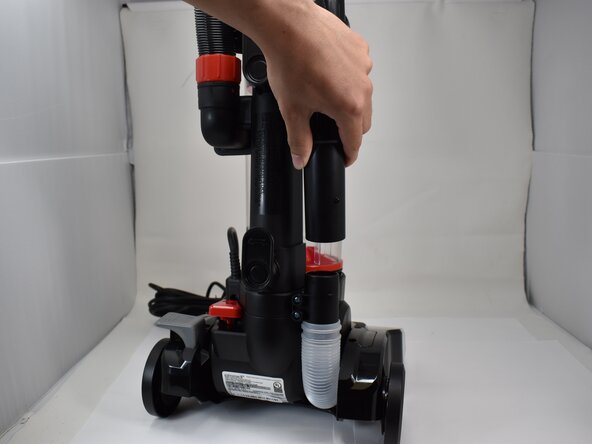
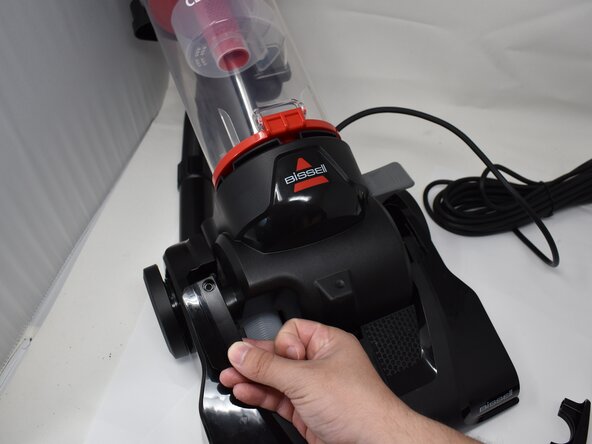
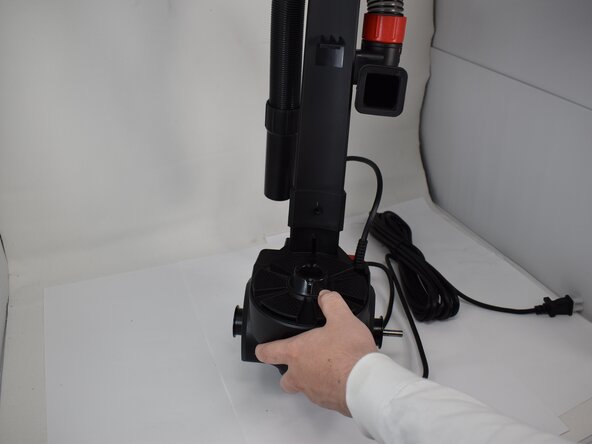
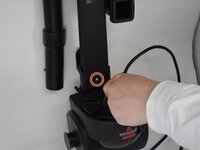
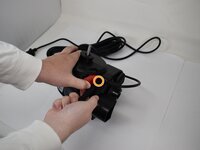
    • With the vacuum in an upright position, press the latch on the rear of the spine to remove the handle from the vacuum.

  2. Bissell CleanView Compact 3508 Motor/Power Supply Replacement: step 2, image 1 of 2 Bissell CleanView Compact 3508 Motor/Power Supply Replacement: step 2, image 2 of 2
    • Use a Phillips #2 screwdriver to remove the five 20.7 mm screws on the underside of the brush roll cover.

  3. Bissell CleanView Compact 3508 Motor/Power Supply Replacement: step 3, image 1 of 3 Bissell CleanView Compact 3508 Motor/Power Supply Replacement: step 3, image 2 of 3 Bissell CleanView Compact 3508 Motor/Power Supply Replacement: step 3, image 3 of 3
    • Use a pry tool or flathead screwdriver to disengage the two retaining clips securing the brush roll cover.

    • Remove the brush roll cover.

  4. Bissell CleanView Compact 3508 Motor/Power Supply Replacement, Top/Bottom: step 4, image 1 of 3 Bissell CleanView Compact 3508 Motor/Power Supply Replacement, Top/Bottom: step 4, image 2 of 3 Bissell CleanView Compact 3508 Motor/Power Supply Replacement, Top/Bottom: step 4, image 3 of 3
    • Disconnect the main black hose from its lower attachment point.

  5. Bissell CleanView Compact 3508 Motor/Power Supply Replacement: step 5, image 1 of 1
    • Use a Phillips #2 screwdriver to remove the two 20.7 mm screws from the lower hose attachment point.

  6. Bissell CleanView Compact 3508 Motor/Power Supply Replacement: step 6, image 1 of 3 Bissell CleanView Compact 3508 Motor/Power Supply Replacement: step 6, image 2 of 3 Bissell CleanView Compact 3508 Motor/Power Supply Replacement: step 6, image 3 of 3
    • Use a Phillips #2 screwdriver to remove the four 20.7 mm screws on the upper cover plates.

    • Remove the two upper cover plates.

  7. Bissell CleanView Compact 3508 Motor/Power Supply Replacement: step 7, image 1 of 3 Bissell CleanView Compact 3508 Motor/Power Supply Replacement: step 7, image 2 of 3 Bissell CleanView Compact 3508 Motor/Power Supply Replacement: step 7, image 3 of 3
    • Gently pull the top half up and to the side away from the drive shaft to separate both halves.

    • Pull the belt through the socket, and remove the belt from the drive shaft.

  8. Bissell CleanView Compact 3508 Motor/Power Supply Replacement, Motor: step 8, image 1 of 2 Bissell CleanView Compact 3508 Motor/Power Supply Replacement, Motor: step 8, image 2 of 2
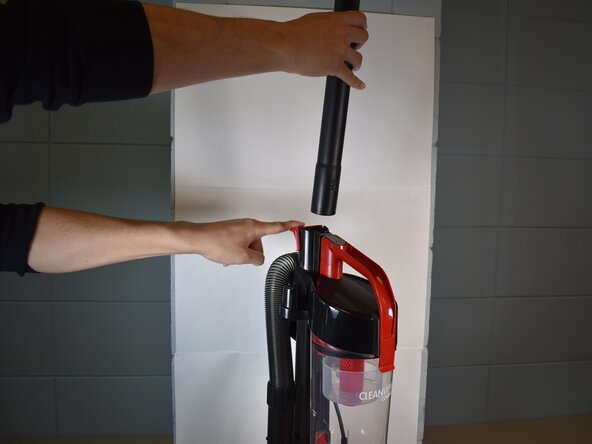
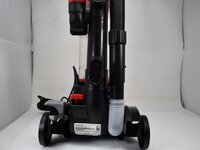
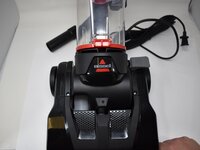
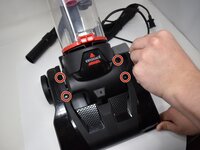
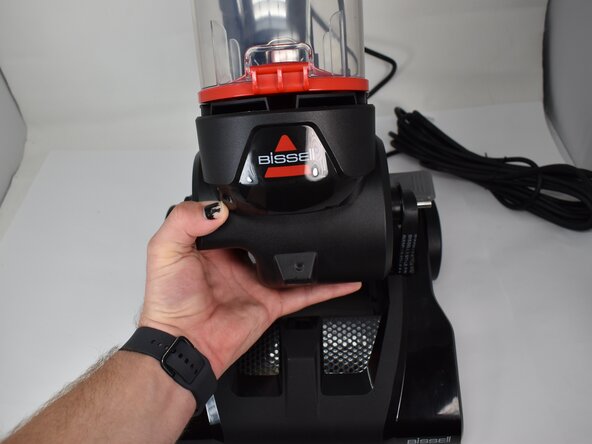
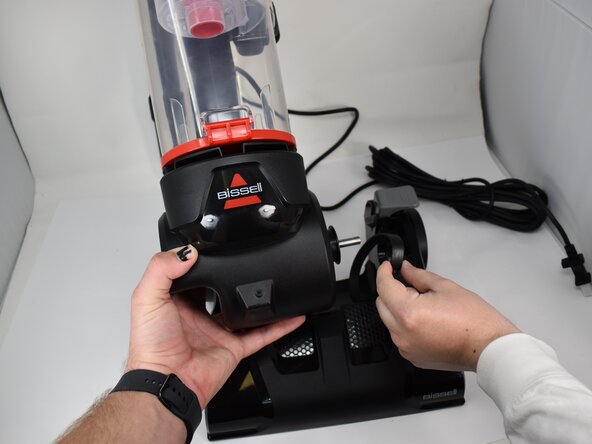
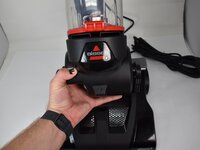
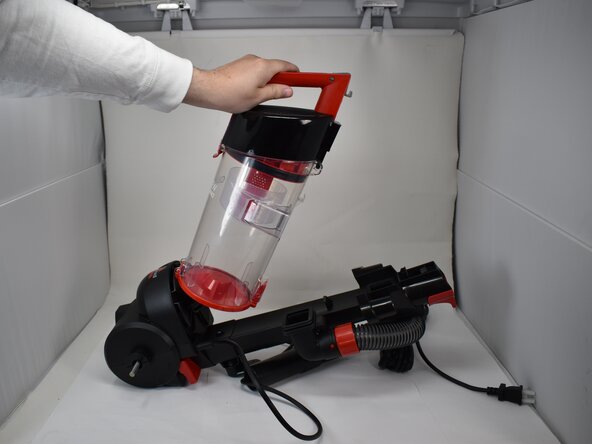
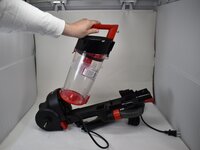
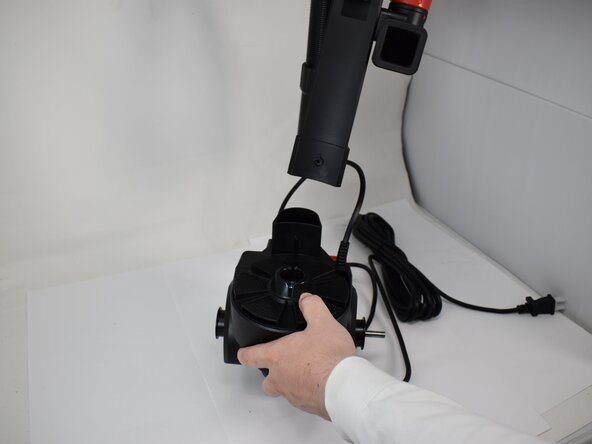
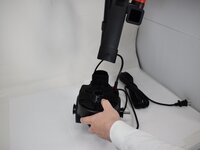
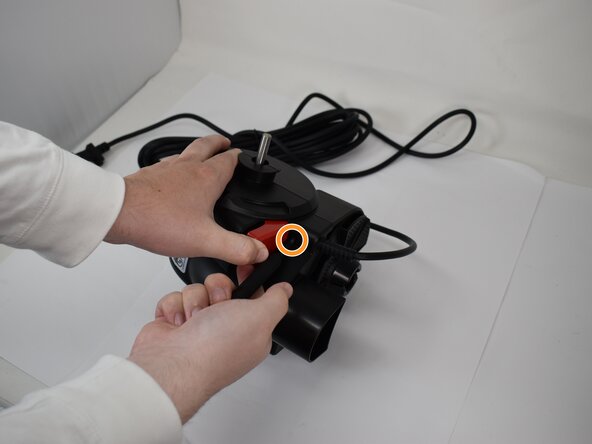
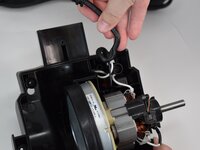
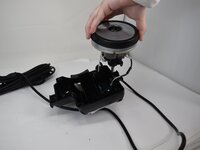
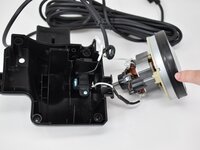
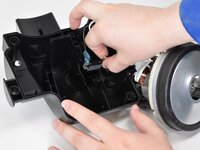
    • Push the button on the canister to remove it from the spine.

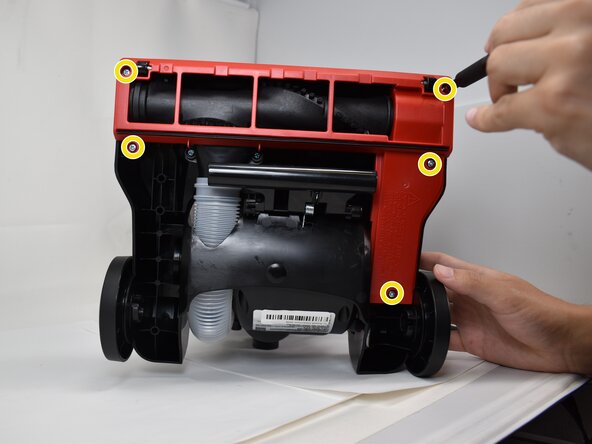
    • Set the canister to the side.

  9. Bissell CleanView Compact 3508 Motor/Power Supply Replacement: step 9, image 1 of 3 Bissell CleanView Compact 3508 Motor/Power Supply Replacement: step 9, image 2 of 3 Bissell CleanView Compact 3508 Motor/Power Supply Replacement: step 9, image 3 of 3
    • Remove the one 20.7 mm screw with a Phillips #2 screwdriver.

    • Separate the spine from the motor.

  10. Bissell CleanView Compact 3508 Motor/Power Supply Replacement: step 10, image 1 of 2 Bissell CleanView Compact 3508 Motor/Power Supply Replacement: step 10, image 2 of 2
    • Remove the four 2.7 mm screws with a Phillips #2 screwdriver.

    • Press down on the red lever to access another 20.7mm screw. Remove the screw with a Phillips #2 screwdriver.

  11. Bissell CleanView Compact 3508 Motor/Power Supply Replacement: step 11, image 1 of 3 Bissell CleanView Compact 3508 Motor/Power Supply Replacement: step 11, image 2 of 3 Bissell CleanView Compact 3508 Motor/Power Supply Replacement: step 11, image 3 of 3
    • Separate the halves.

    • Take care not to strain the connected cables.

    • Unwind the power cable from its post, and gently pull the motor out of the casing.

  12. Bissell CleanView Compact 3508 Motor/Power Supply Replacement: step 12, image 1 of 3 Bissell CleanView Compact 3508 Motor/Power Supply Replacement: step 12, image 2 of 3 Bissell CleanView Compact 3508 Motor/Power Supply Replacement: step 12, image 3 of 3
    • By taking the motor out of its casing, the cover of the switch becomes exposed.

    • Use a Phillips #2 screwdriver to remove the 20.7 mm screw from the cover.

    • Gently remove the cover.

  13. Bissell CleanView Compact 3508 Motor/Power Supply Replacement: step 13, image 1 of 2 Bissell CleanView Compact 3508 Motor/Power Supply Replacement: step 13, image 2 of 2
    • Gently disconnect the motor from the connector.

    • Remove the motor.

Conclusion

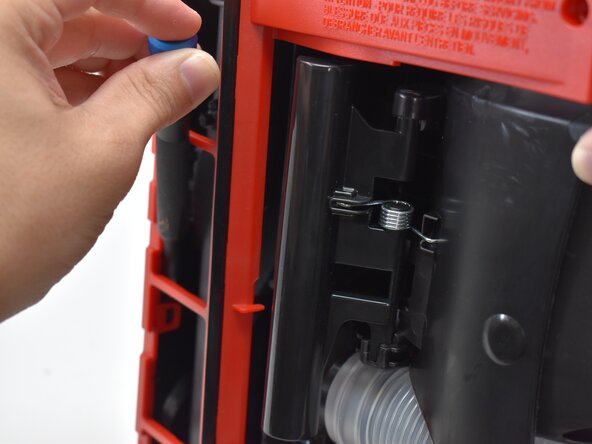
To reassemble your device, follow these instructions in reverse order.

0 Guide Comments

Add Comment

View Statistics:

Past 24 Hours: 0

Past 7 Days: 4

Past 30 Days: 12

All Time: 90