Introduction
The cassette on your bicycle can get worn down over time. With regular use of the bicycle, including continuous pedaling and shifting, the cassette wears down which then causes wear on the chain and performance issues for the entire bicycle. This excessive chain wear can cause further damage to the chain rings, which can lead to the entire drivetrain of the bicycle needing replacement. To avoid this from happening, replacing a worn down cassette is beneficial as it can extend the lifespan of a drivetrain and lead to a more enjoyable biking experience. This guide will show you step by step how to replace the cassette on any 7-12 speed bicycle.
Before starting this guide make sure that you detach the rear wheel of the bicycle that holds the cassette. Also make sure to have all necessary tools listed in the guide.
What you need
-
-
-
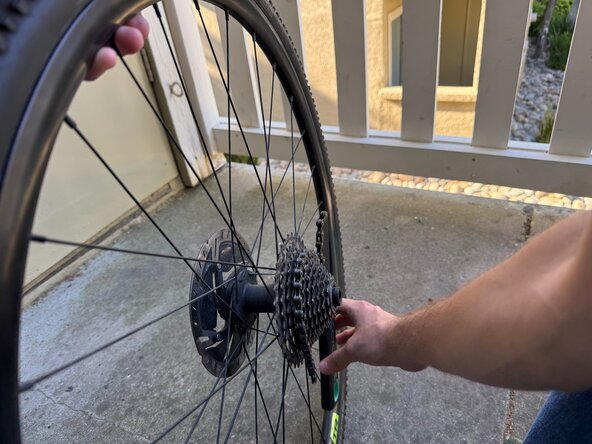
Place your wheel on a hard surface with the cassette on your right side.
-
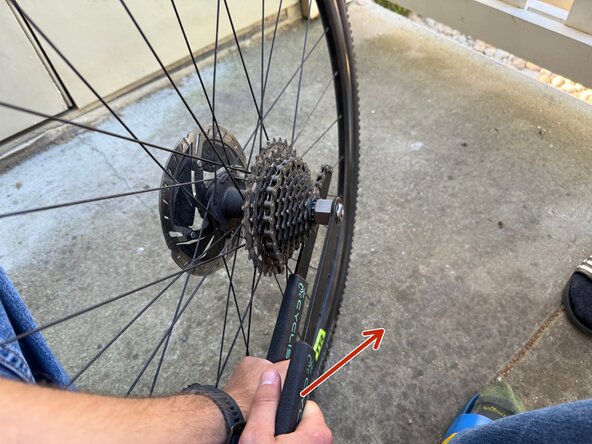
Wrap the chain whip clockwise around the cassette.
 Ask FixBot
-
-
-
Insert the cassette lockring tool into the center of the cassette with the lever arm between 7 and 9 o'clock.
-
Holding the chain whip in place with your left hand, apply counterclockwise force on the cassette tool's lever arm.
-
Continue turning the cassette tool until the tool spins freely.
-
-
-
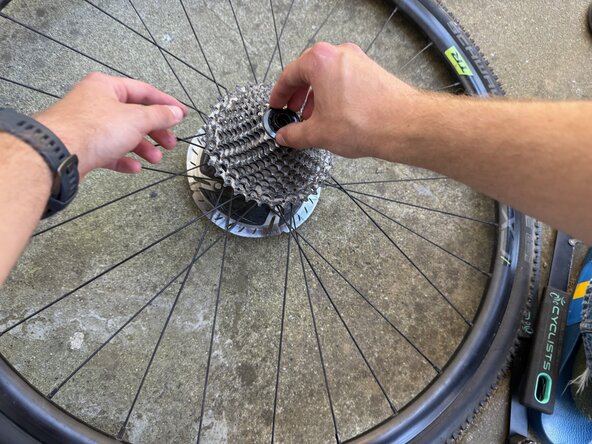
Lay the wheel down on a flat surface with the cassette facing upwards.
-
Loosen the cassette lockring by turning it counterclockwise.
-
-
-
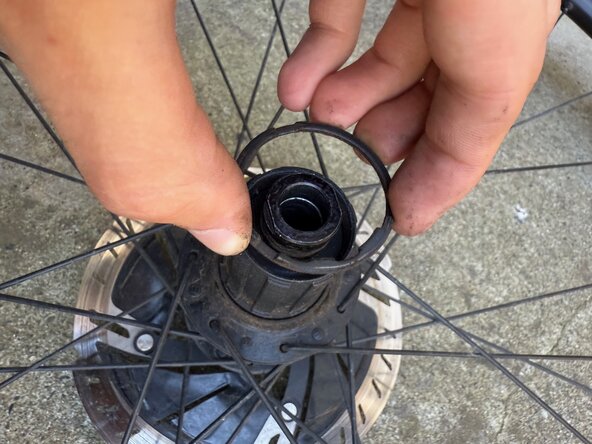
Remove the cassette lockring.
-
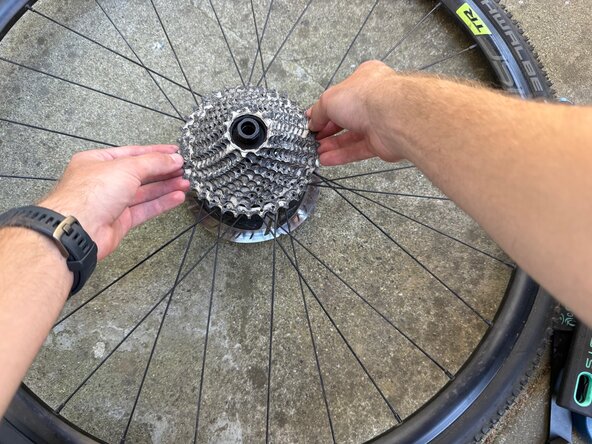
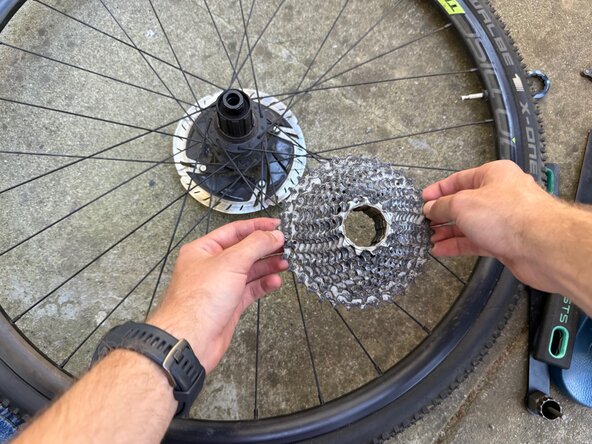
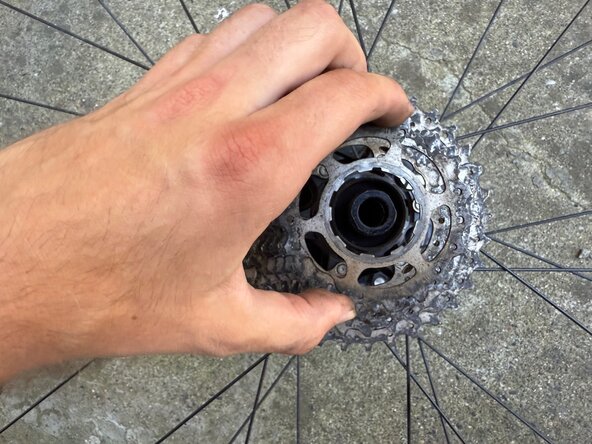
Using both hands, lift the cassette in one piece from the freehub body.
-
-
-
-
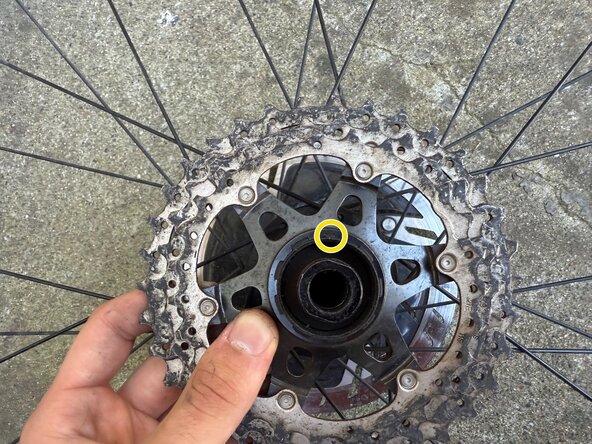
Locate the small cutout on the bottom of the new cassette.
-
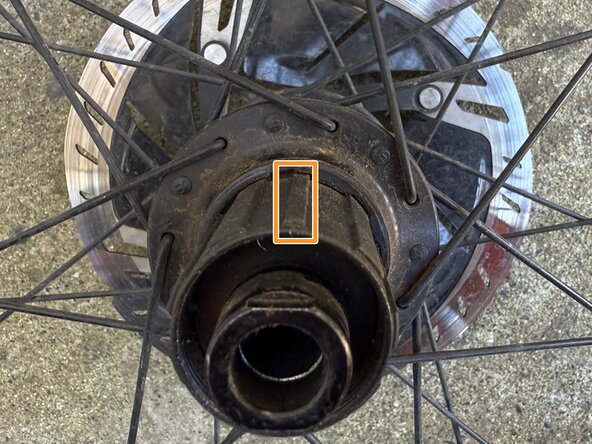
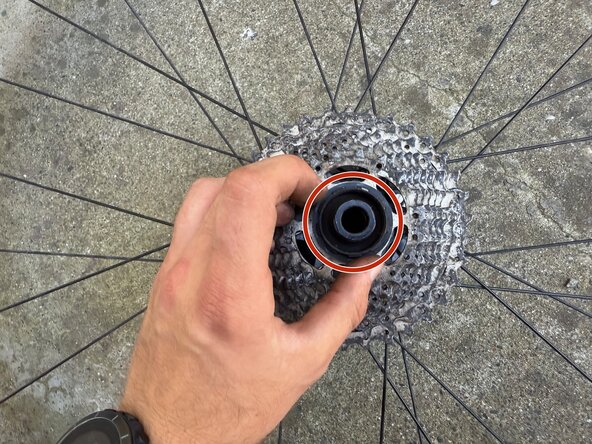
Locate the small ridge on the freehub body.
-
Slide the bottom piece of the new cassette on the freehub body by matching the small cutout with the small ridge.
-
-
-
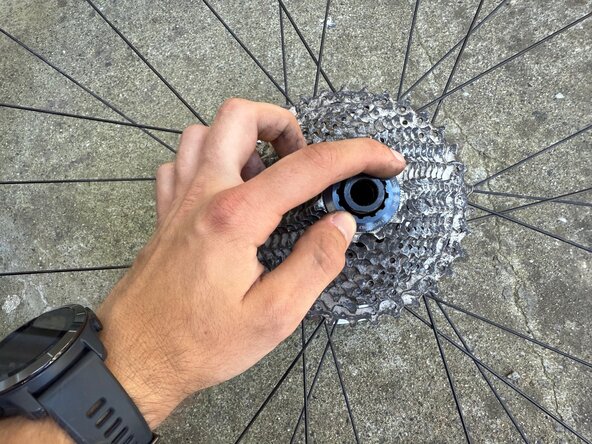
Continue placing smaller cogs on the freehub body by matching the cutouts and ridges.
-
Insert spacers as specified by the cassette user's manual.
-
-
-
For the final two cogs, locate the small cutouts and place on top of the already placed cogs by aligning with the top of small ridge on the freehub body.
-
-
-
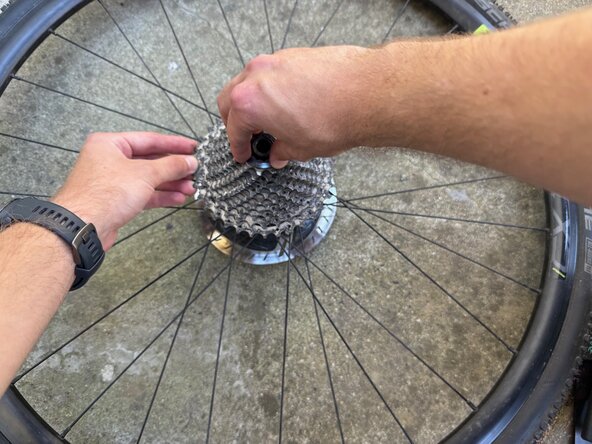
Place the cassette lockring onto the top of the final cog.
-
Start threading the lockring clockwise into the freehub by hand.
-
-
-
Once the lockring is partially threaded in, insert the cassette lockring tool.
-
Tighten the cassette on the freehub body by turning the lockring tool clockwise.
-
After finishing tightening, check the cassette for play by pulling up on the largest cog. If excess play is present and the cassette has been tightened to specifications, a spacer is likely missing.
-
-



















Cancel: I did not complete this guide.
One other person completed this guide.

Team

UC Davis, Team 1-5, Morris Spring 2025 Member of UC Davis, Team 1-5, Morris Spring 2025
UCD-MORRIS-S25S1G5
3 Members
4 Guides authored
